Mt. Kita-hotaka-dake〜Nanryo Route〜
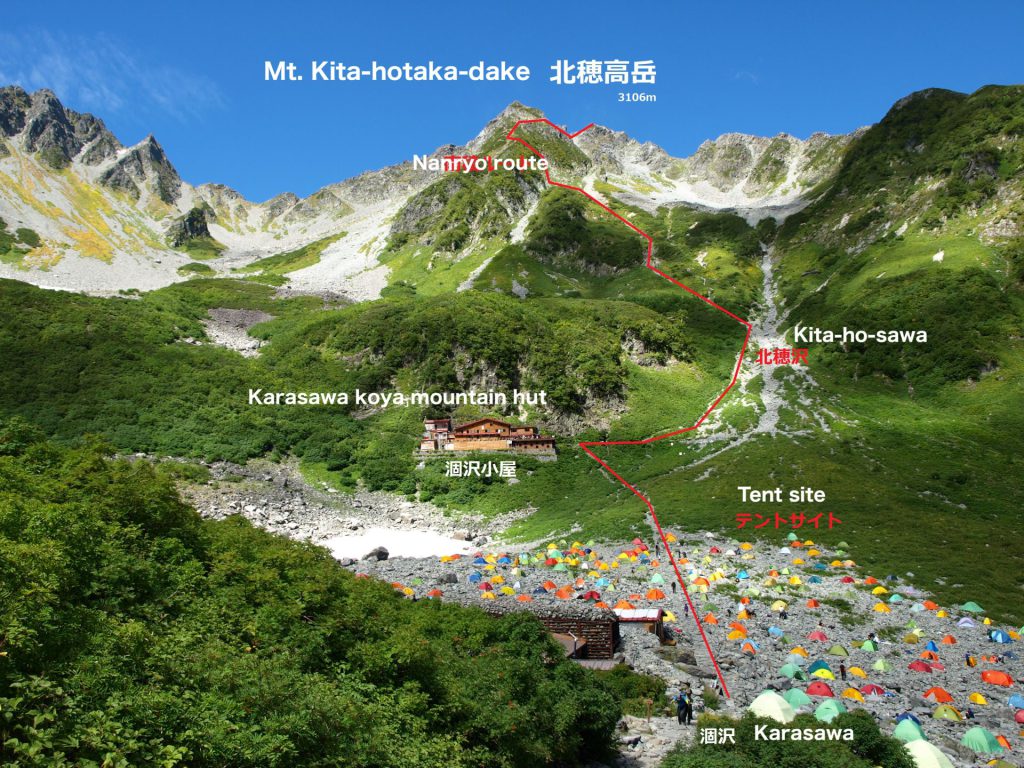
Detailed route guide from Karasawa
To get to the Mt. Kita-Hotaka-dake summit, there is the access route from the Mt. Yari-gatake direction that takes you across the famous Daikiretto, and the route that travels up and down ridges over the Karasawa peak from the Hotaka-dake-sanso mountain hut. There are also two routes, the east ridge and the south ridge route, from Karasawa, but the east ridge route is a trail for expert mountaineers. Therefore, most casual hikers travel the south ridge route.
The climb from Kamikochi to Yokoo can be considered more of a hike. Once you cross the Yokoo bridge at Yokoo, you will feel like you are heading into the high mountains. There is a sharp incline until you reach Karasawa, but there are no particularly dangerous locations. However, be sure to stop for water at Yokoo because it is questionable as to whether the water at Hontanibashi Bridge along the way is fresh.
The trip back and forth from Karasawa to Mt. Kita-Hotaka-dake takes about five hours. There is nowhere to take cover along the way, so when the weather is bad, or looks like it will turn, you are better off spending a leisurely time in Karasawa.
Detailed route writer
Shinji Nakata, Mountain writer, Mountain walker
Born in Matsumoto city, Nagano prefecture. After working for a publishing company, he became a mountain walker and as of December 2021, he has left his mark on more than 3,300 Japanese and mountains abroad. He has written many books on mountain guiding.
Director of The Japan Alps Guide Center
Mt. Kita-hotaka-dake Nanryo route full particulars
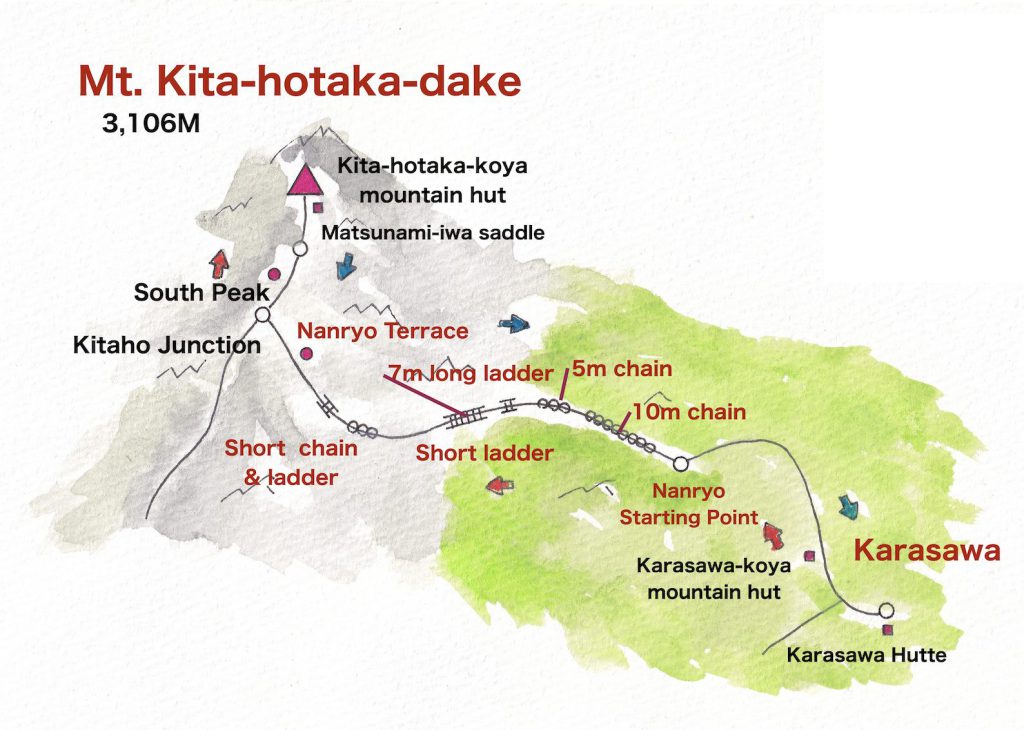
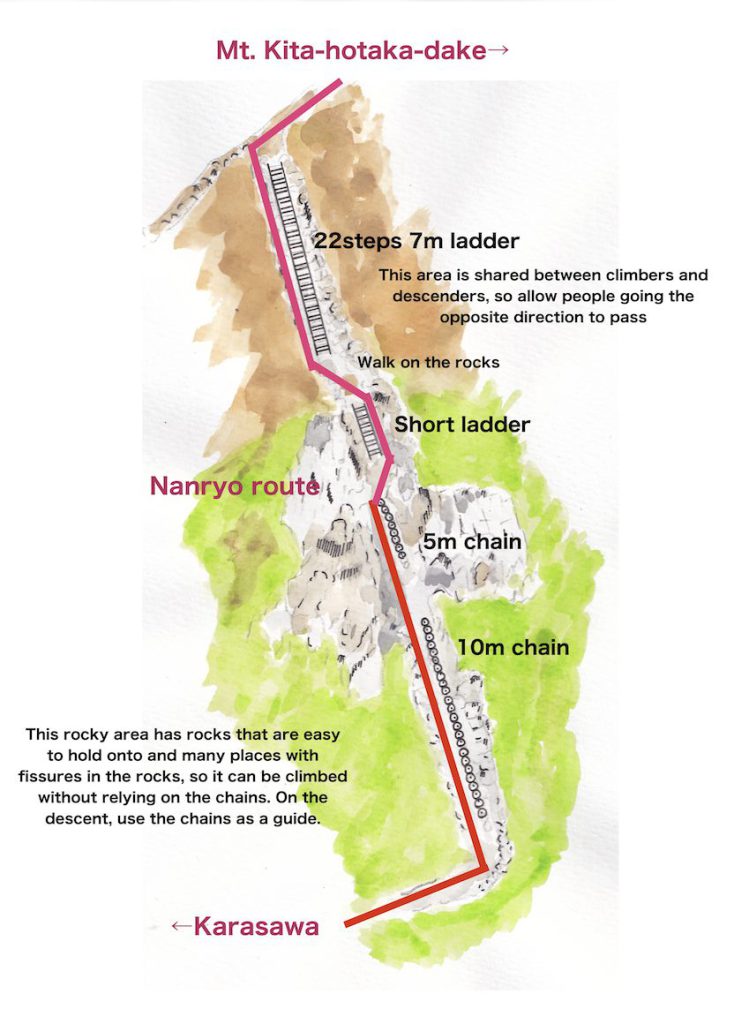
The illustration shows a simple outline of the course from Karasawa.
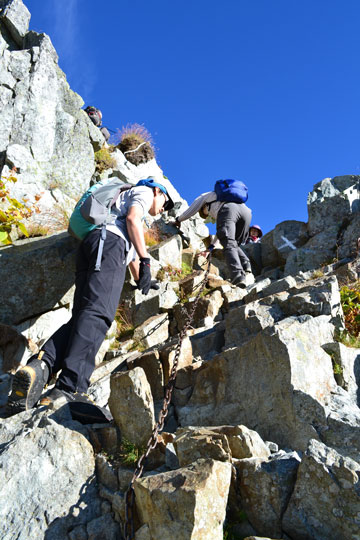
As you can see in the figure, there are places with chains and ladders. These are rocky areas with inclines. However, on the ascent, you should be able to clear the chain areas without using them because sometimes it is safer to climb grabbing onto protruding boulders or hollows in the rock rather than holding onto the chains. In particular, if you are climbing without much distance between yourself and others, you may be affected by the chain shaking, so extra caution is required.
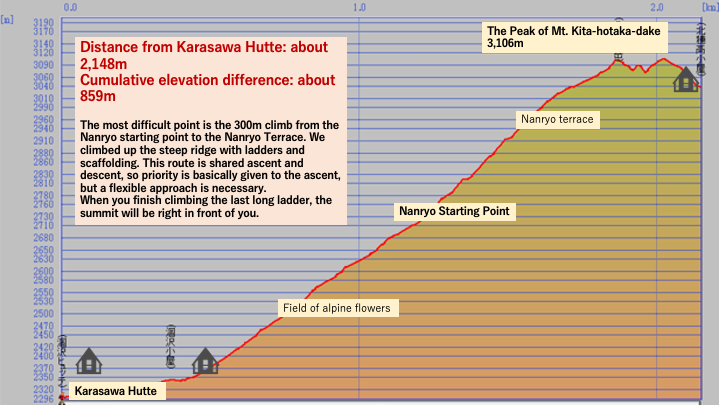
The incline is quite steep until the Nanryo Terrace, so take extra care in the places without chains or ladders. Be especially cautious on the descent. It is important to constantly maintain three points of contact in rocky areas. Even if you are the cause of a traffic jam, remain calm. Or, if you get tied up in a traffic jam, do not get annoyed.
From the Nanryo Terrace, you can see the route all the way to the summit. You should also be able to see the hikers ahead of you. You may start to feel a sense of relief, but there is still a lot of rocky terrain ahead, so maintain your nervous tension.
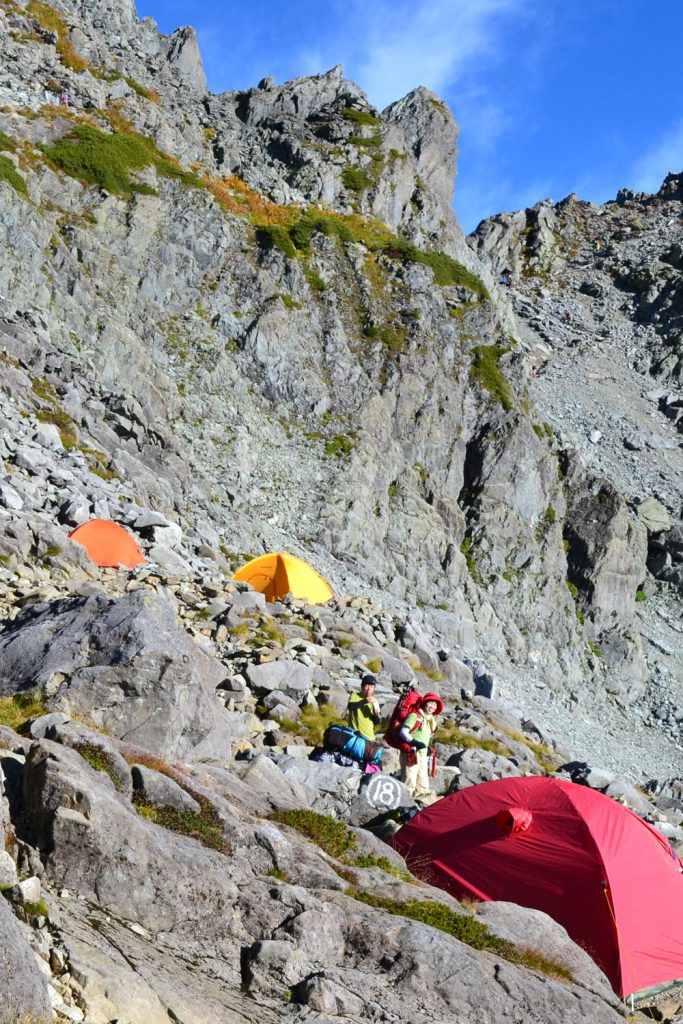
The summit is visible from here. This location is popular as a campground, but it lacks running water and toilets. However, you can have the spectacular view here all to yourself. To do so, please apply at the Kita-Hotaka-koya hut.
Nanryo detaailed route guide
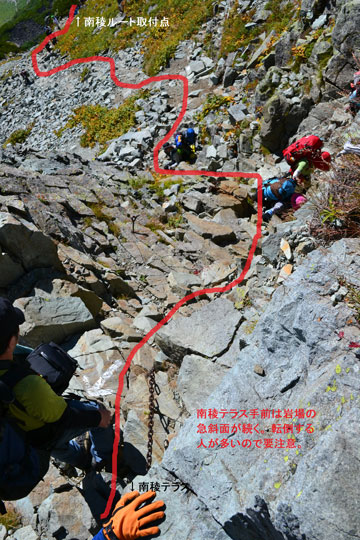
There is a chain and ladder from the South Ridge route starting point. From the starting point, you will ascend and descend the rocky terrain that rises up like a wall. The red line on the photo is for ascending, and the blue line is for descending, but if there is no one around, either one may be used. However, on the left side, there are hand and footholds that will allow you to climb without relying on the chain, but you should always be aware of the chain and able to grab it quickly if you need to. It is safer to use the chain on the descent.
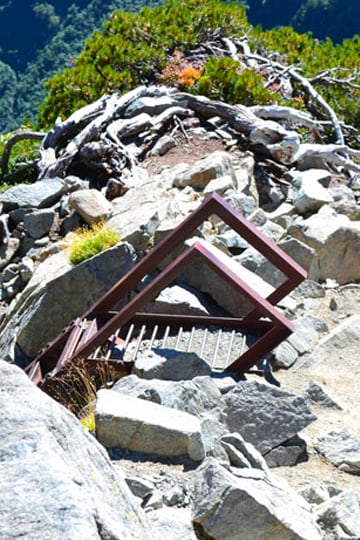
The five-meter-long chain and short ladder that follow should not be difficult.
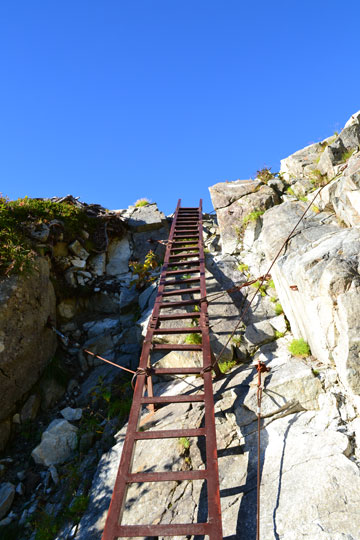
There is a long ladder after that.
Make sure to maintain three points of contact at all times both when ascending and descending. It looks as if it is attached to a boulder that is almost vertical. As the view opens up when you ascend, you will probably feel a sense of fear with the altitude. If that happens, take deep breaths, and continue moving forward with the rhythm of your breath, and you should be fine. However, be careful when passing through in bad weather. If you are in a group, we recommend using ropes to secure yourself while going up and down, but please refrain from climbing as much as possible when the weather is bad, or it is forecasted to worsen.
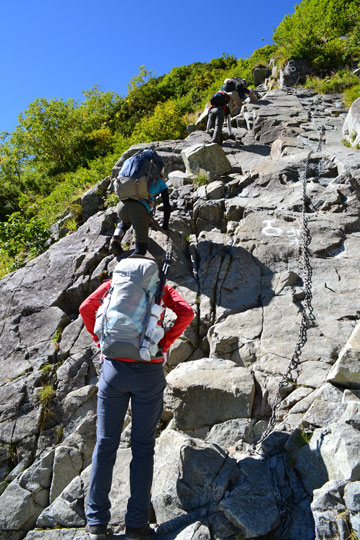
You can descend in the same way, but following the blue line to descend should get you down in less time. Whether you are climbing or descending, make sure to maintain some distance with those in front of you.
Elevation map: From Karasawa to Mt.Kita-hotaka-dake
