Kamikochi Route
Kamikochi ~ Myojin Junction ~ Tokugou-toge-koya Mountain Hut ~ Junction Peak ~ K1 ~ Mt. Kasumizawa-dake ~ Tokugou-toge-koya Mountain Hut ~ Kamikochi
Technical level: C
Physical strength: 5
Difficulty: ★★★
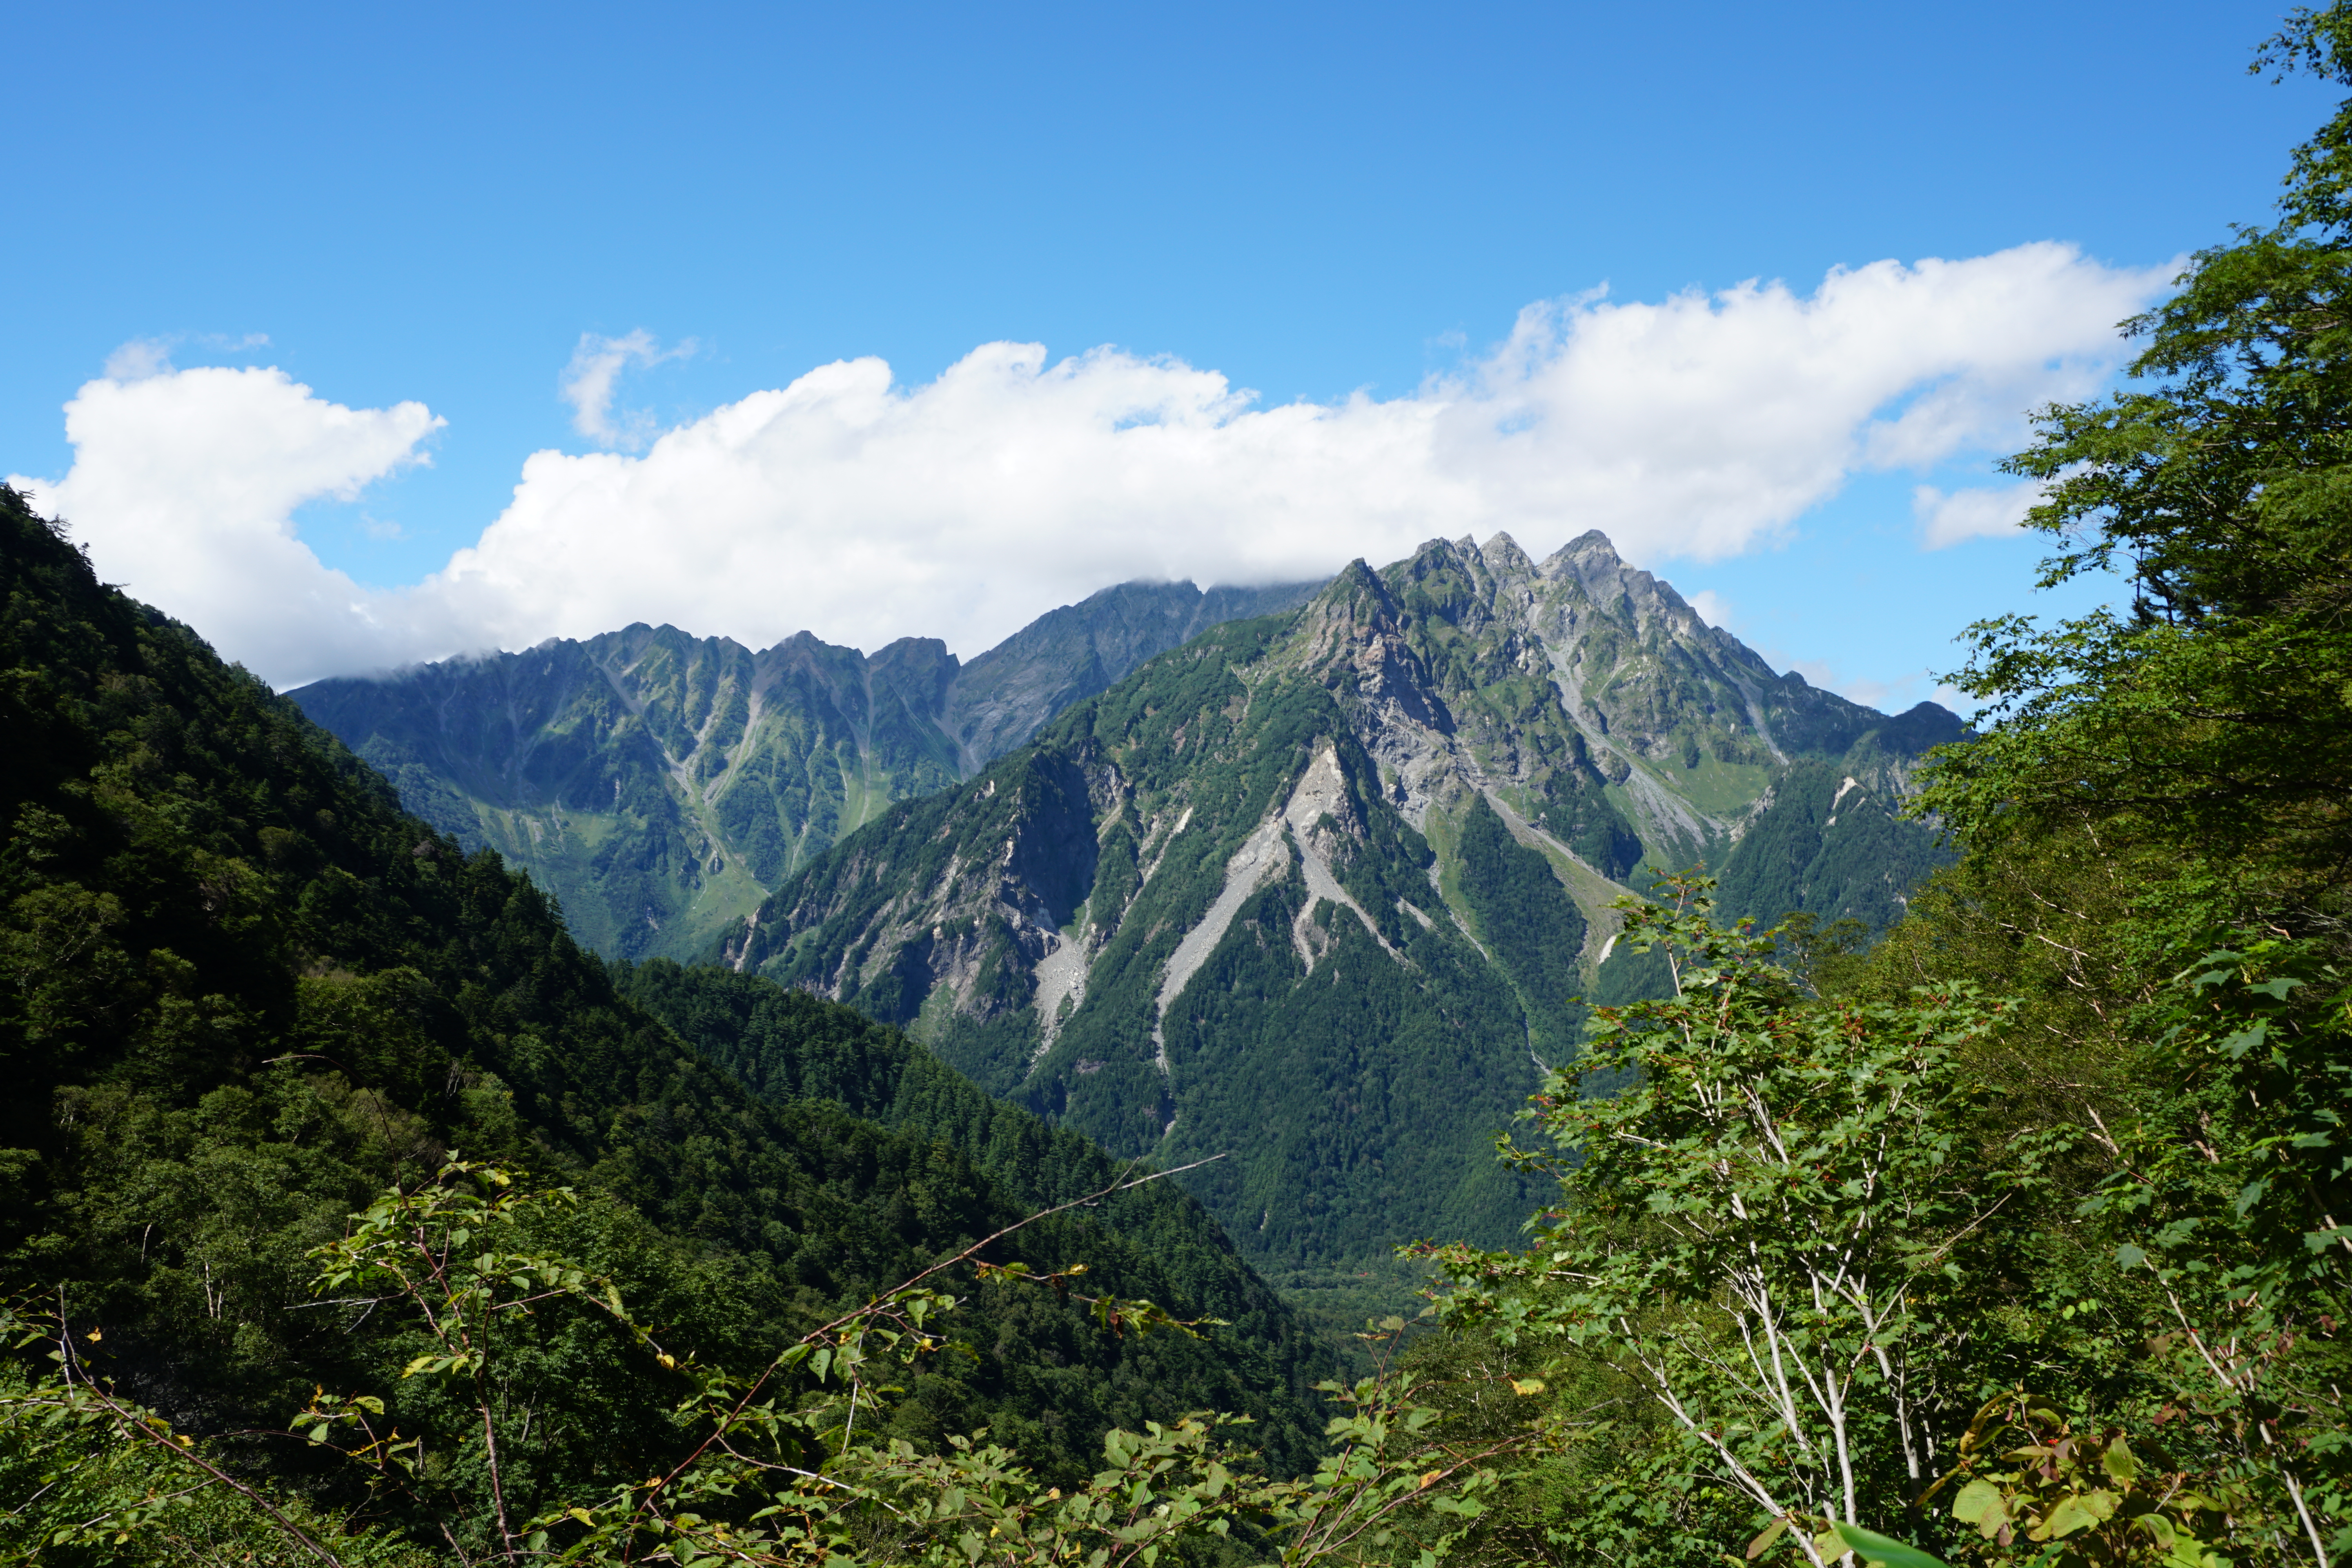
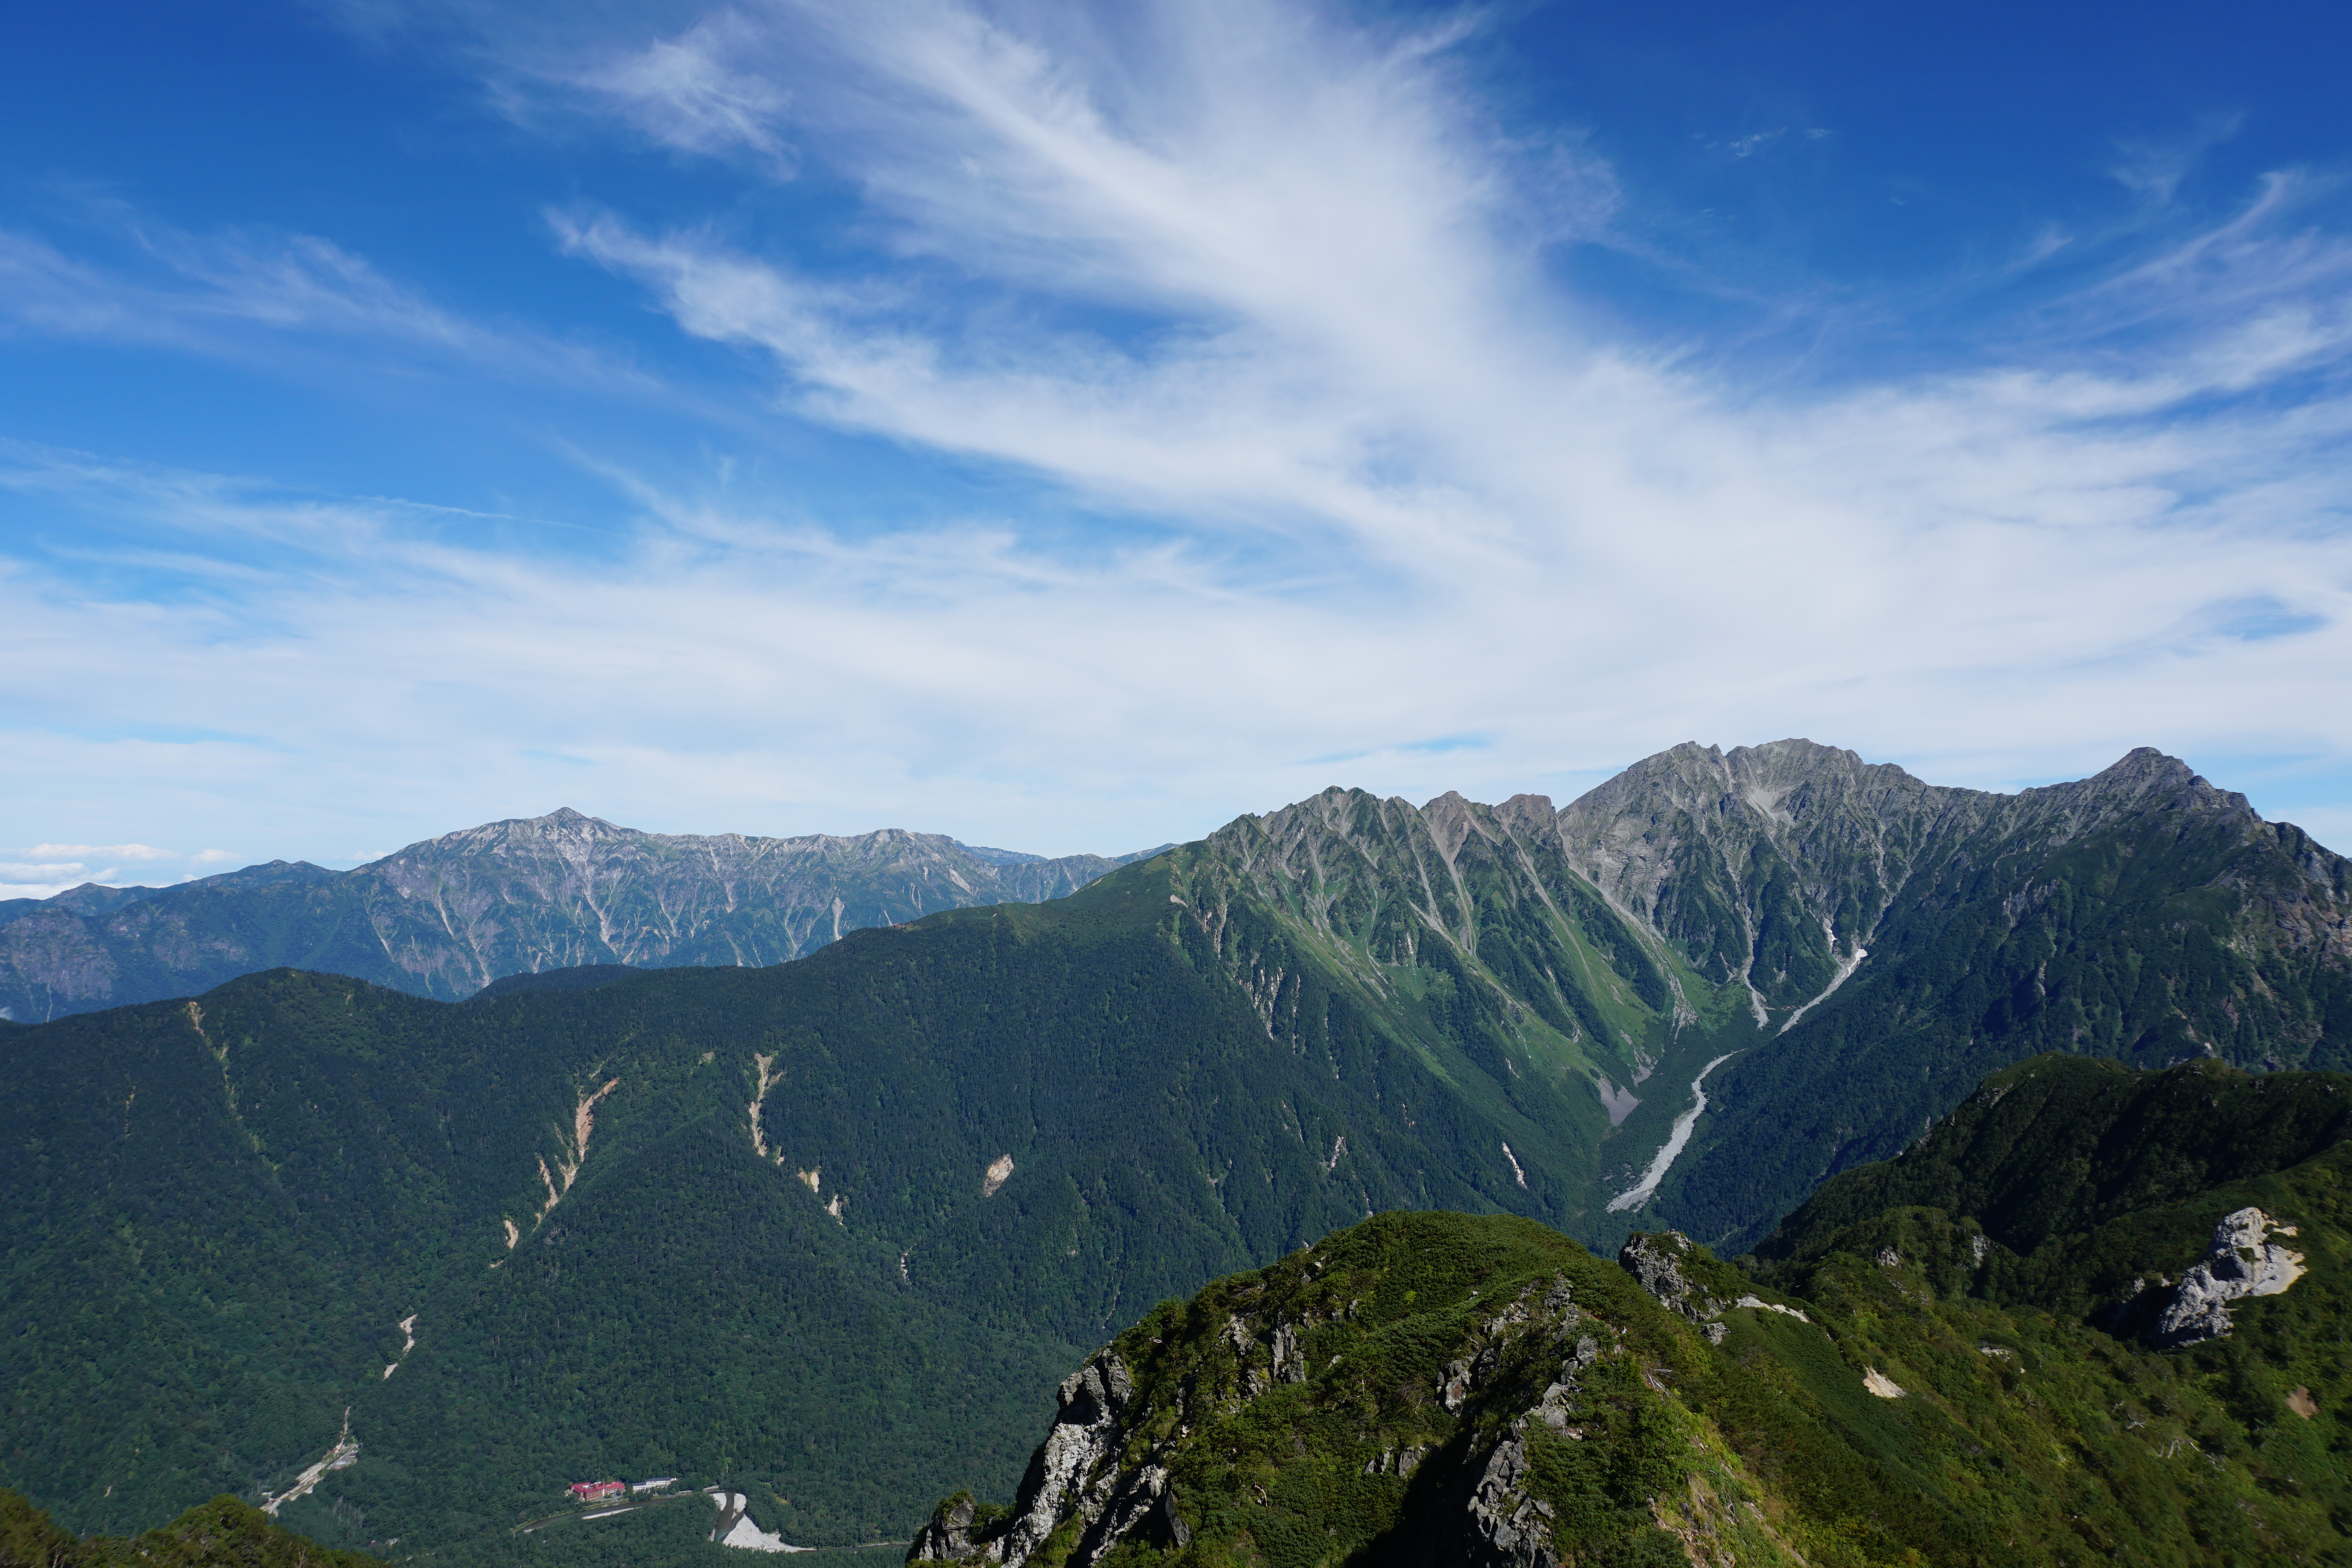
Mt. Kasumizawa-dake is blessed with the great view of the Hotaka mountains. In the old days, there was only a route from Hachiuemon-sawa available. Because of that reason, it was said that the summit was extremely hard to climb for general hikers. However, the trail from Tokugo Pass was maintained and that made this peak available even for non-advanced hikers. To Tokugo Pass, there are two trails available, one from Shima-shima and another from Kamikochi. Many hikers seem to make their challenge from Kamikochi. The descending route from the summit to Shima-shima is available but it takes about eight hours, therefore, most hikers descend to Kamikochi.
●Hiking Data
Schedule: One night and two days
Walking hours: 13 hours 30 minutes
Walking distance: 22.97 km
Cumulative elevation difference: 1,902 m
Kamikochi
Elevation 1,505m
↓ 1 hour
Myojin Junction
Elevation 1,511m
↓ 2 hours 20 minutes
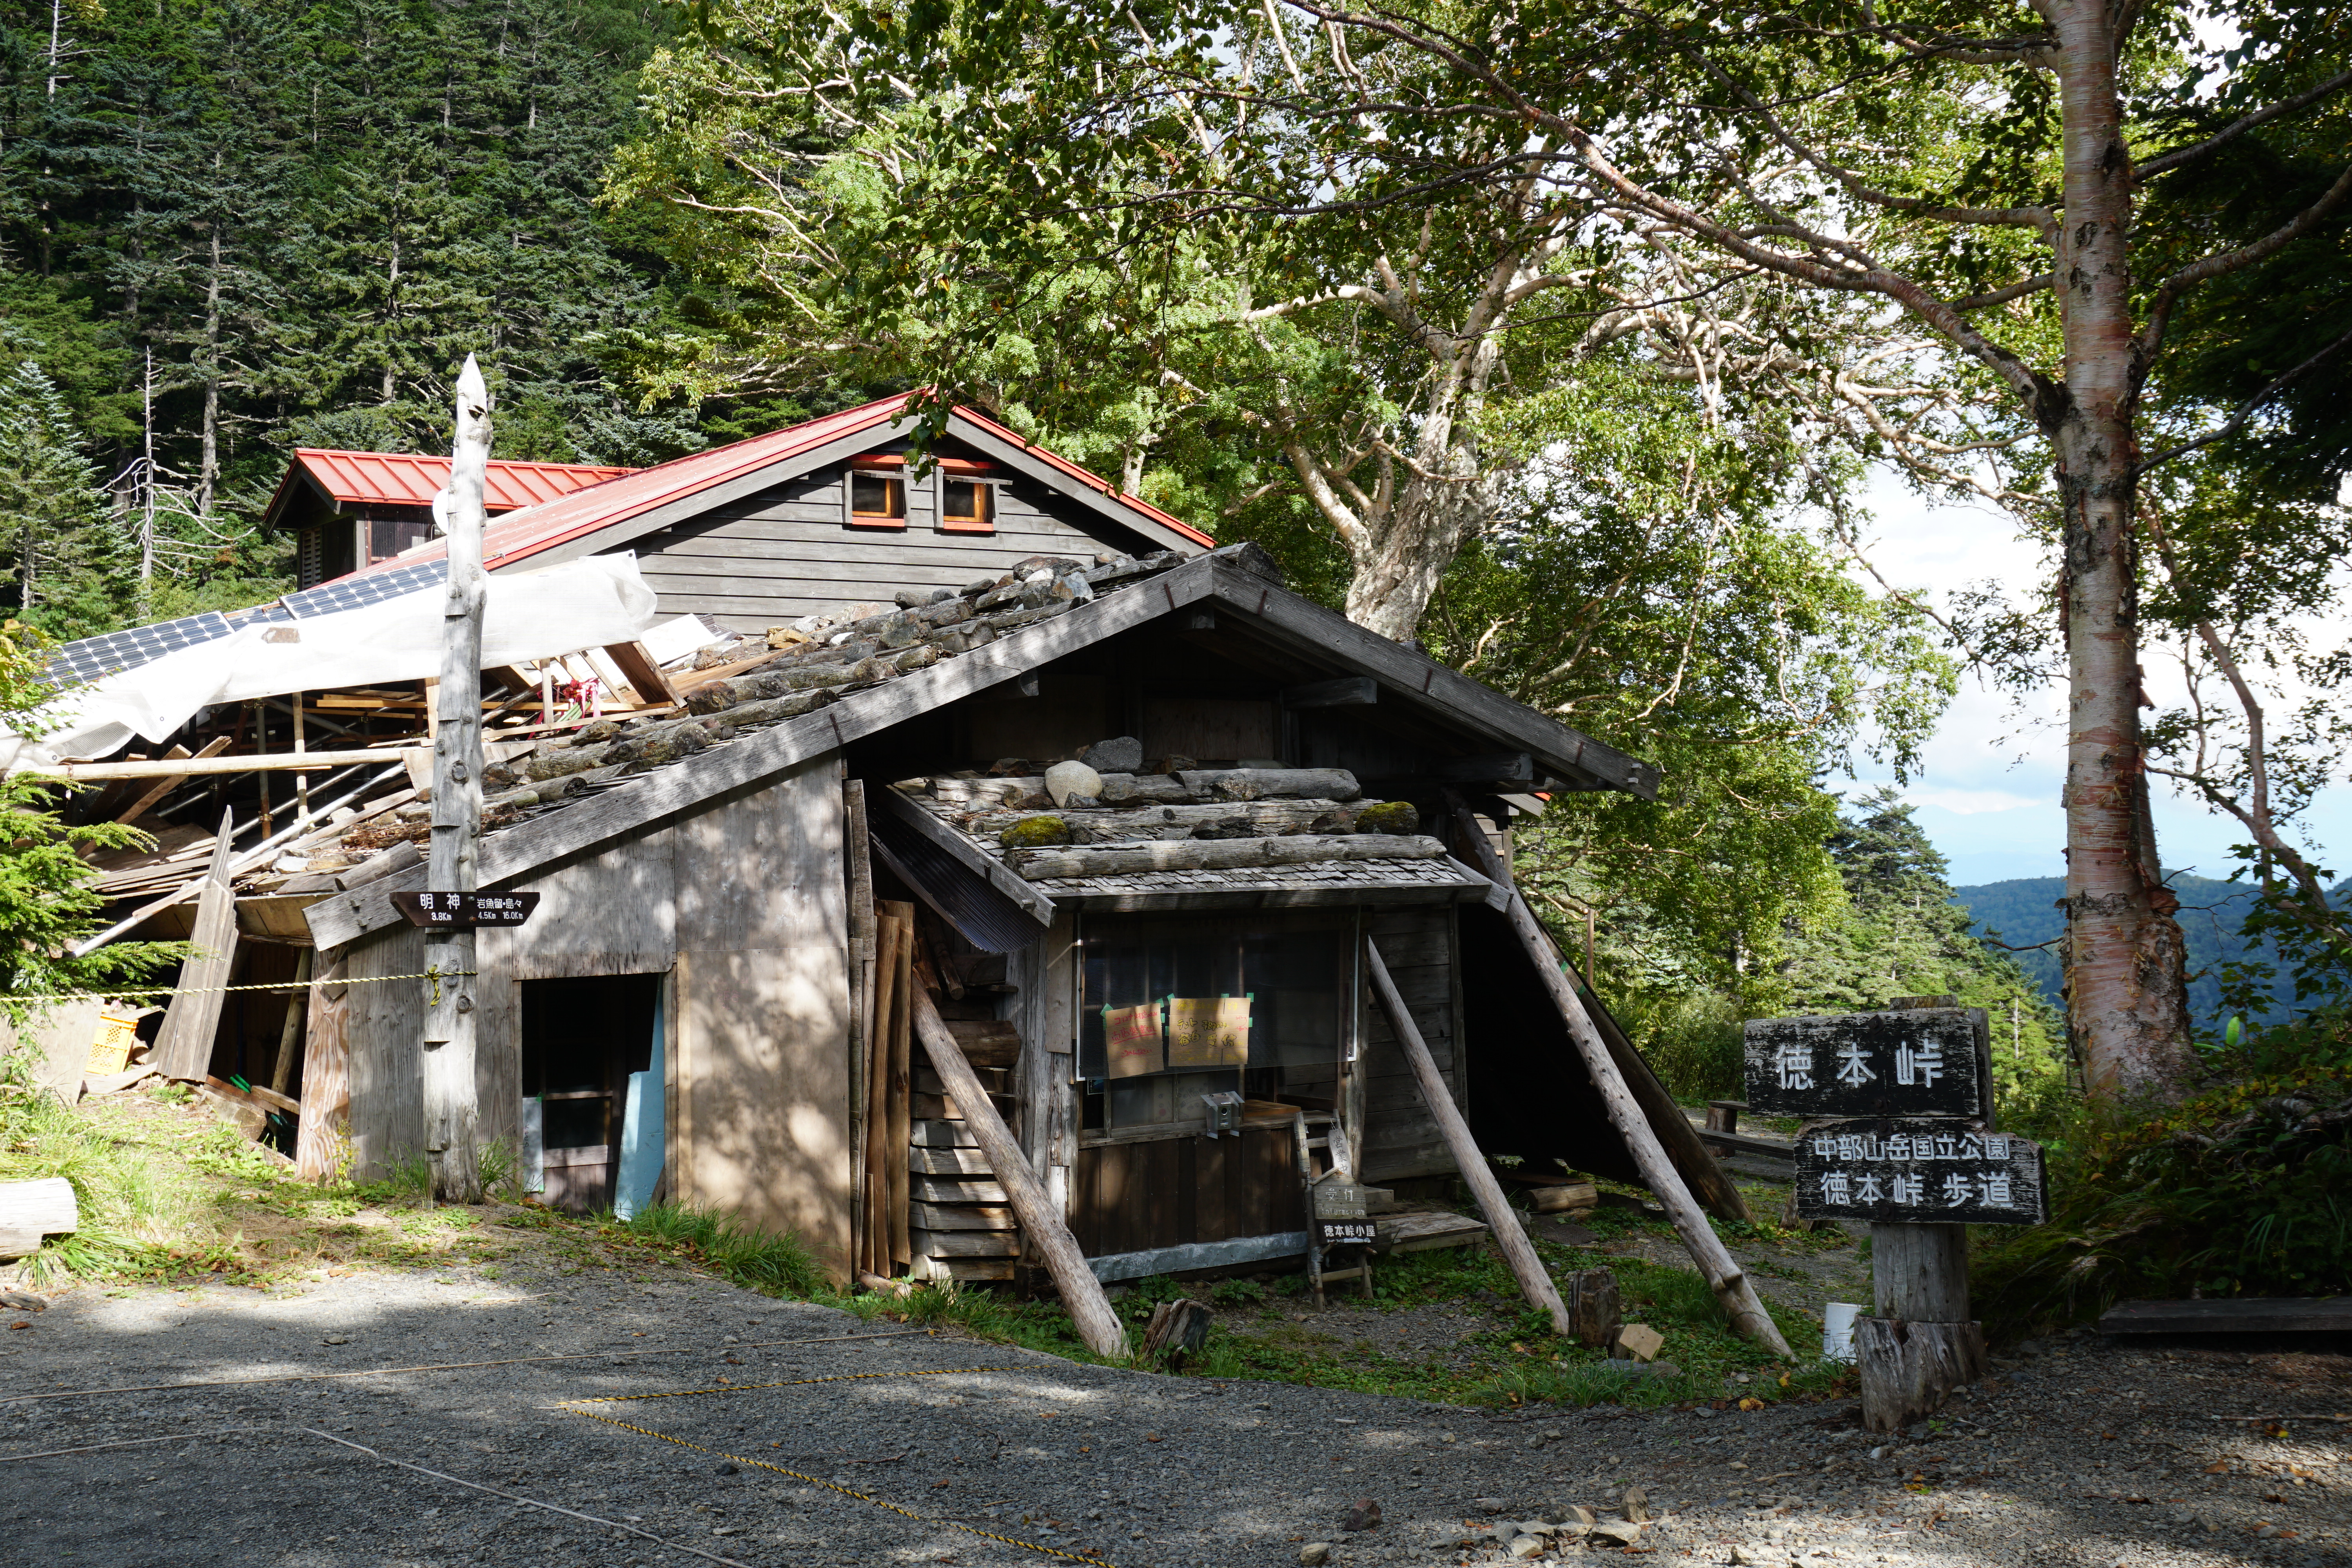
Tokugo-touge-koya Mountain Hut

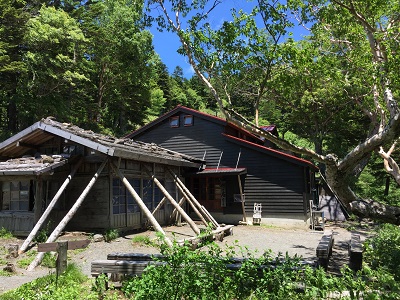
Elevation 2,135m
↓ 1 hour 5 minutes
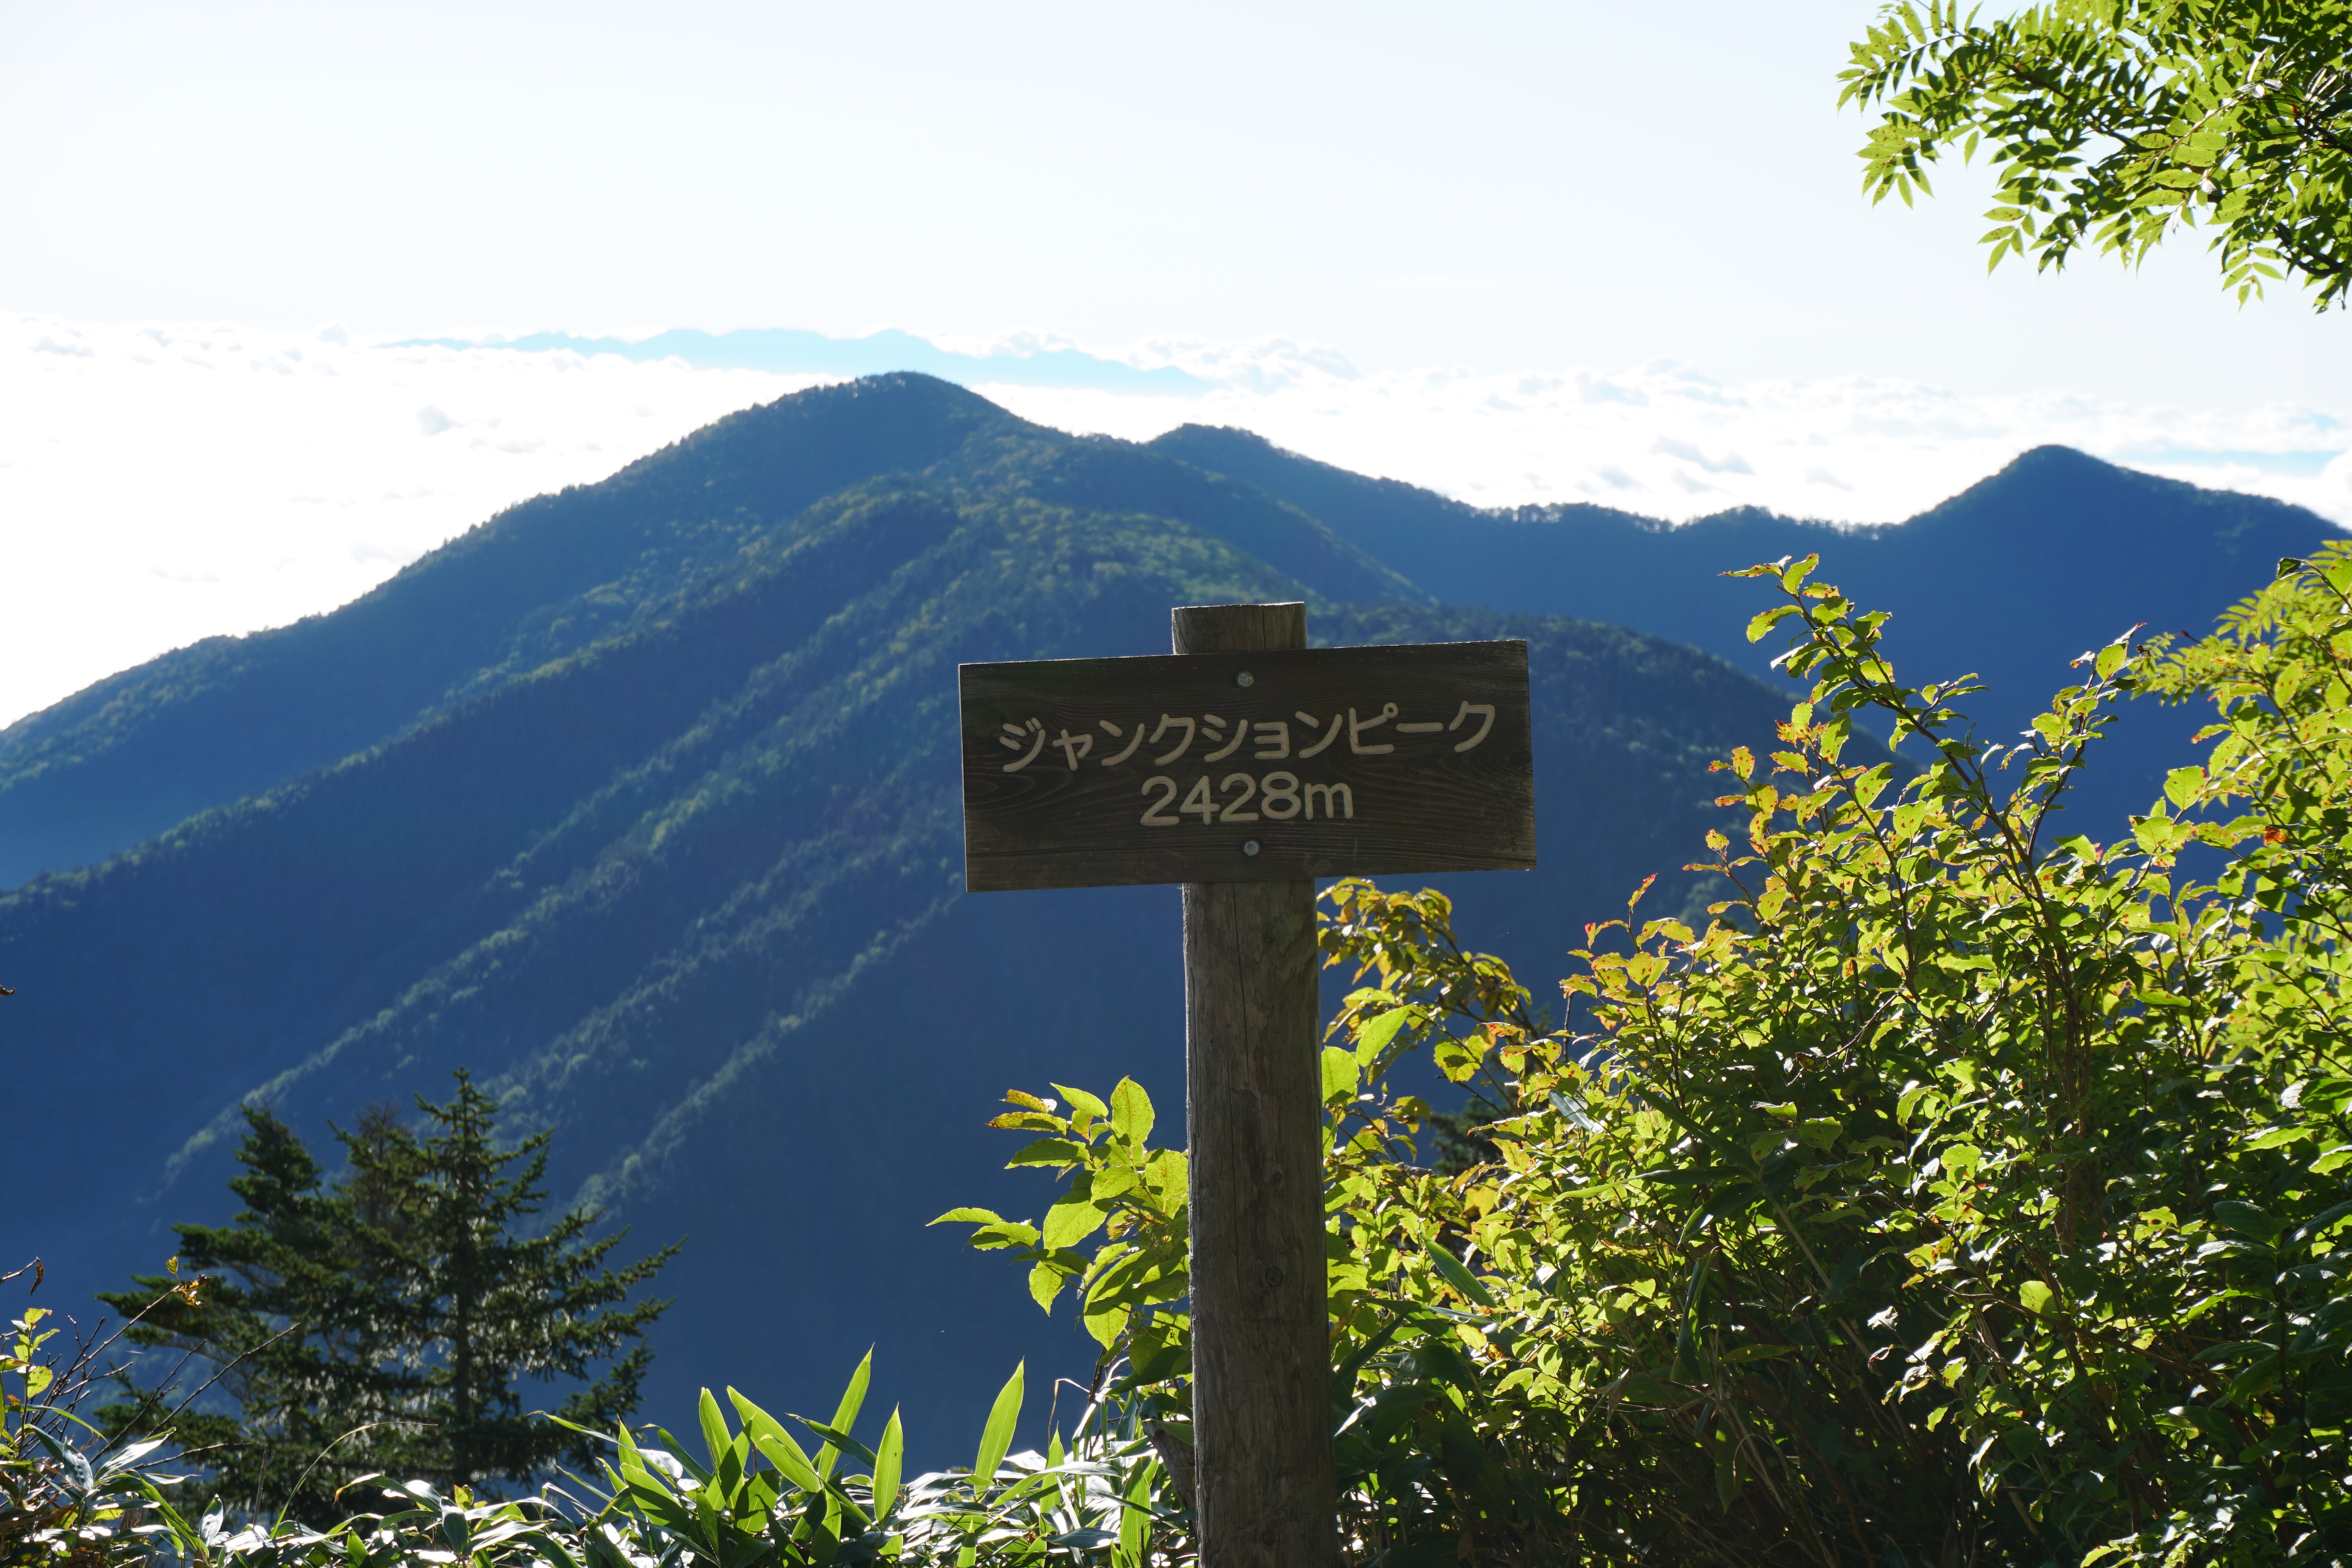
Junction Peak
Elevation 2,428m
↓ 2hour 30 minutes
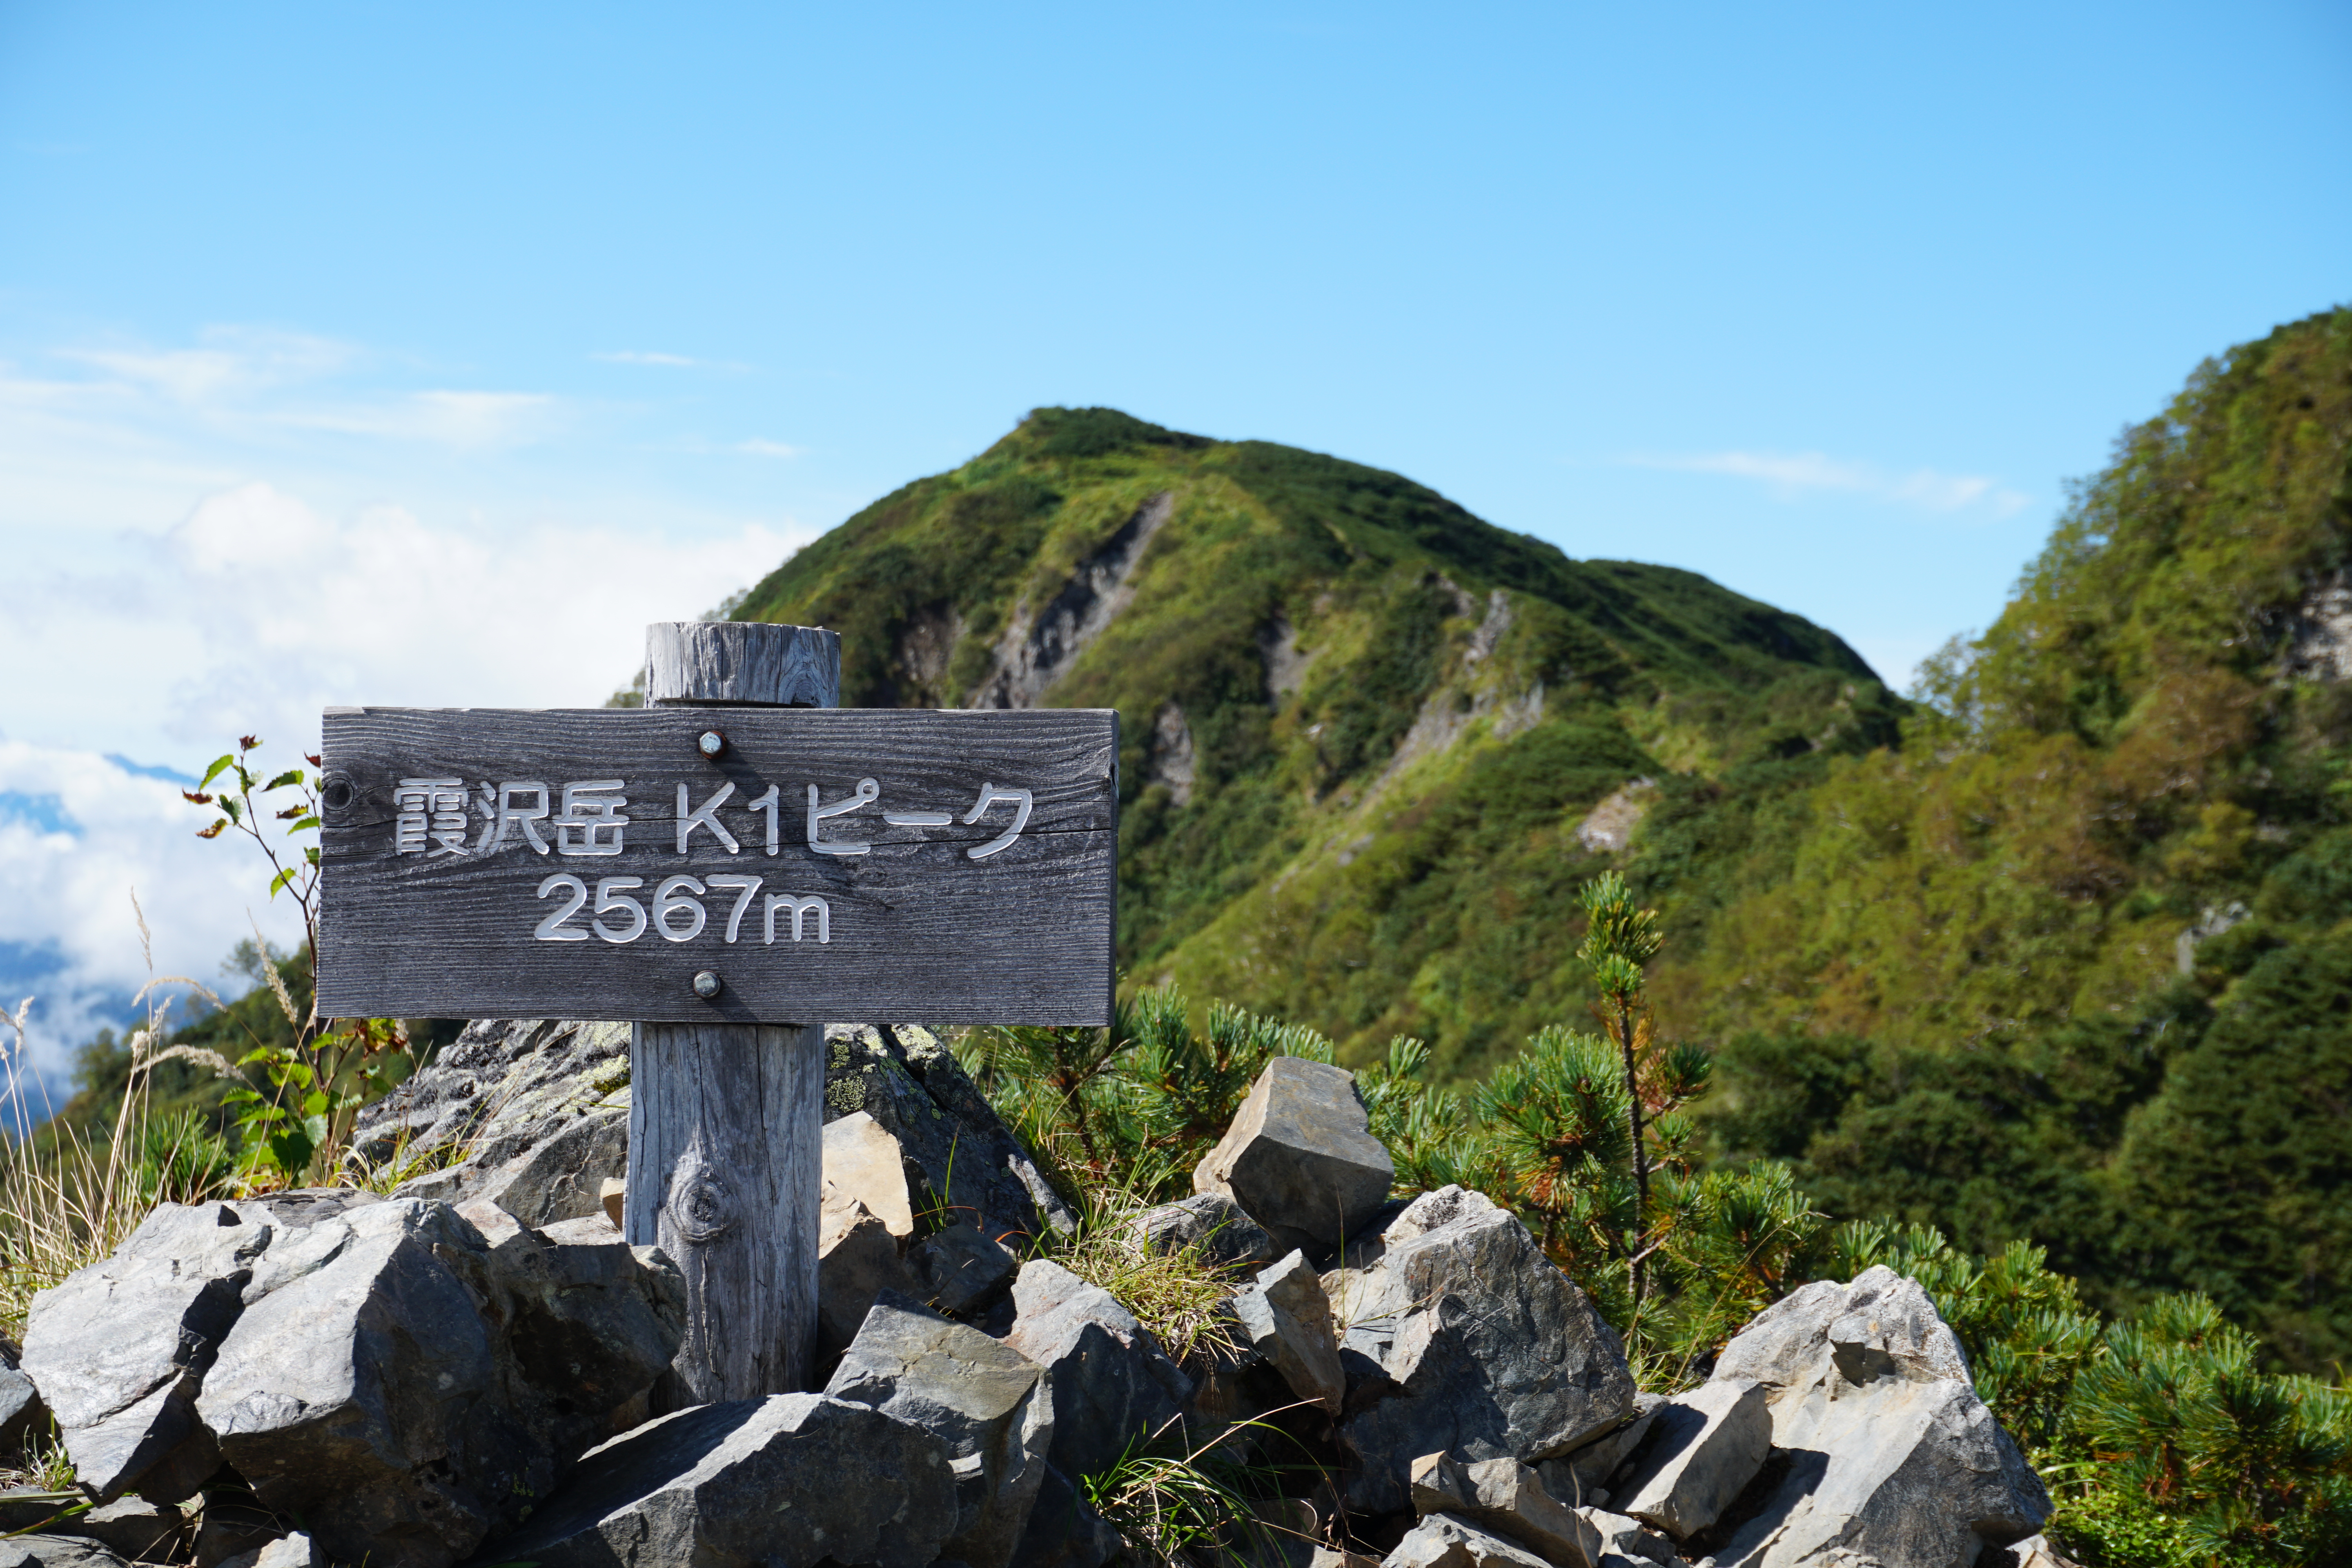
K1
Elevation 2,567m
↓ 35 minutes
Mt. Kasumizawa-dake
Elevation 2,646m
↓ 3hour 30 minutes
Tokugo-touge-koya Mountain Hut
Elevation 2,135m
↓ 2hour 30 minutes
Kami-kochi
Elevation 1,505m


Route Guide
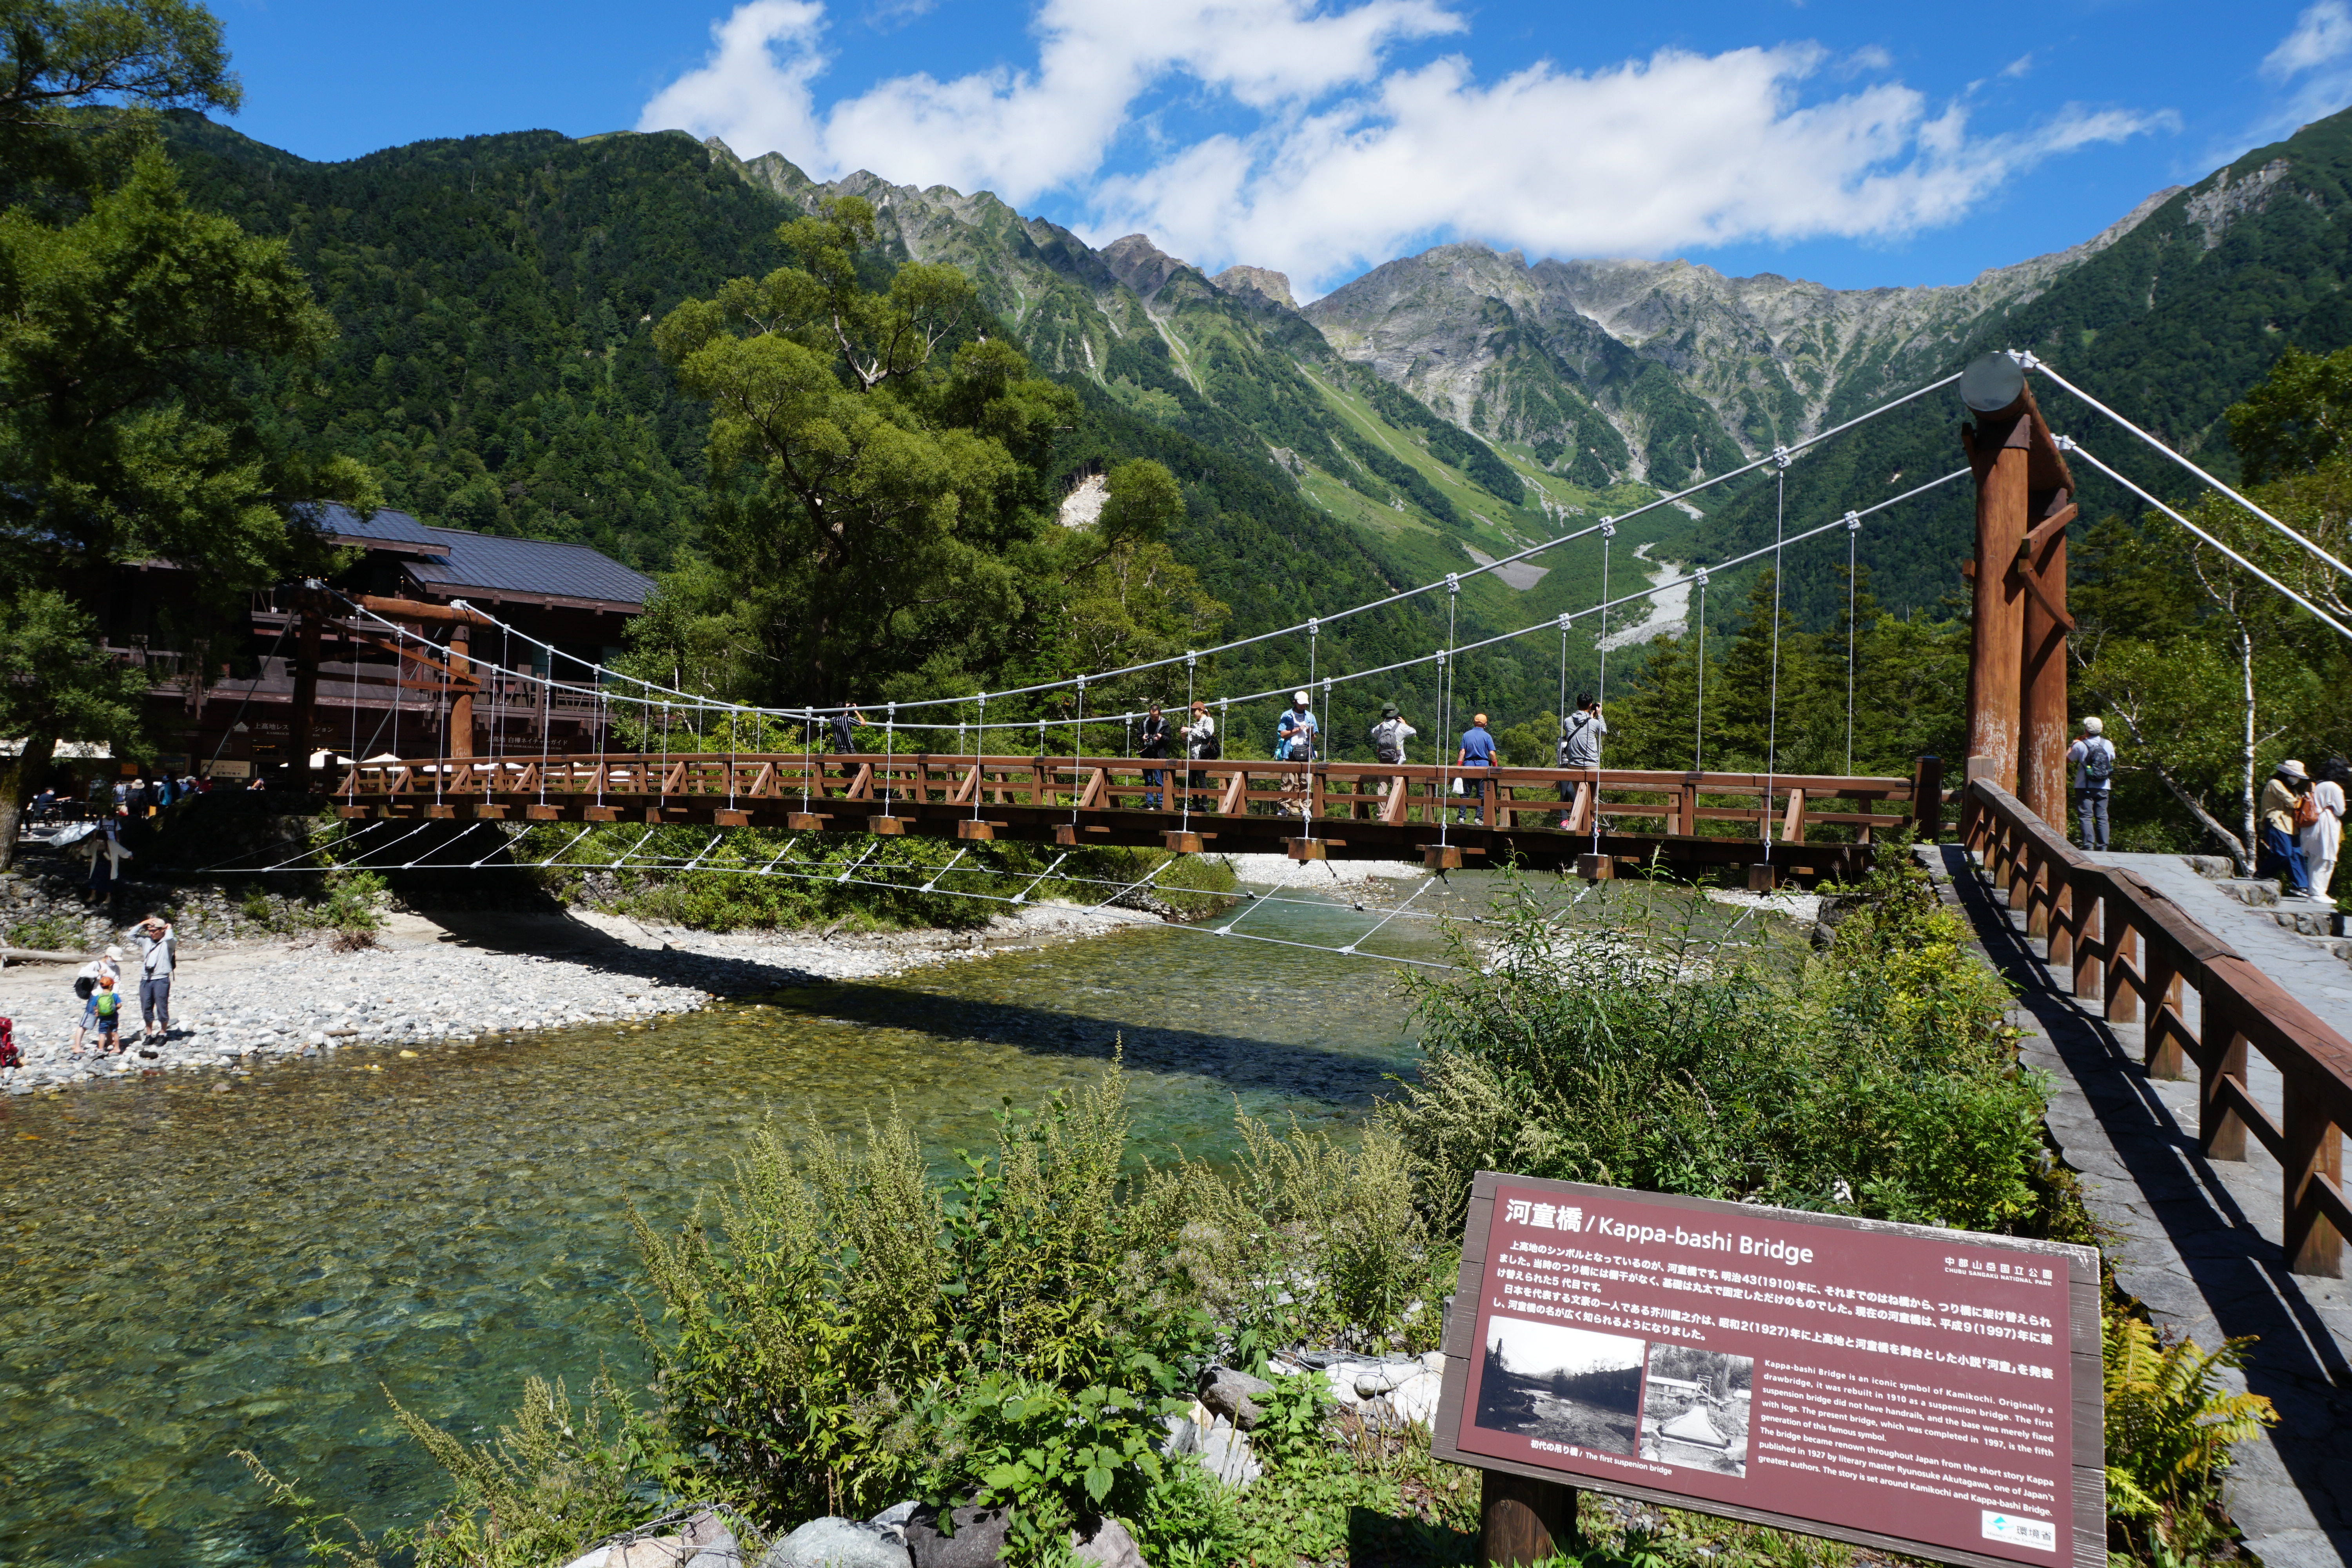
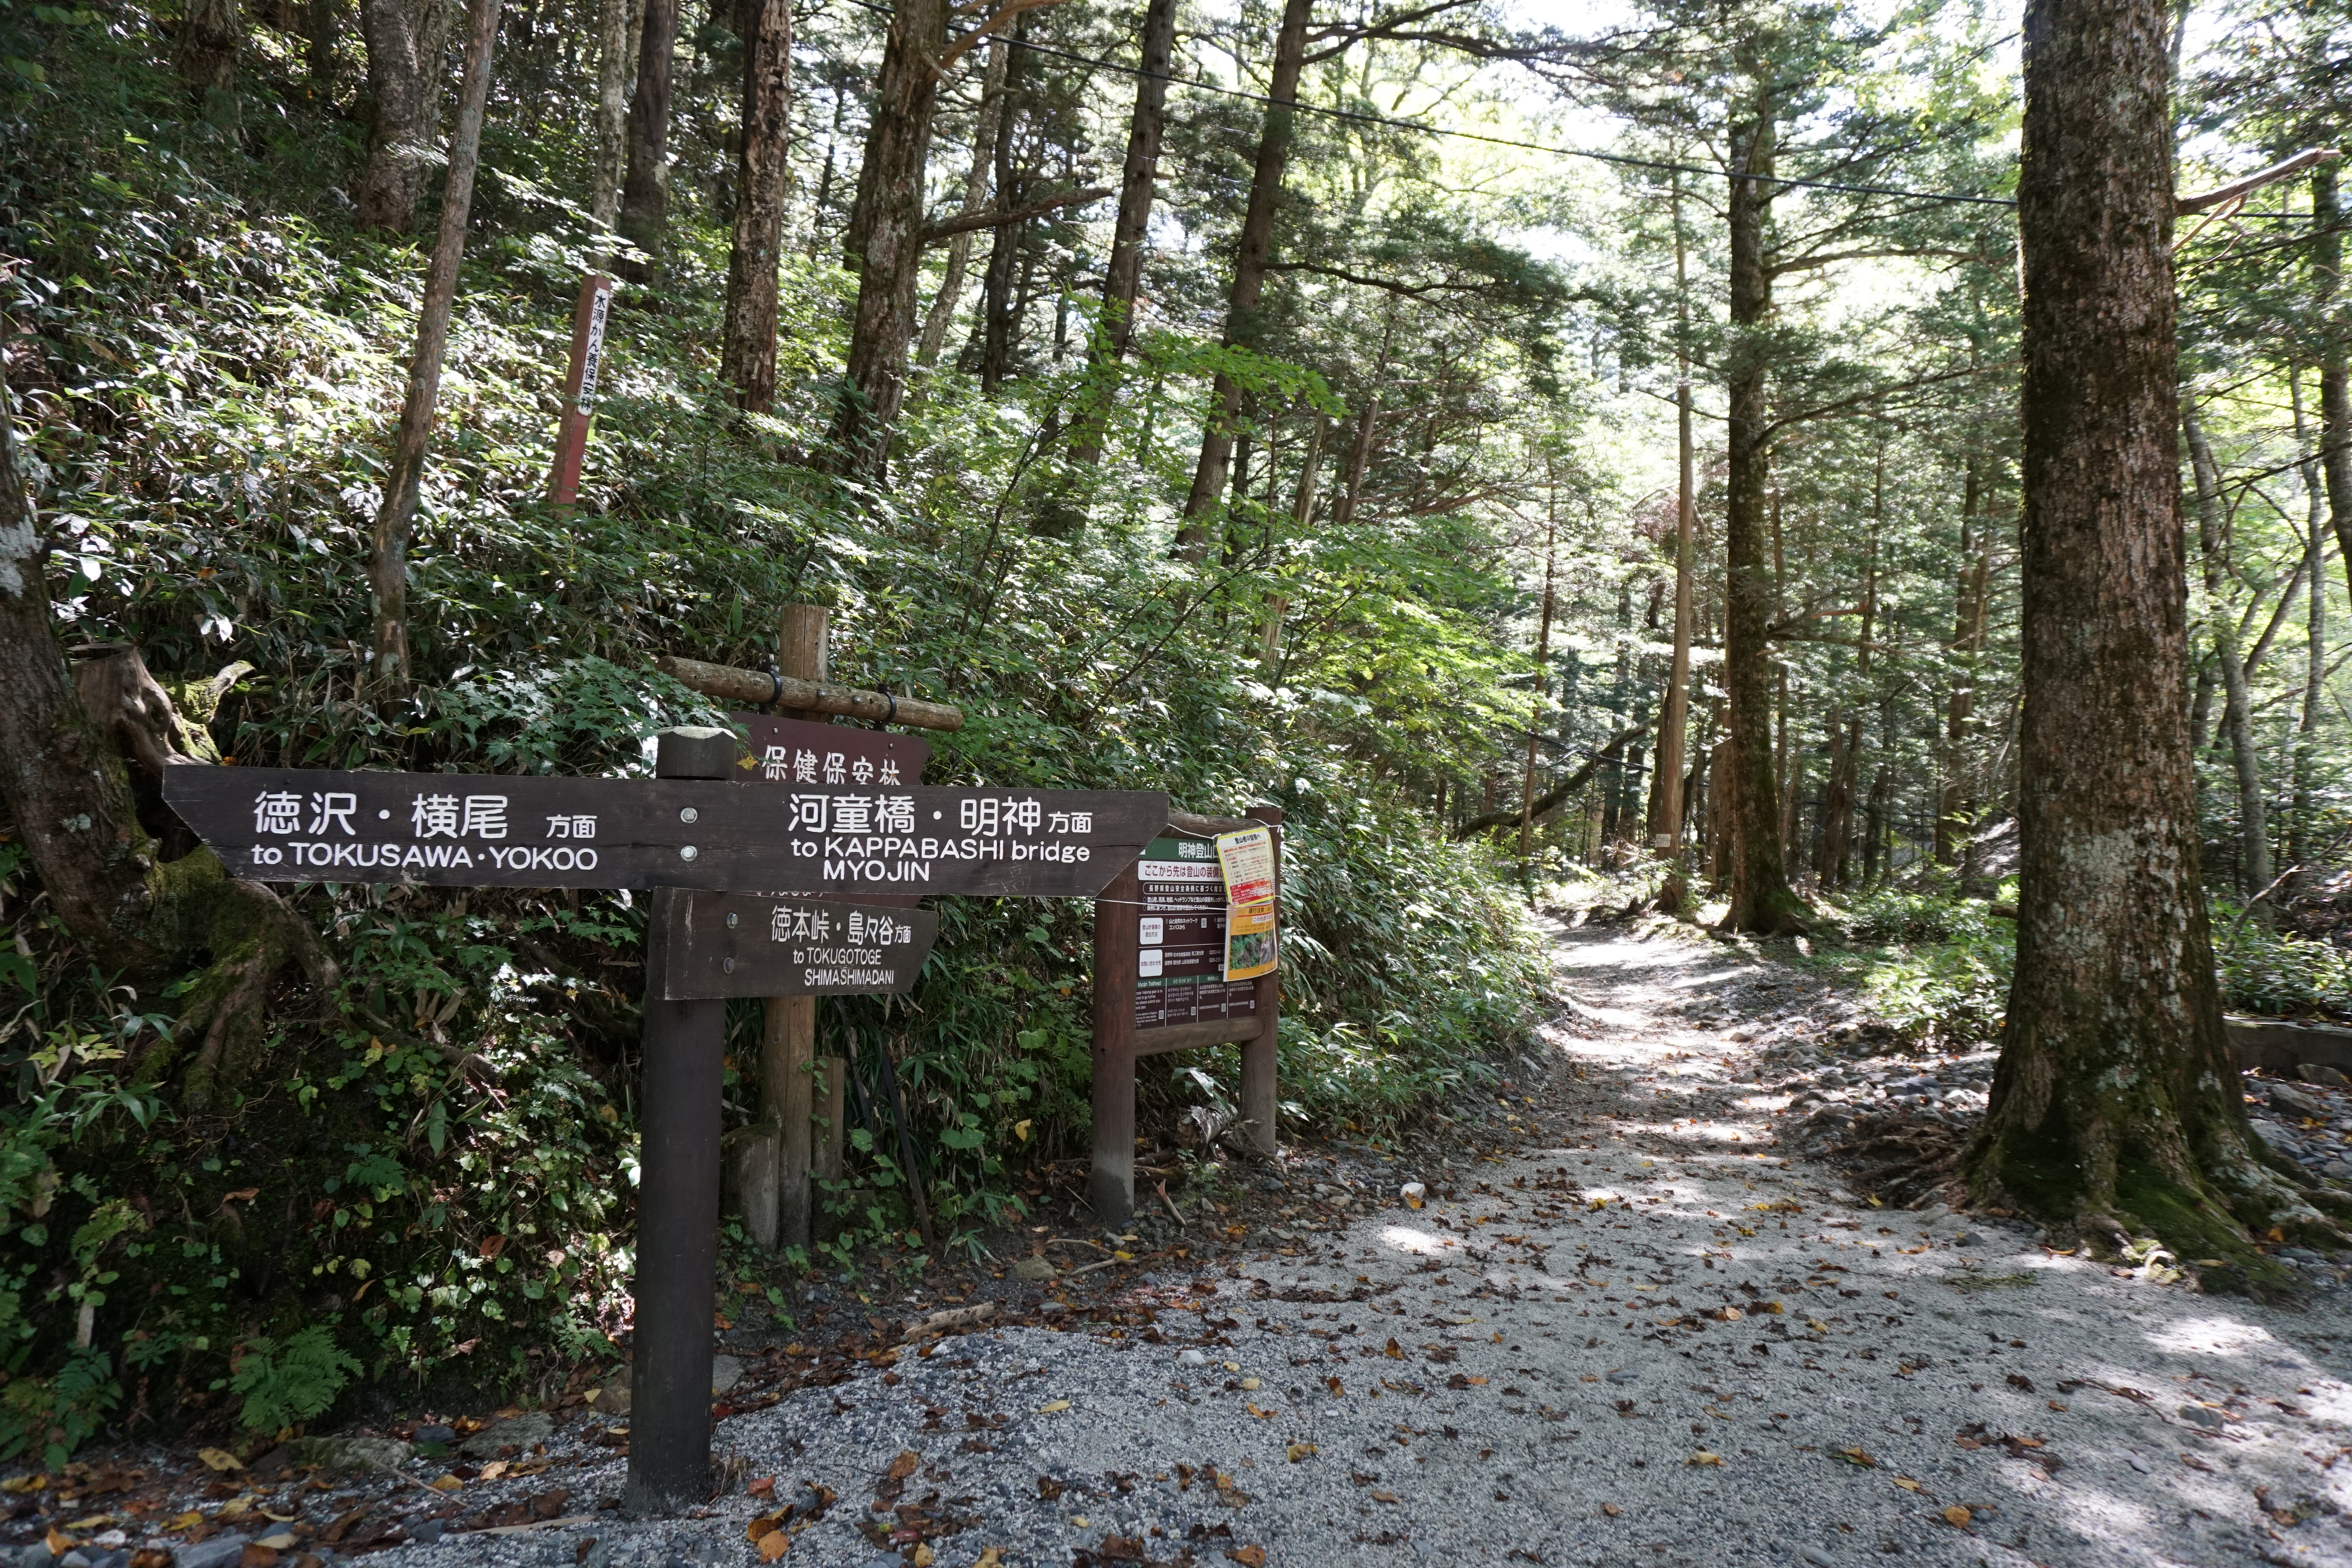
From the bus terminal at Kamikochi, walk on the trail towards Myojin along the left bank of the Azusa river. Pass Kappa bridge and the Konashi-daira camping site. It is not a hiking trail but more like a promenade. Enjoy the atmosphere of Kami-kochi. The Azusa river flows in a wide zigzag pattern. The promenade goes along the turns. Walk through deep native forest. You should smell trees and feel the cool air comfortably. On the left, the sharp peak of Mt. Myojin-dake comes into sight. When you cross Miya river, Myojin will be reached. Myojin-kan stands at the left. The trail to the left leads to Hotaka Shrine Okumiya and Myojin-ike.
If you go straight at Myojin junction, he trail approaches on the right. This is Shirosawa-deai and the entrance to Tokugou pass. The wide logging road continues along the stream of Shirosawa. The fresh greenery or autumn leaves along the trail are beautiful. About one hour, the logging road ends. Enter the hiking trail on your left. When you cross the branch stream where the water level is high, the trail starts ascending the right bank of Kurosawa. The slope becomes steep so walk at a steady pace to avoid over-exhaustion. When the slope becomes much steeper, the trail goes in a wide zigzag pattern. After ascending for one hour from the end of the logging road, the trail meets the stream, converging with a few cold streams. The last place to replenish your water supply will be reached when the slope becomes much steeper.
After passing the place to replenish your water supply, the trail goes around the middle of the mountains. The trail meets the road sign “800 m to Tokugou Pass”. When you pass here, the slope becomes slightly gradual. The junction to Mt. Kasumizawa-dake will be reached after you pass the dried up stream. Tokugo pass in one uphill away. It is recommended to stay at Tokugo-touge-koya Mountain Hut at the pass.
This route is scheduled as one night and two days, so you must start early on the next day. If you can schedule this trip as two nights and three days, you can make a round trip to the summit and stay at Tokugo-touge-koya Mountain Hut for another night. The second half of the trail from the hut to the summit is a bad road. At the time of your departure, if the weather is not suitable or is forecasted to be bad, you should consider not to visit the summit this time.
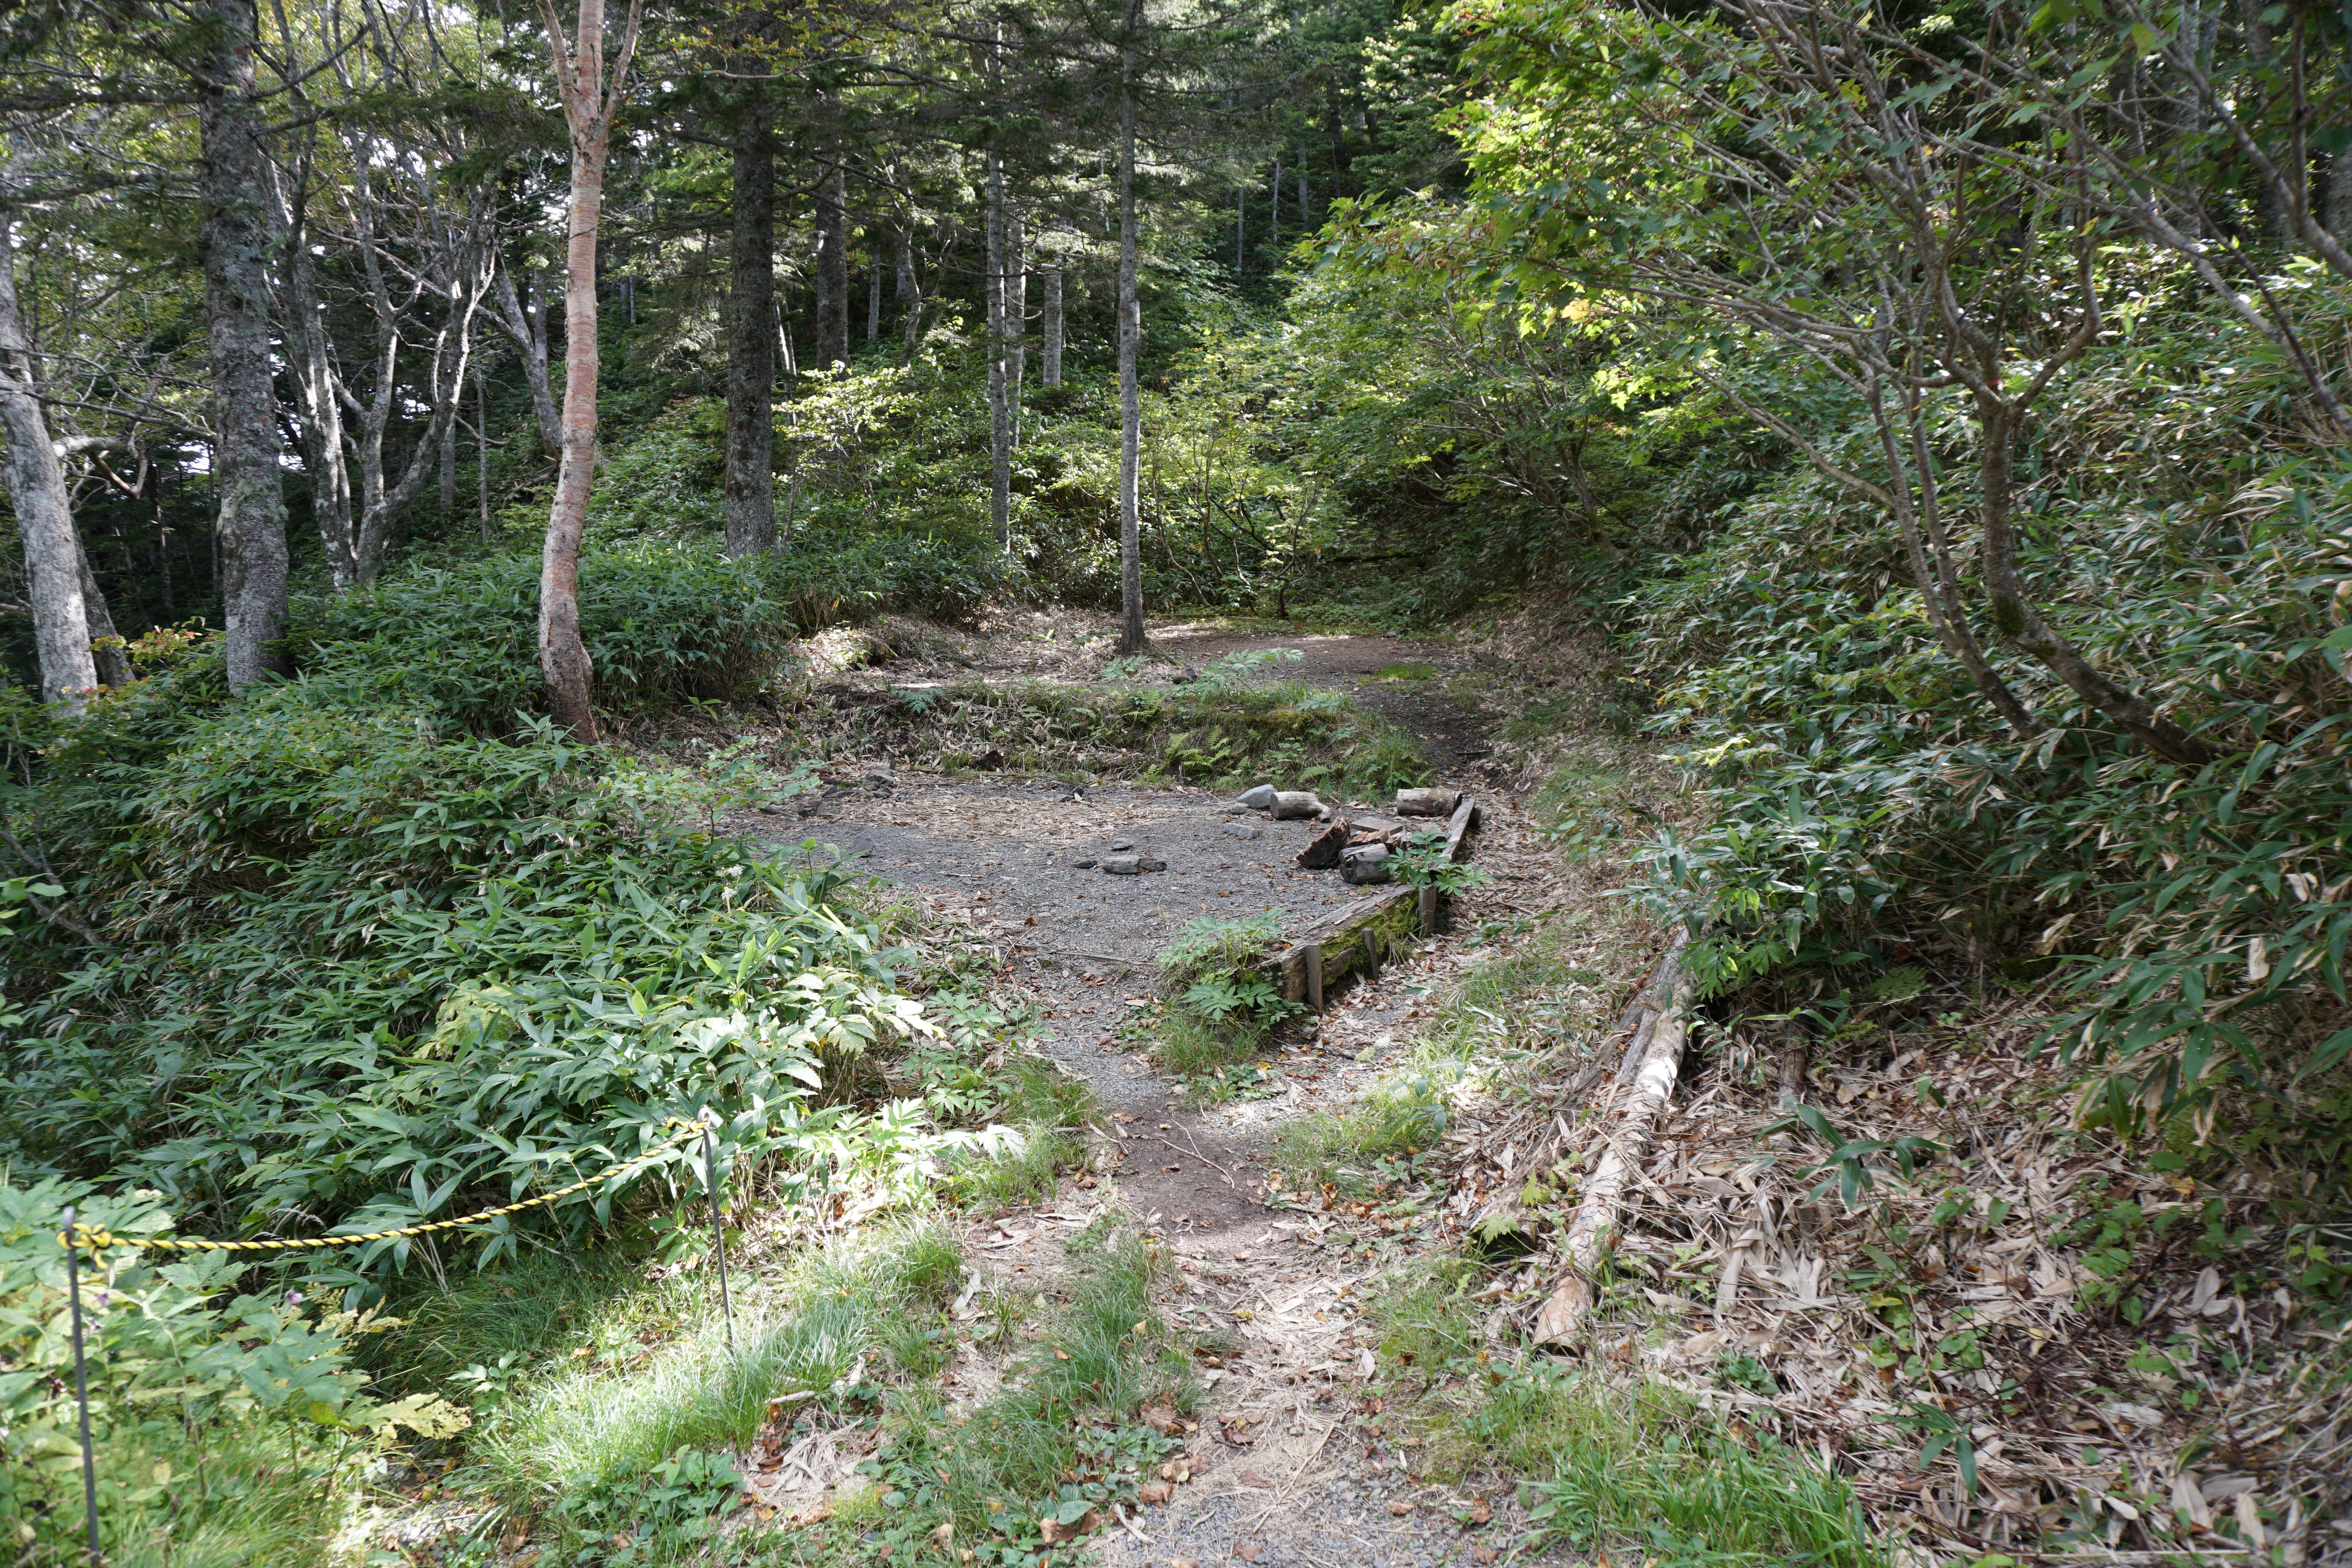
Kasumizawa-dake junction will be reached in five minutes of descending from Tokugo Pass. While passing the middle of the mountains from here, head towards the main ridgeline. When the trail gets on the main ridgeline, climb to Junction peak. Gain altitude while walking on the trail repeating zigzag patterns randomly. When you reach the east side of the ridgeline, you can see the mountains of Mt. Yatsu-gatake or the Central Japan Alps. Go back to the west side and gain altitude while hiking; you will come to the spot where the view of Mt. Myojin-dake and Hotaka mountains is phenomenal. This place is known as Studio Junction. The height might scare you here. From here, the very steep slopes continue. Take breaks while standing to pass those slopes. Take a wide turn and hike through the small grass field, and then the summit of Junction Peak will be reached. If you walk shortly south, there is an outlook standing. The view of the east side at the summit is great.
From Junction peak, descend the gradual slope. Around here, there might be some footprints to the left but do not follow them. Follow the correct route. Keep descending. The trail enters into the complicated ridgeline where double ridgelines run in parallel. The trail becomes uphill from the saddle after passing the small wetland. The view of the Hotaka mountains is great along the trail. The trail continues with small ups and downs. It comes to the cliff, where the rock wall on the Kasumizawa side collapsed. By this point, you might feel it hard to remain focused after long hours of hiking, however, you will really have to concentrate from here. Great caution must be exercised to move on.
Alpine plants such as Hakusan-furo or Lingularia dentata will encourage you to climb up the steep slope. When you pass that point, the ridgeline goes up and down gradually. When you pass the forest of Alder, you reach the climax of this trail, the very steep slope.
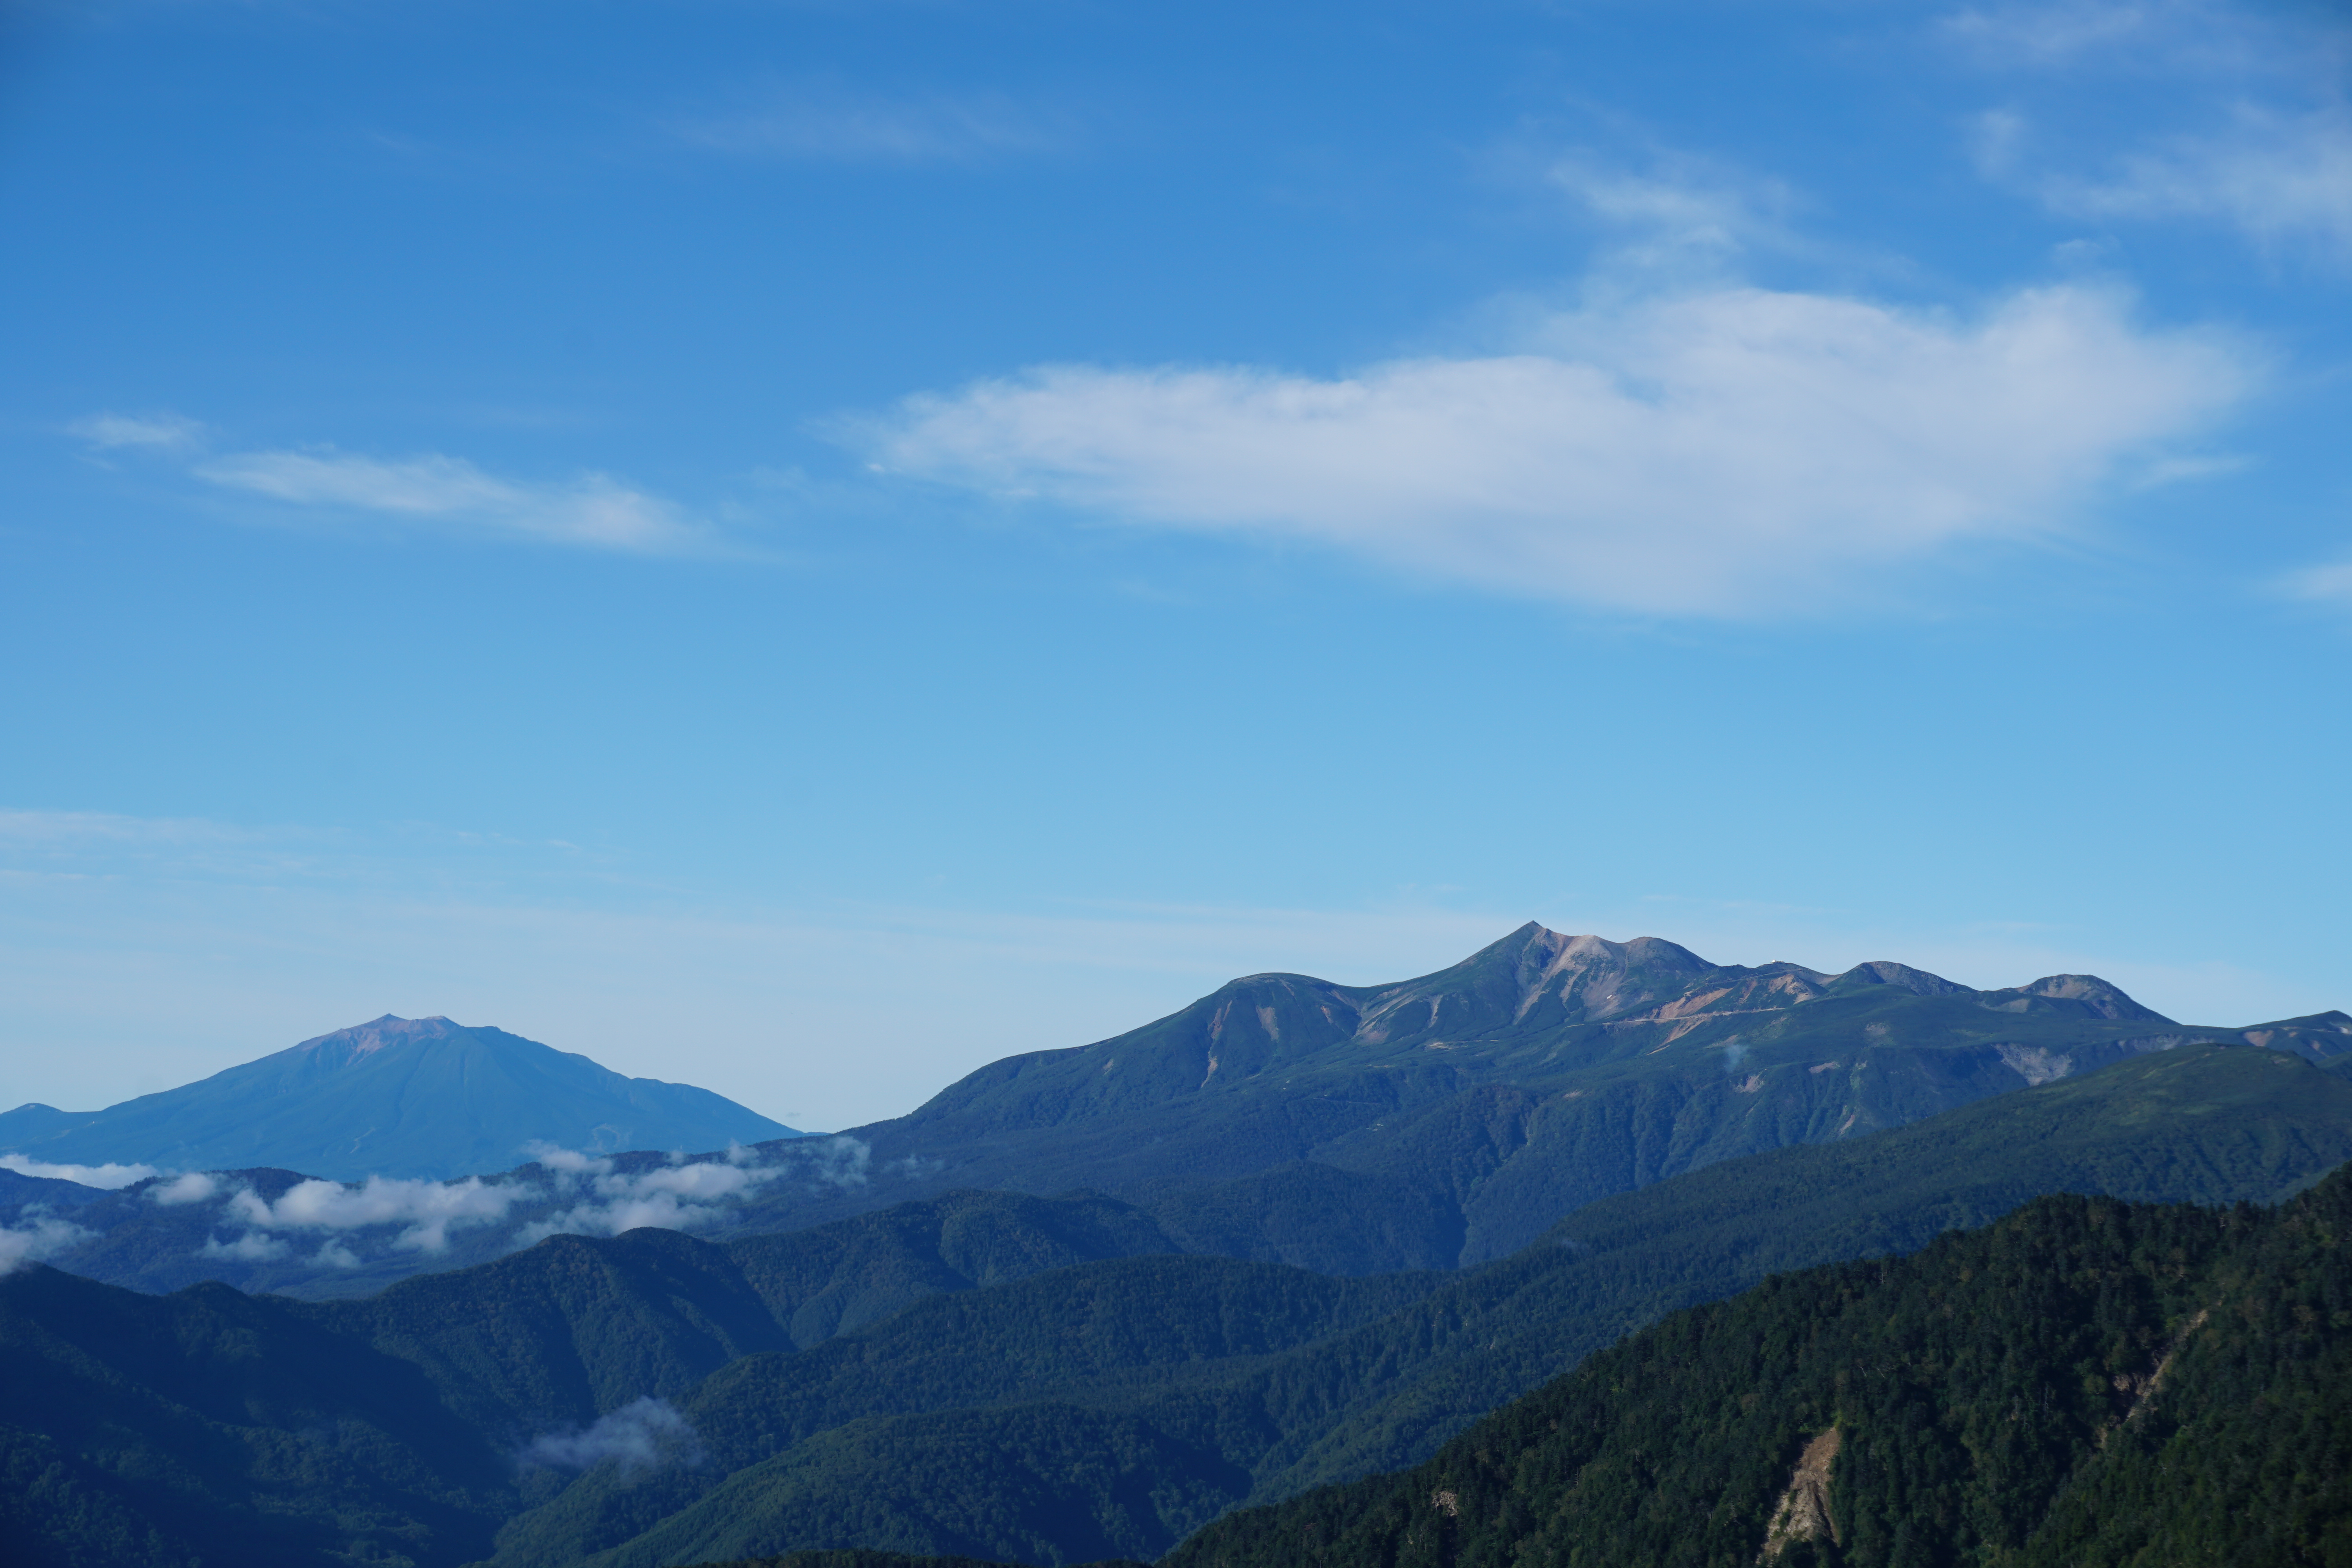
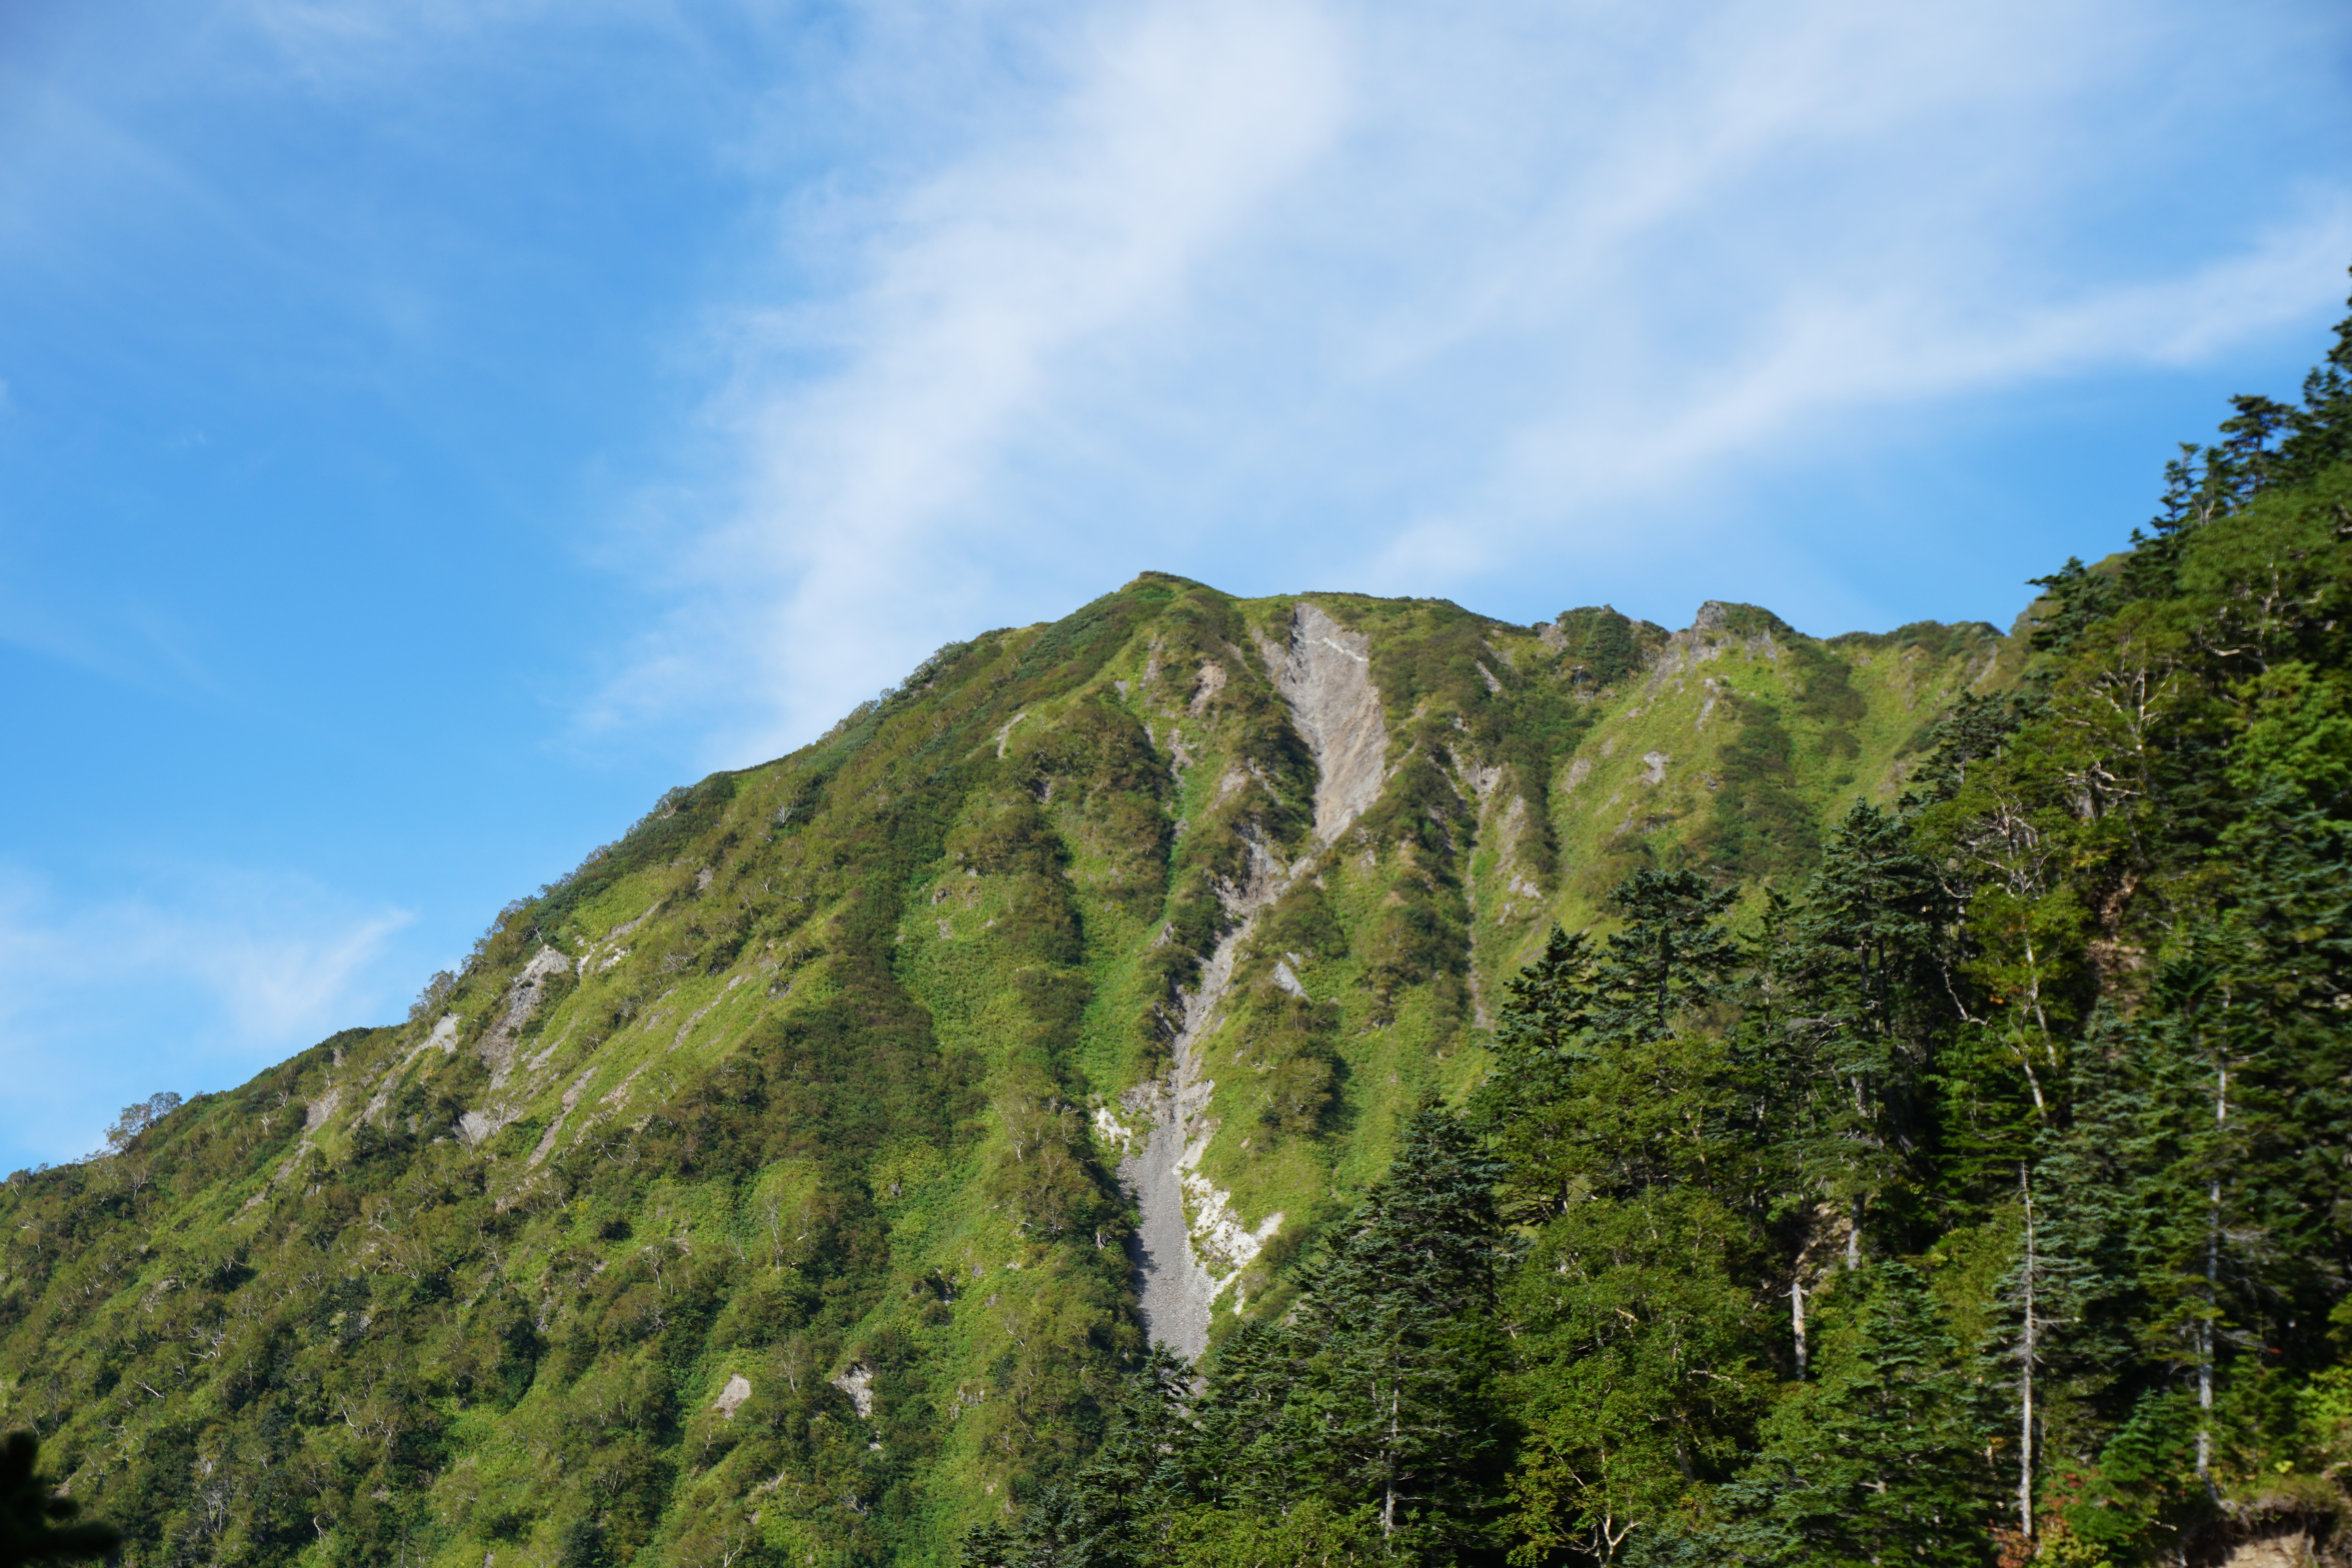
Traverse the rocky trail whose height that might scare you, and climb the cleft-like trail straight up. You need to be sure that three points out of four (your hands and feet) are always in contact with the wall being climbed. Hike with caution. K1 will be reached when you pass here successfully. The view suddenly opens up and at the peak, mountain areas of Central Japan can be seen. From here, descend shortly and ascend again for a while.
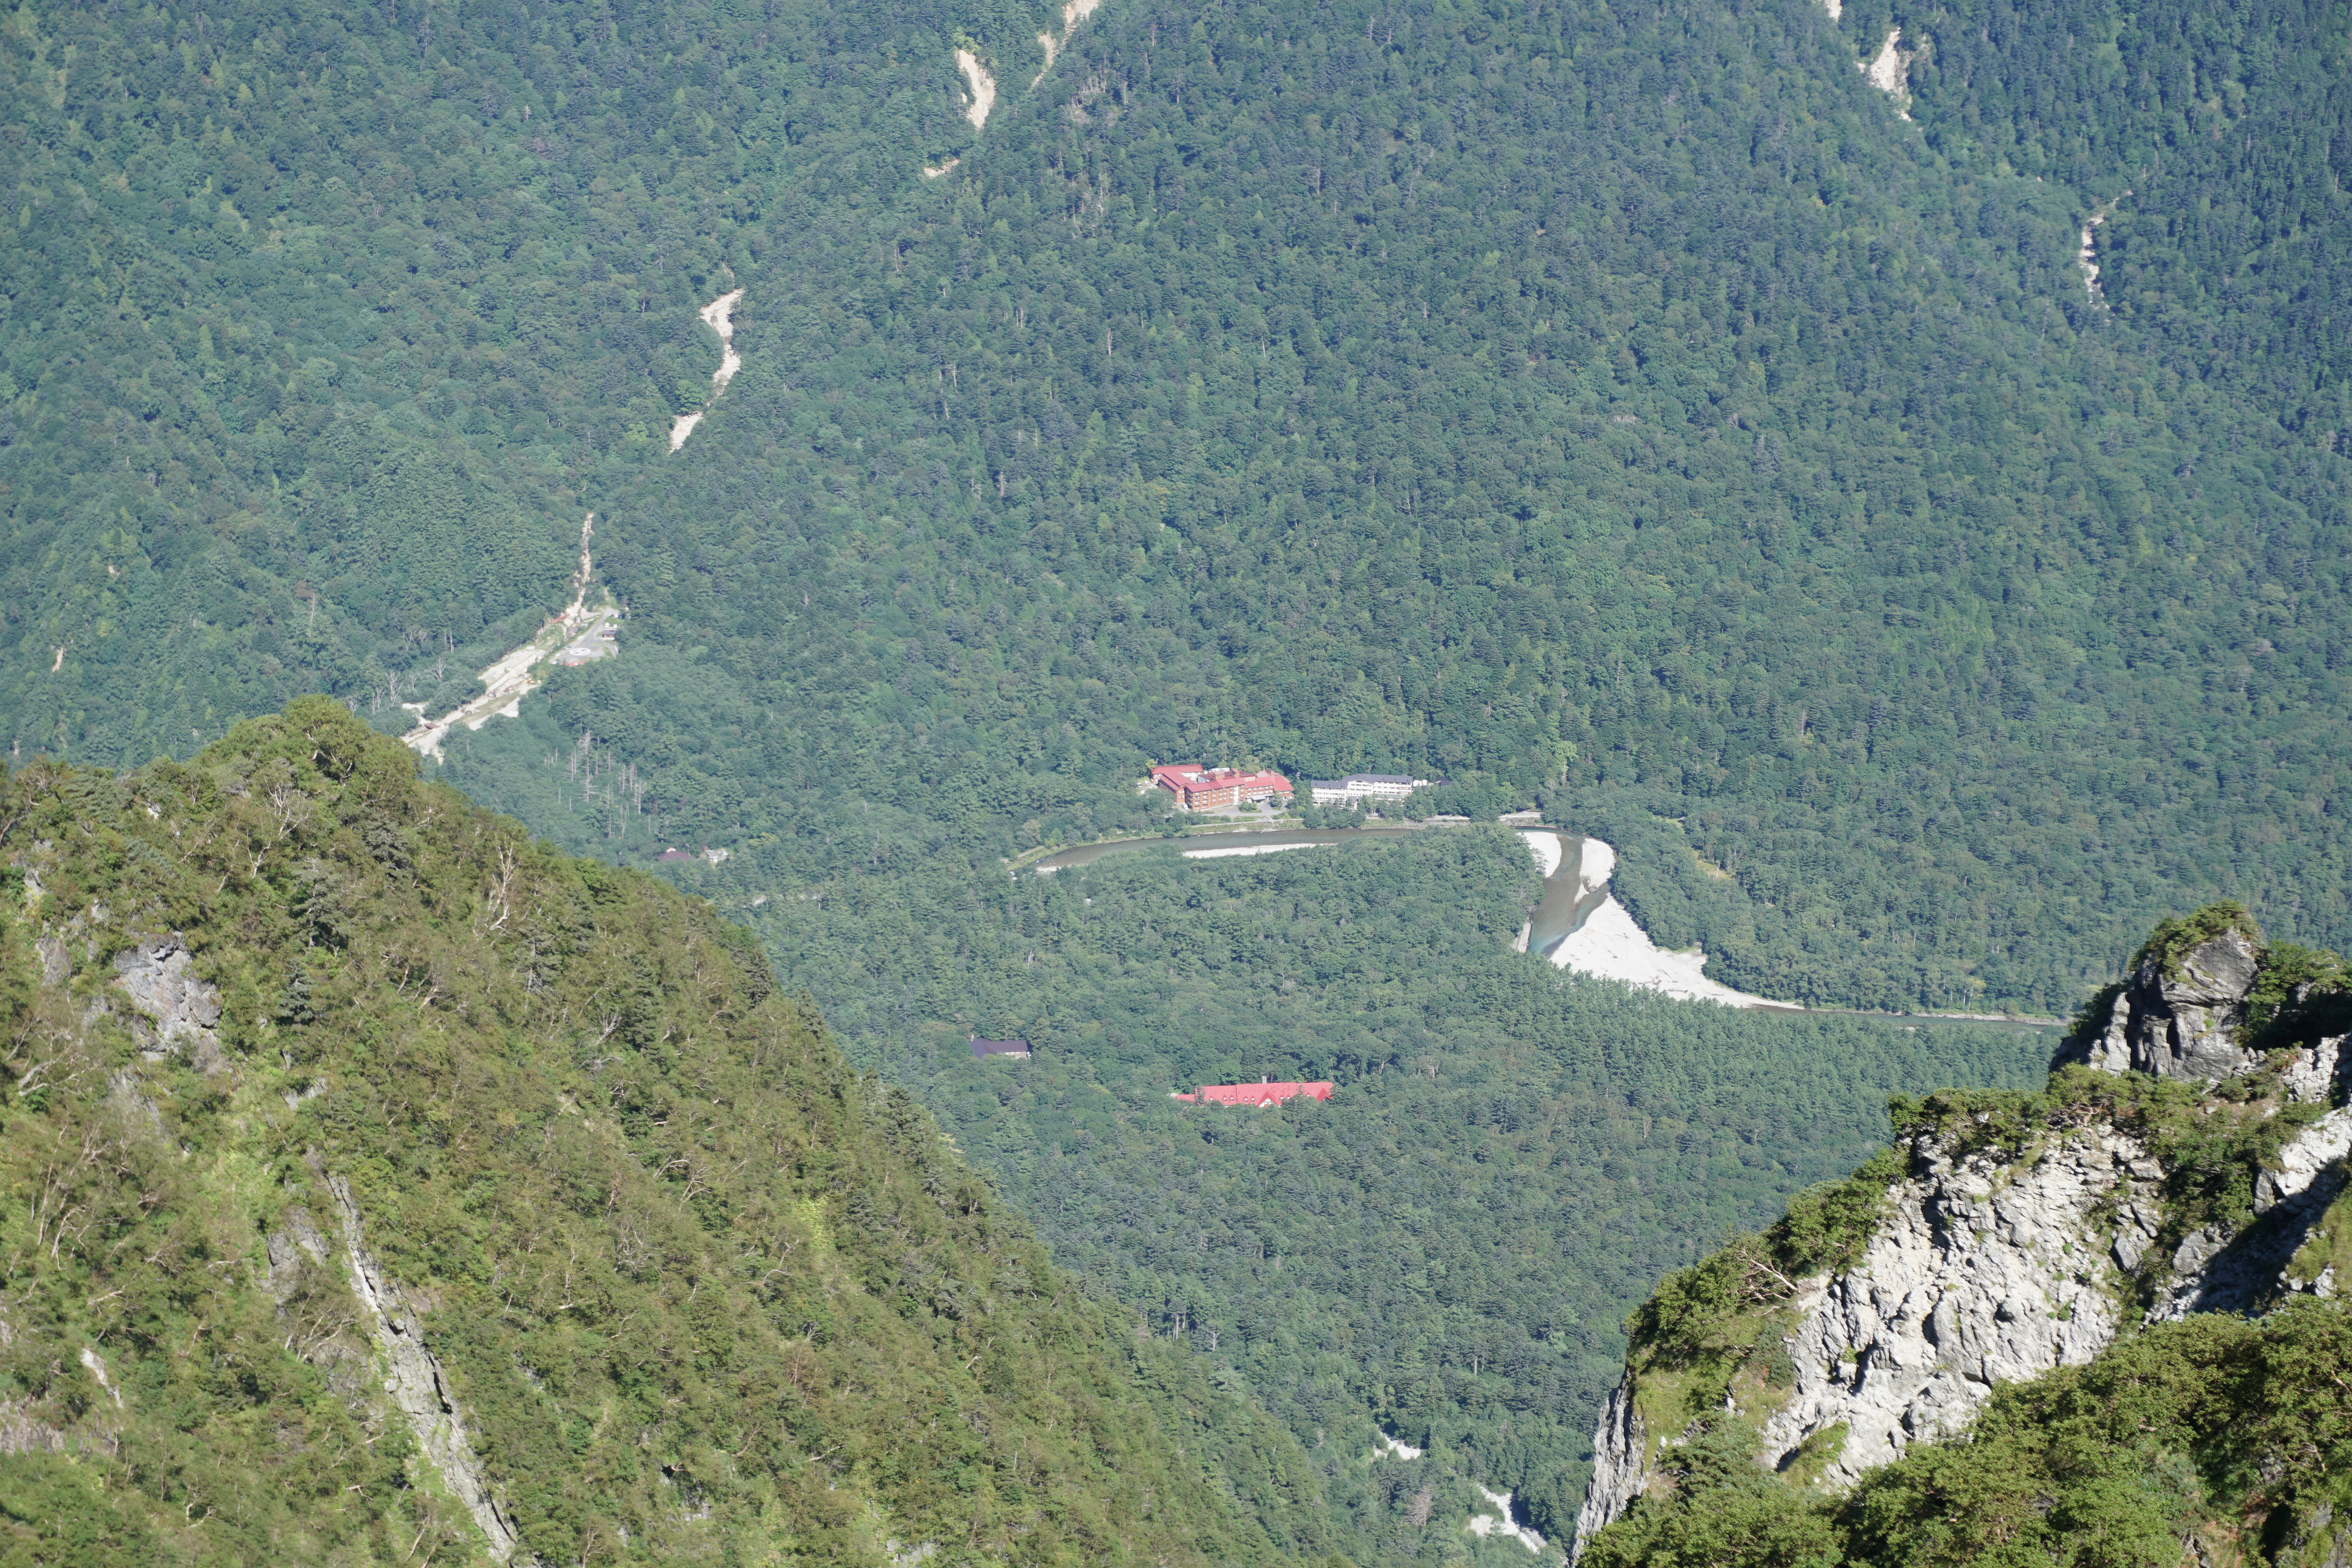
The side of Kasumizawa is the cliff, therefore, you should walk on the Kamikochi side of the ridgeline. Kamikochi Teikoku hotel can be seen below your feet. After passing a short rocky zone, K2 will be reached. In your direction, the summit of Mt. Kasumizawa-dake can be spotted. Just below the summit, climb on the side of Kasumizawa. The spot is beautiful with Hakusan-ichige or Shinano-kinbai in bloom. There is a 360-degree view at the summit. It can be said that all the high mountains in the central mountain areas are seen. Stay as long as possible. To descend, return on the same route used for ascending to Kami-kochi. Great attention must be paid especially while descending through K1 point.