Kita-hotaka-dake Karasawa Route
Kami-kochi ~ Yoko ~ Kara-sawa ~ South ridge starting point ~ Mt. Kita-hodaka-dake ~ South ridge starting point ~ Kara-sawa ~ Yoko ~ Kami-kochi
Technical level: D
Physical strength: 7
Difficulty: ★★★★
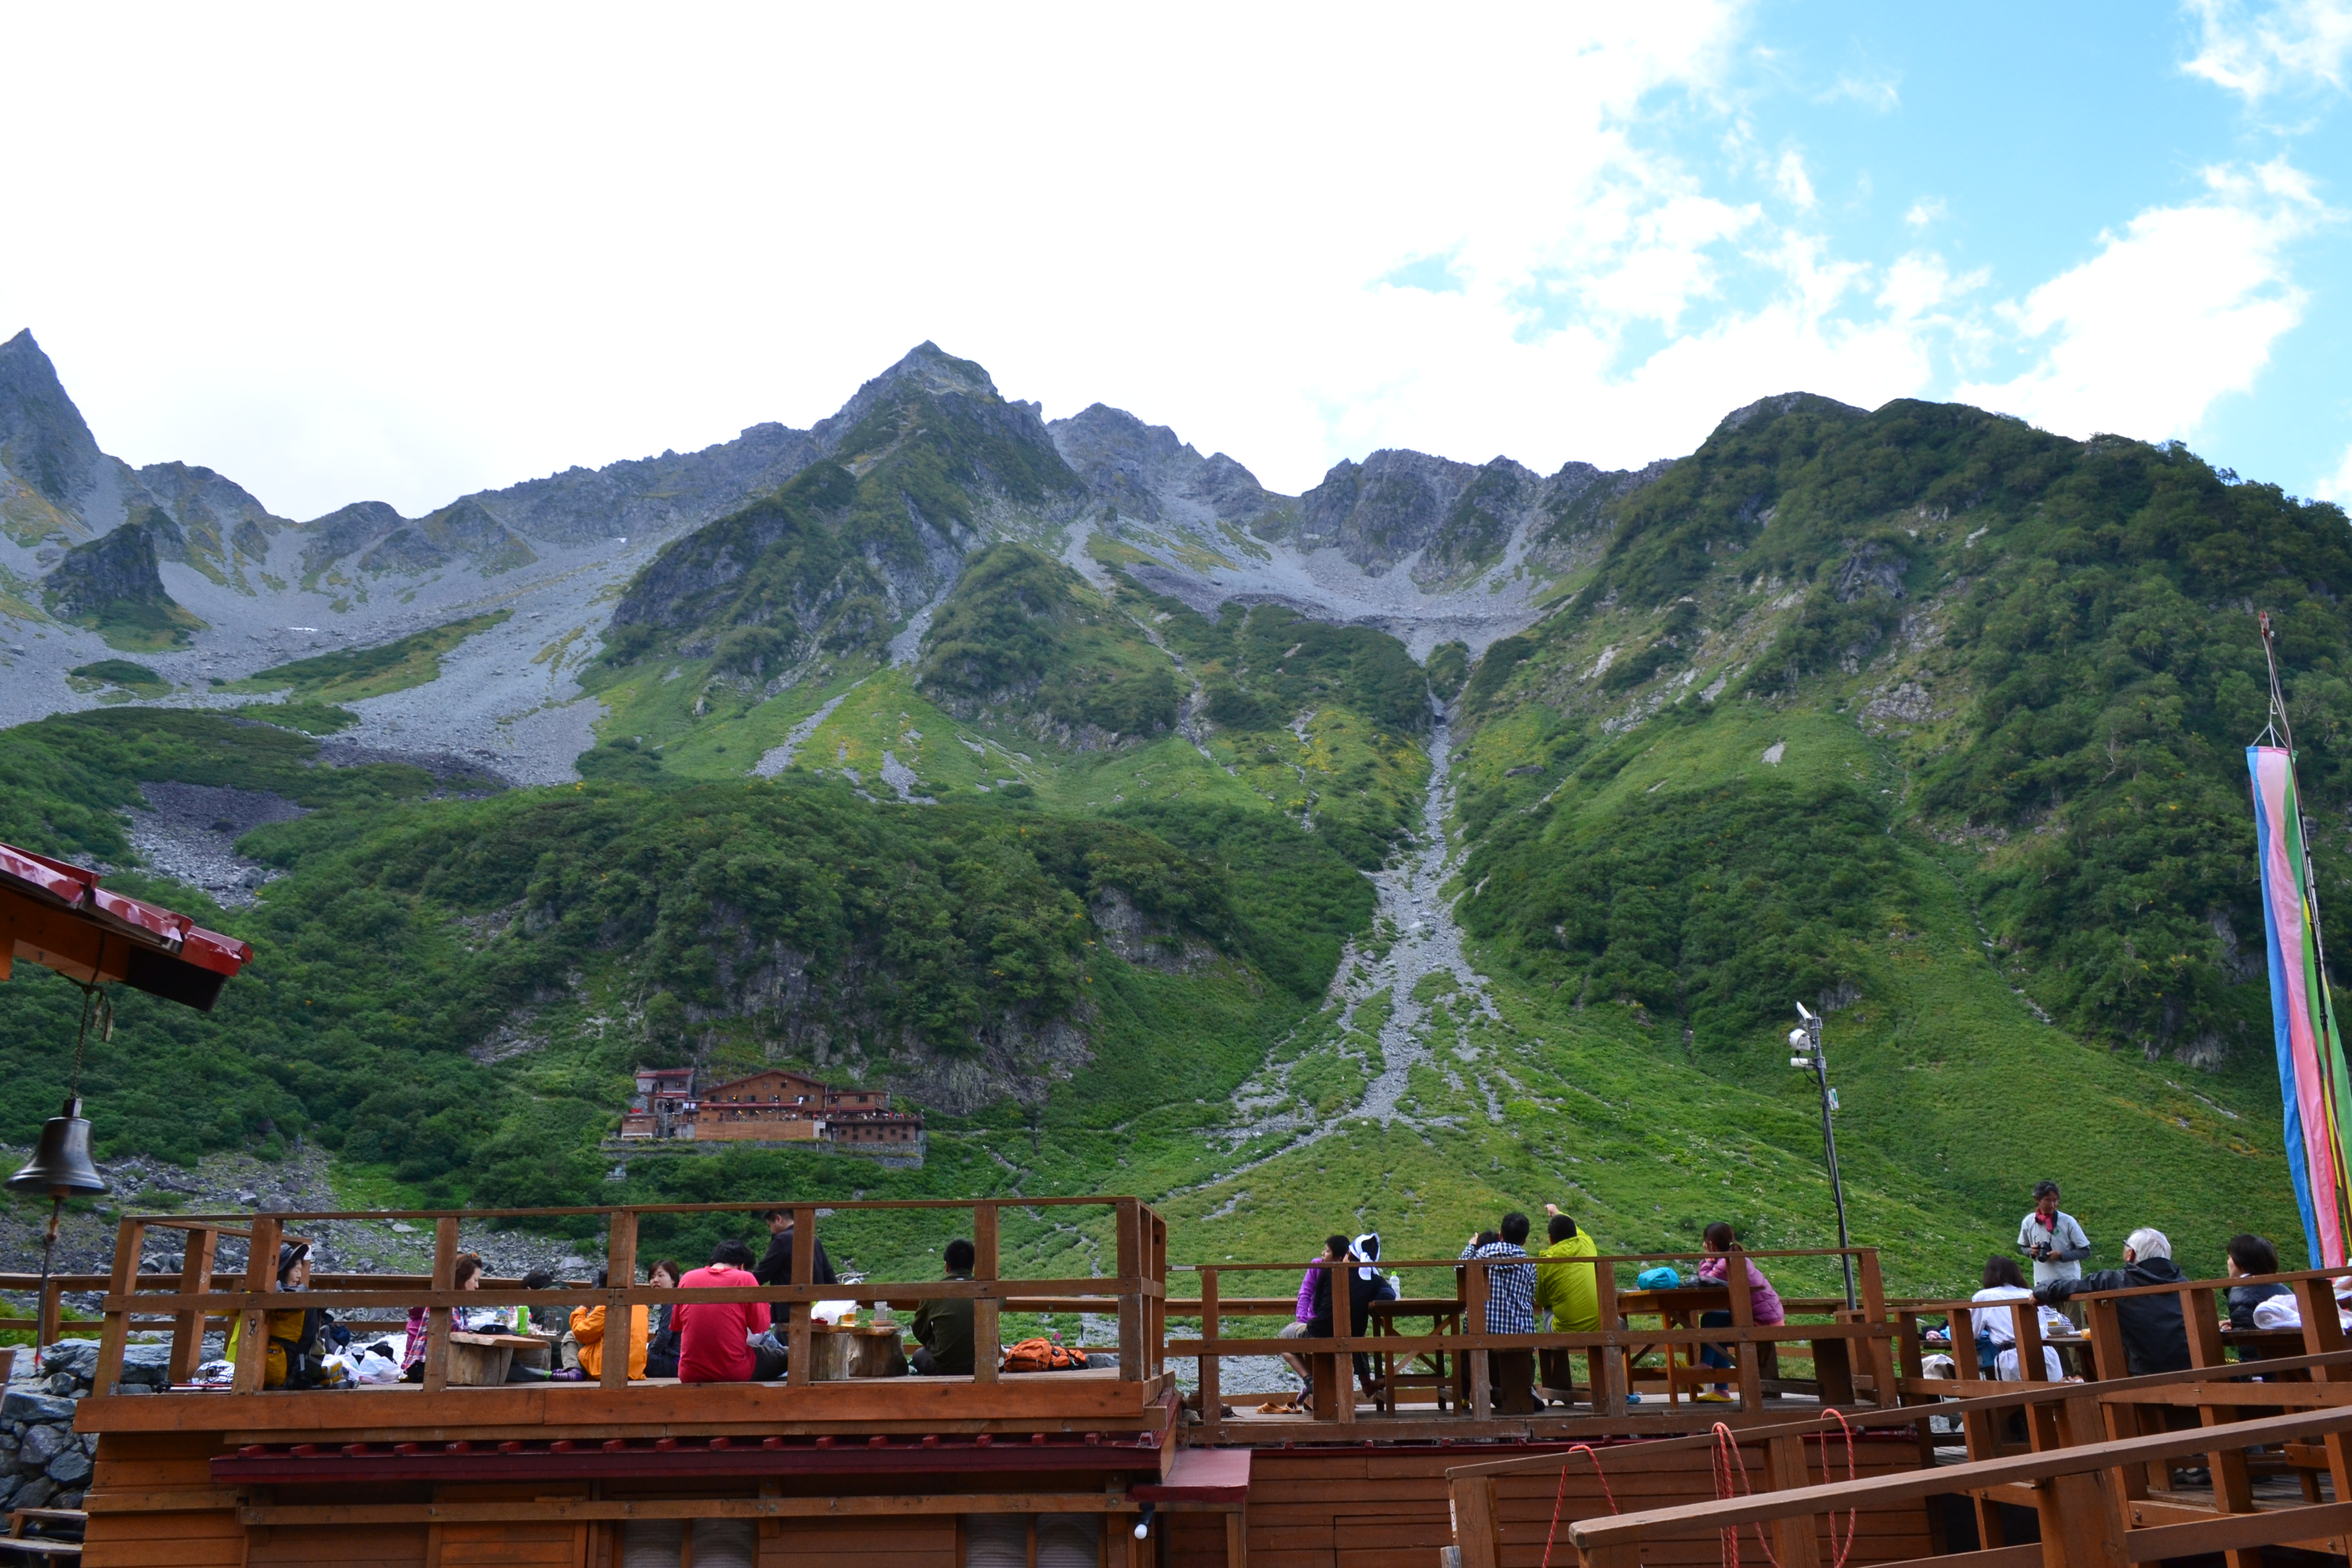
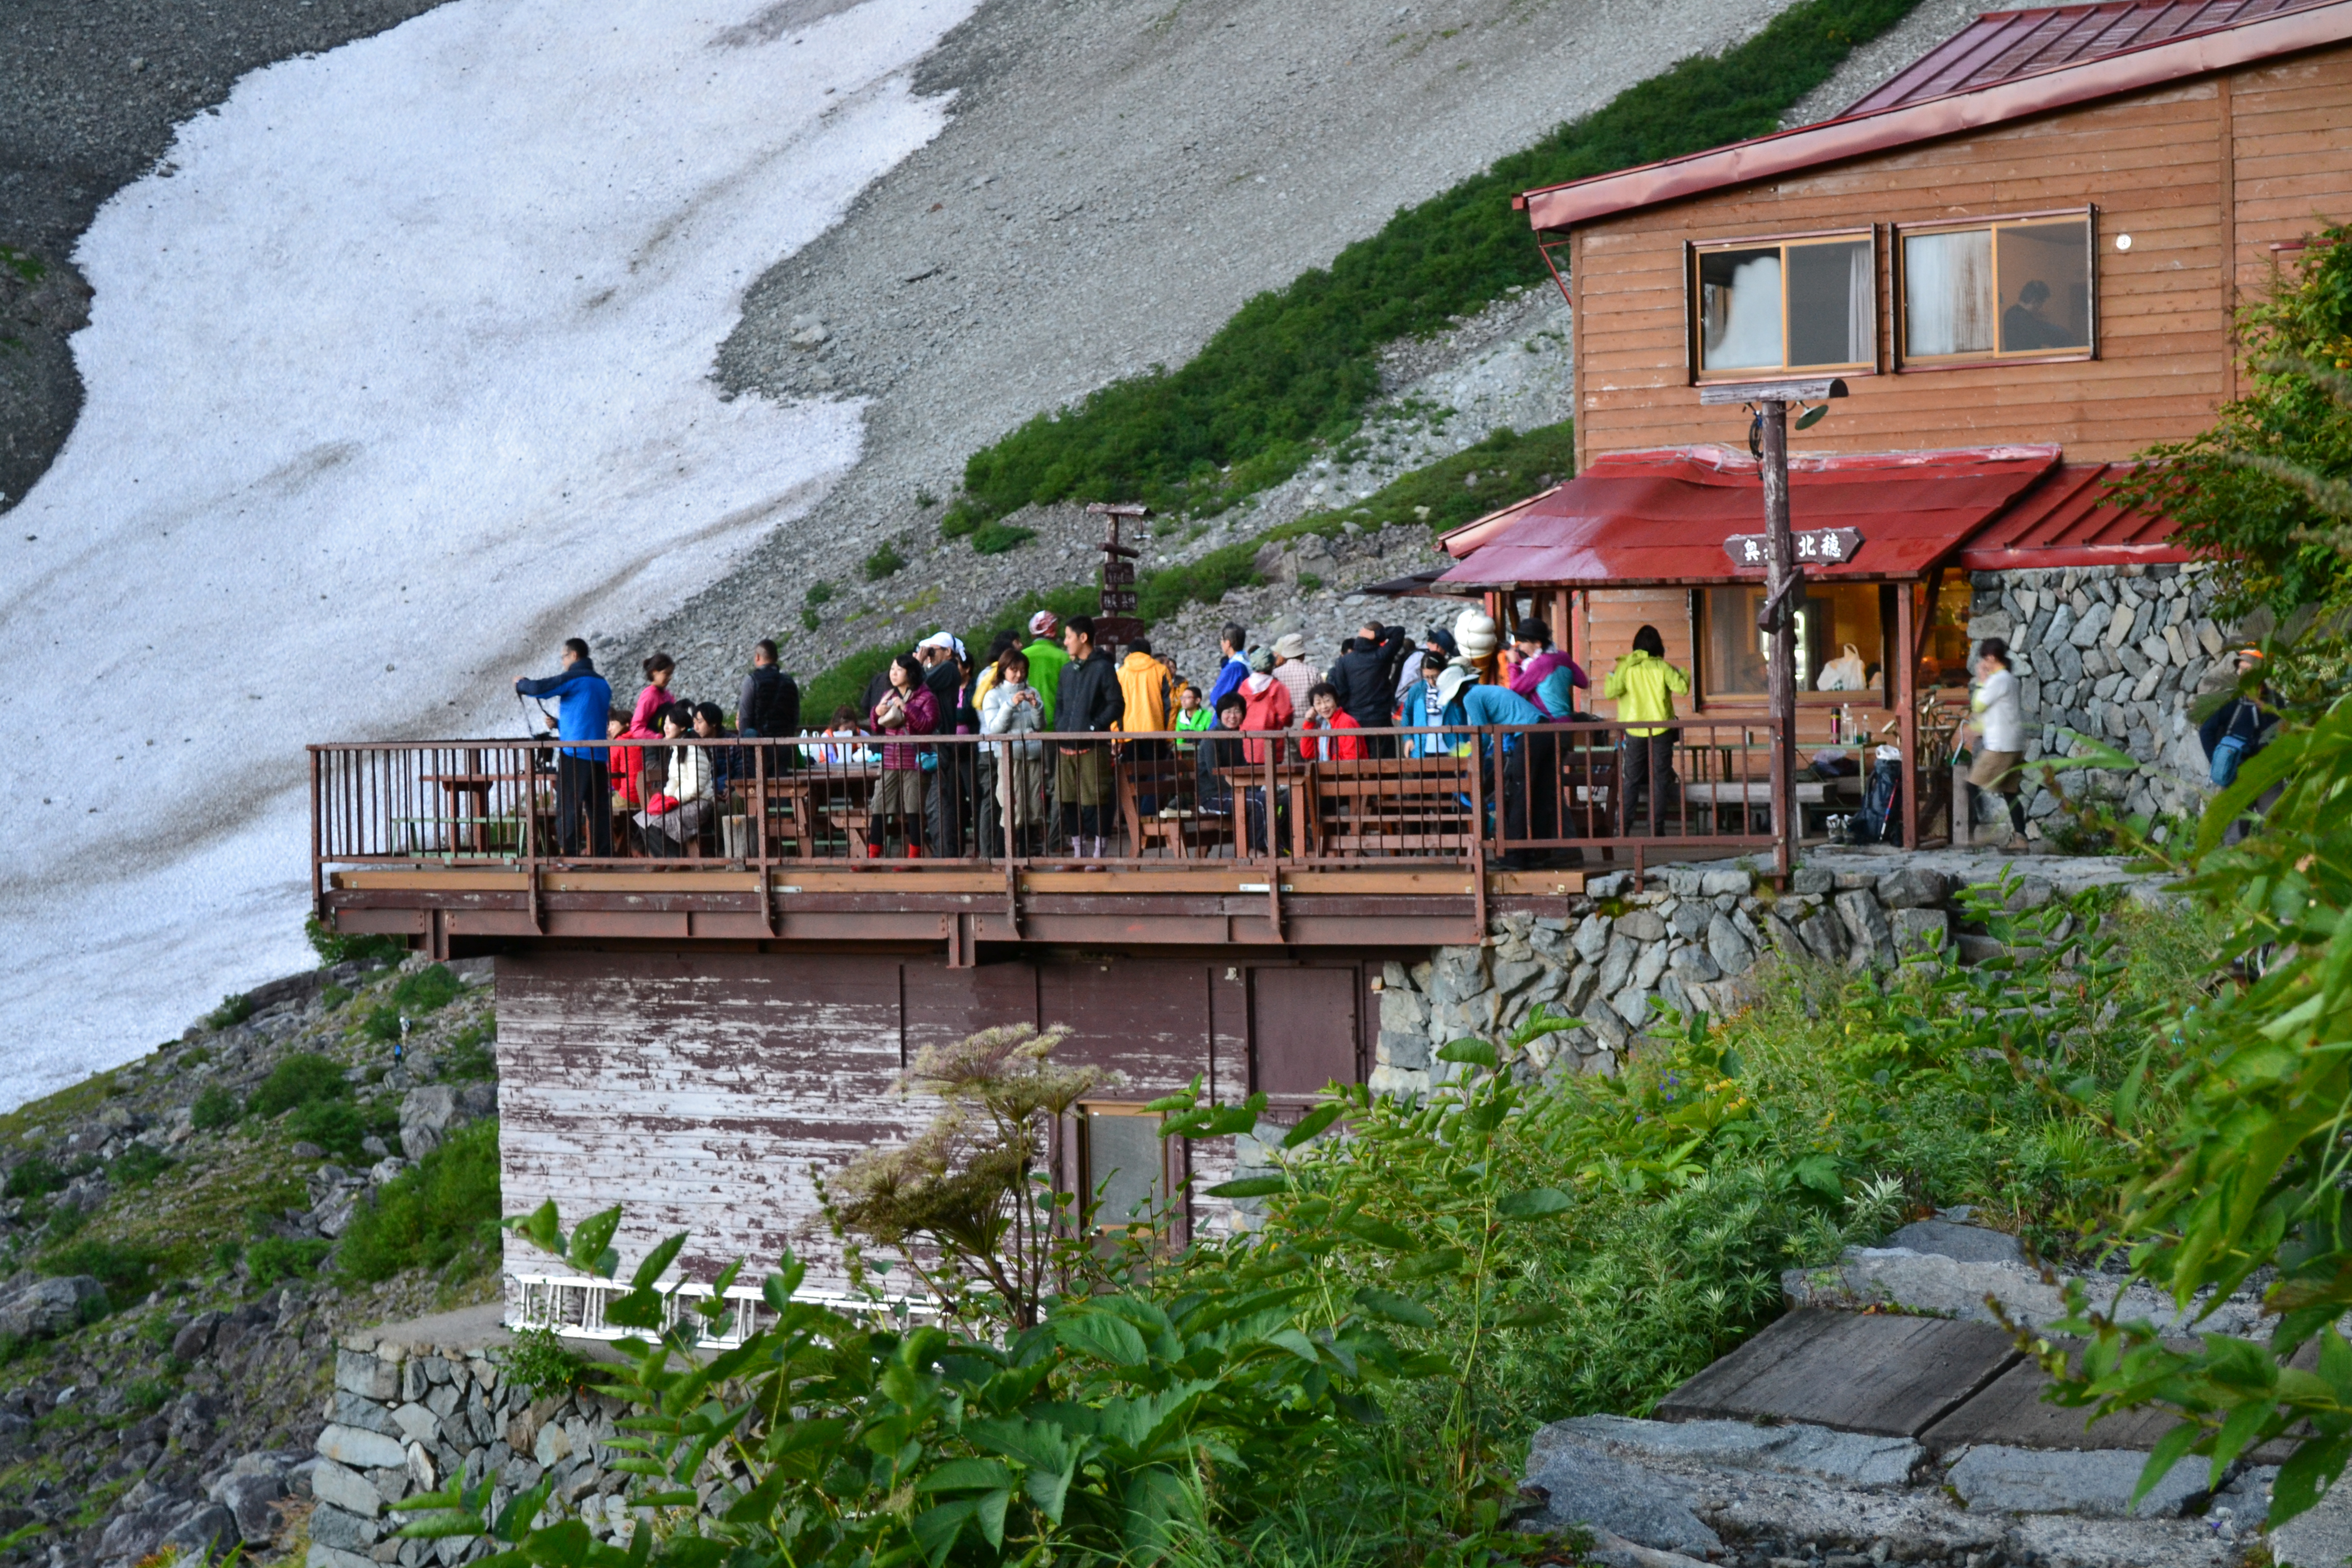
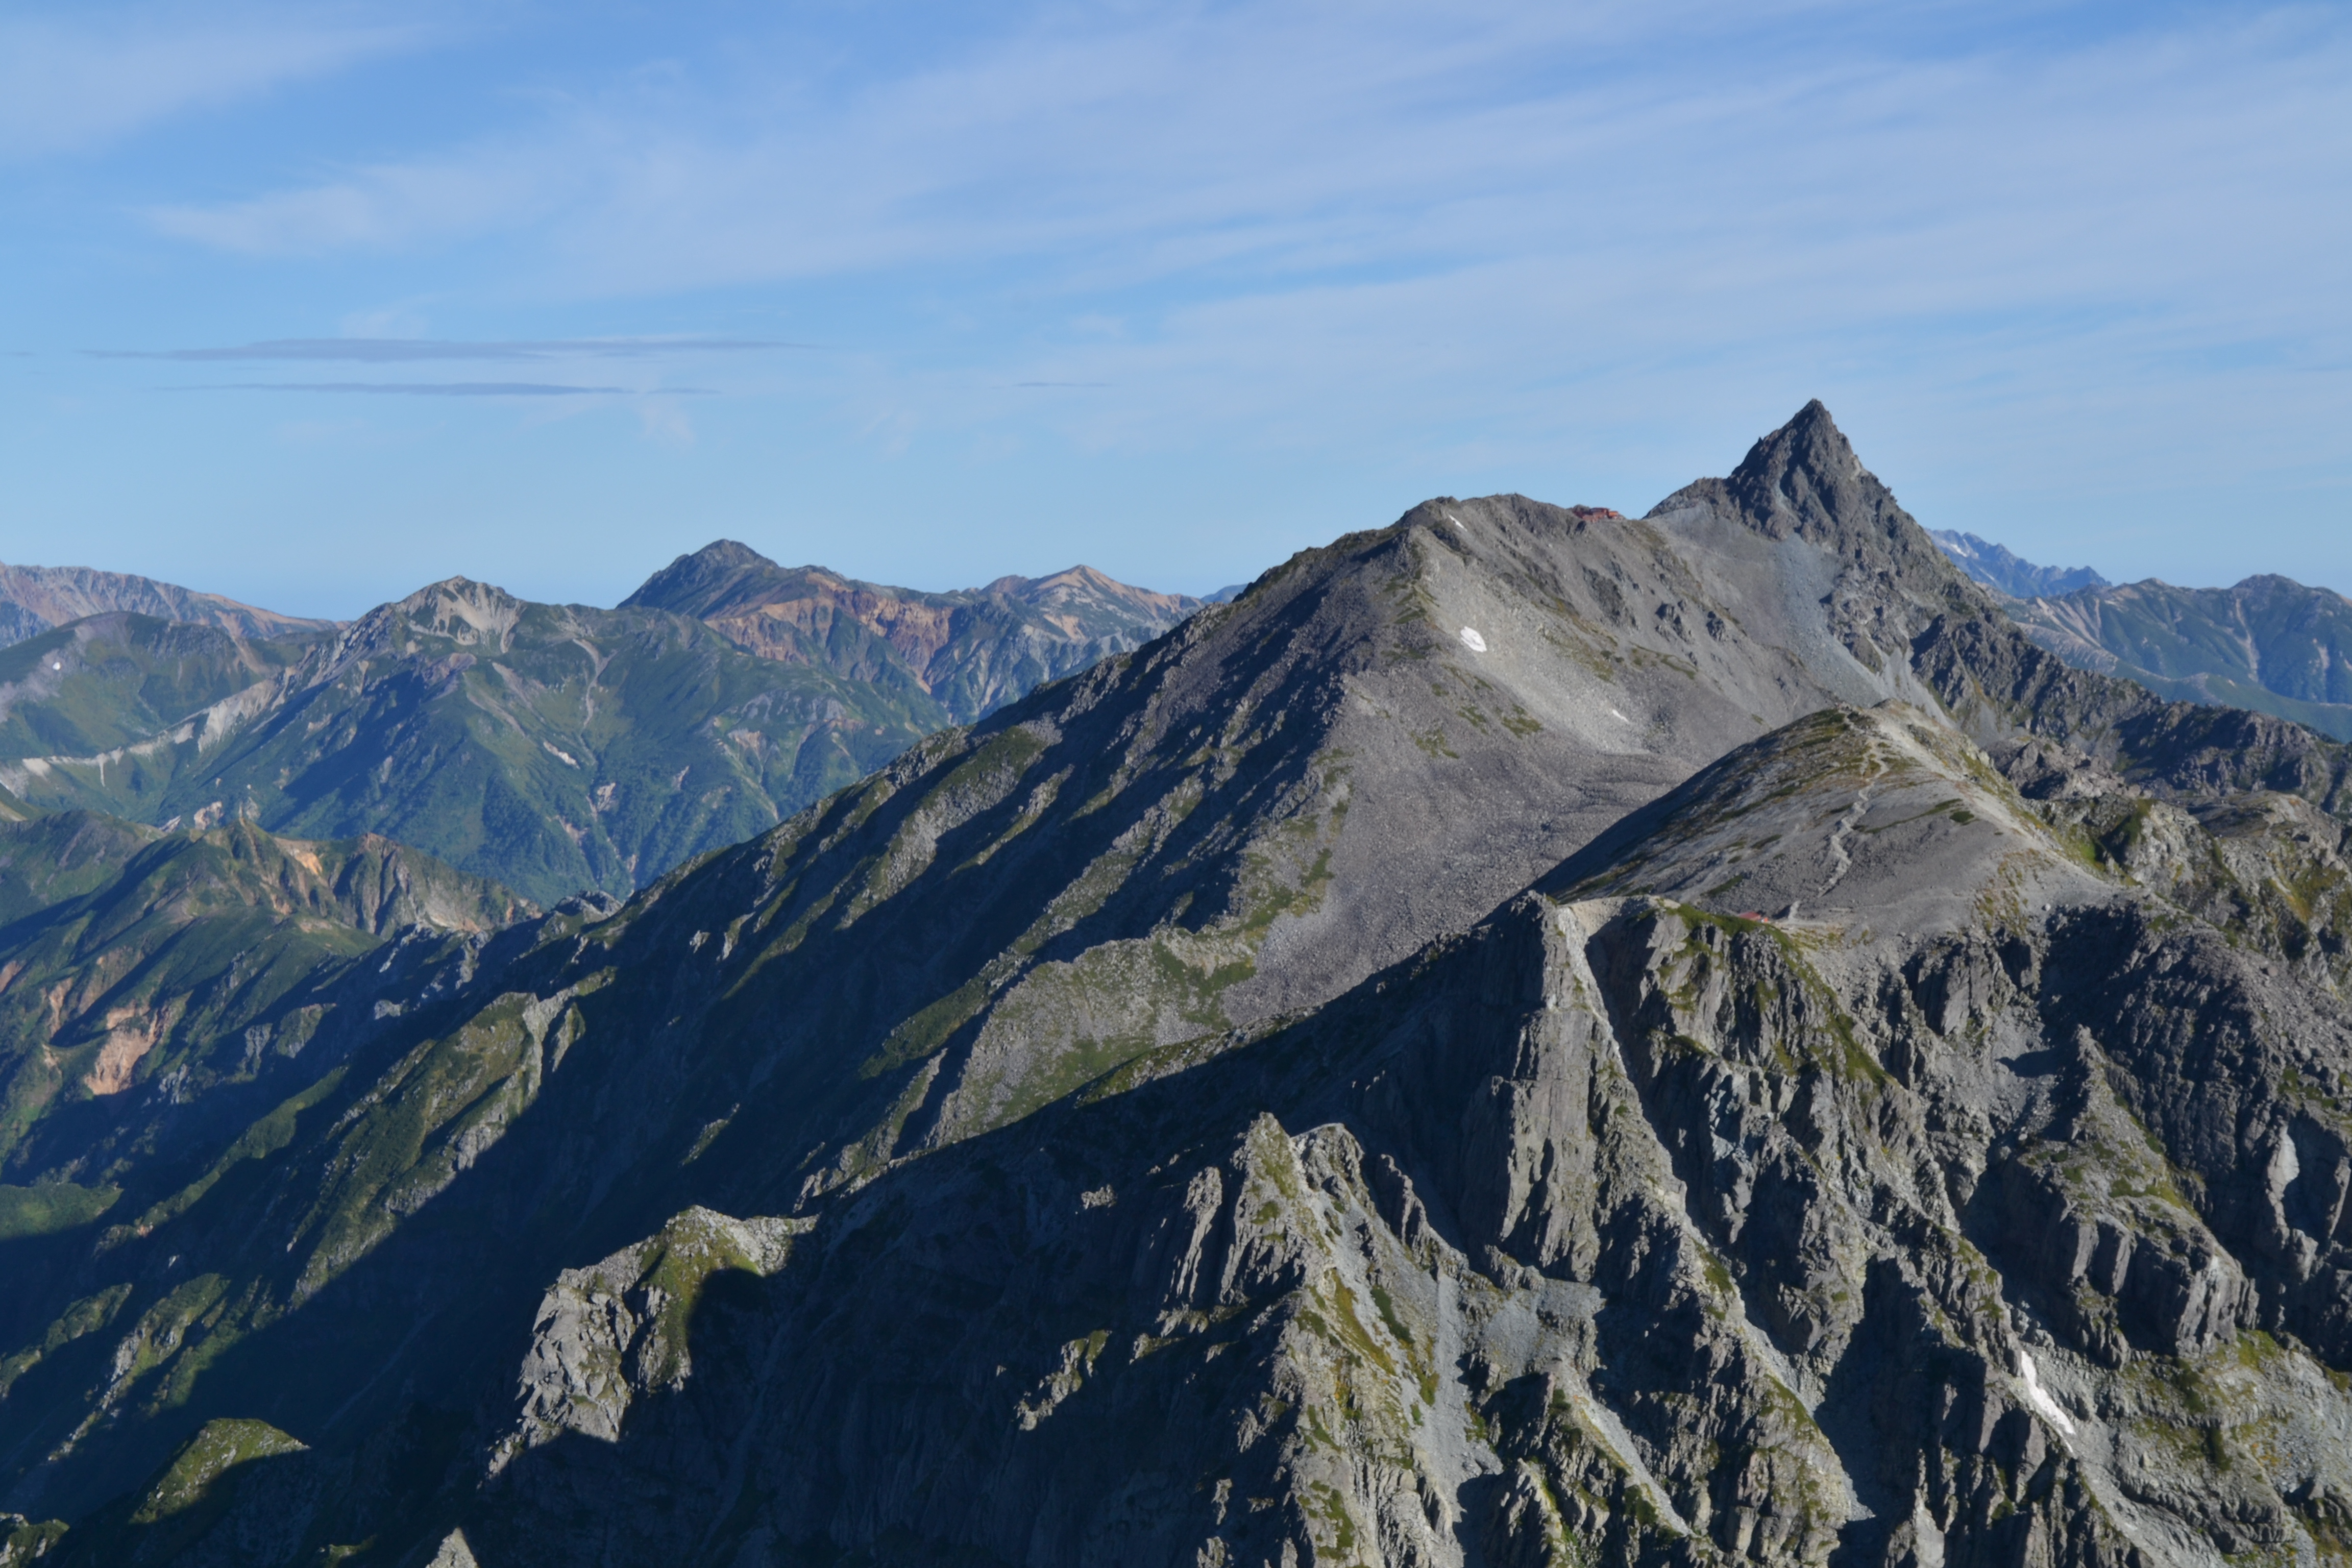
The view of Mt. Kita-hodaka-dake, looked upon from Kara-sawa-, is so dignified that it motivates ones will to climb. When you reach the south ridge starting point, the view suddenly opens up. Kita-hodaka-koya Mountain hut, built on the summit, is a popular hut at the highest altitude among the North Japan Alps.
Hiking Data
Schedule: One night and two days or two nights and three days
Walking hours: 16 hours and 35 minutes
(Up: 9 hours 30 minutes Down: 7 hours 5 minutes)
Walking distance: 35 km
Cumulative elevation difference: 2,307 m
Kami-kochi

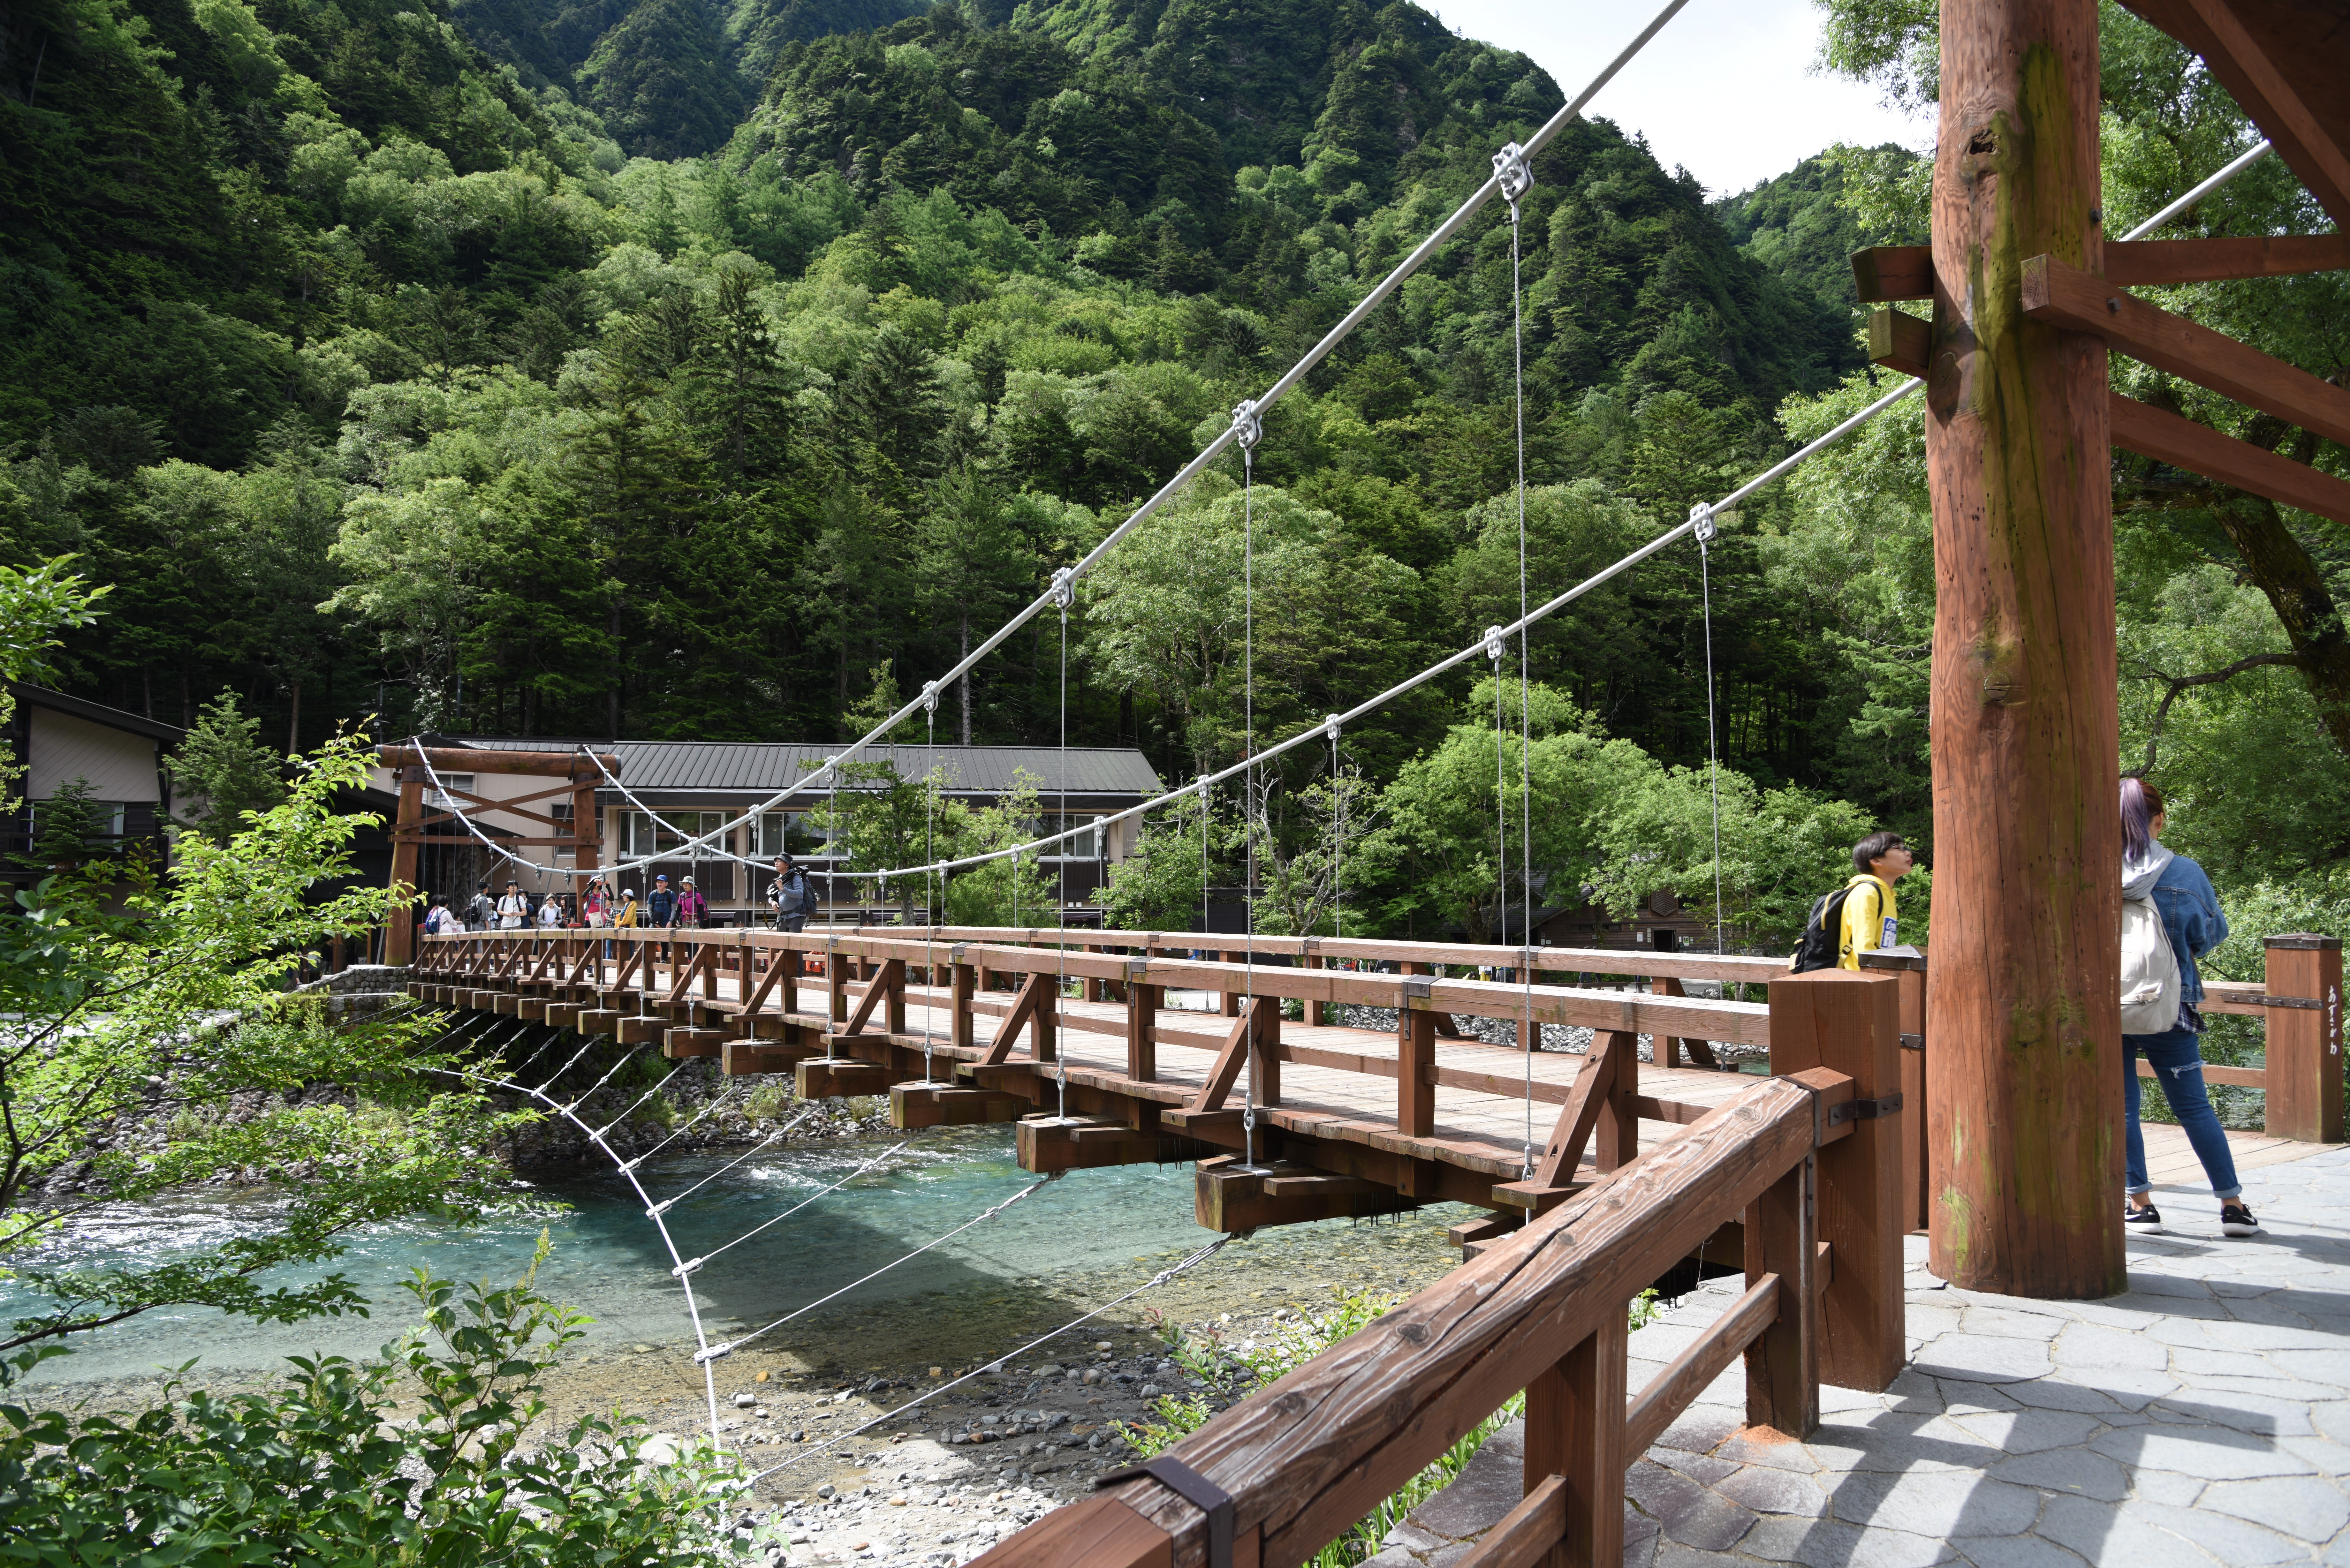
Elevation 1,505m
↓ 2 hours
Tokusawa
Elevation 1,562m
↓ 1 hour 10 minutes
Yoko
Elevation 1,620m
↓ 3 hours
Kara-sawa
Elevation 2,309m
↓ 1 hour 20 minutes
South Ridge Starting Point
Elevation 2,650m
↓ 2 hours
Mt. Kita-hodaka-dake

Elevation 3,106m
↓ 1 hour
South Ridge Starting Point
Elevation 2,650m
↓ 45 minutes
Kara-sawa
Elevation 2,309m
↓ 2 hours
Yoko
Elevation 1,620m
↓ 3 hours 10 minutes
Kami-kochi
Elevation 1,505m
Route Guide
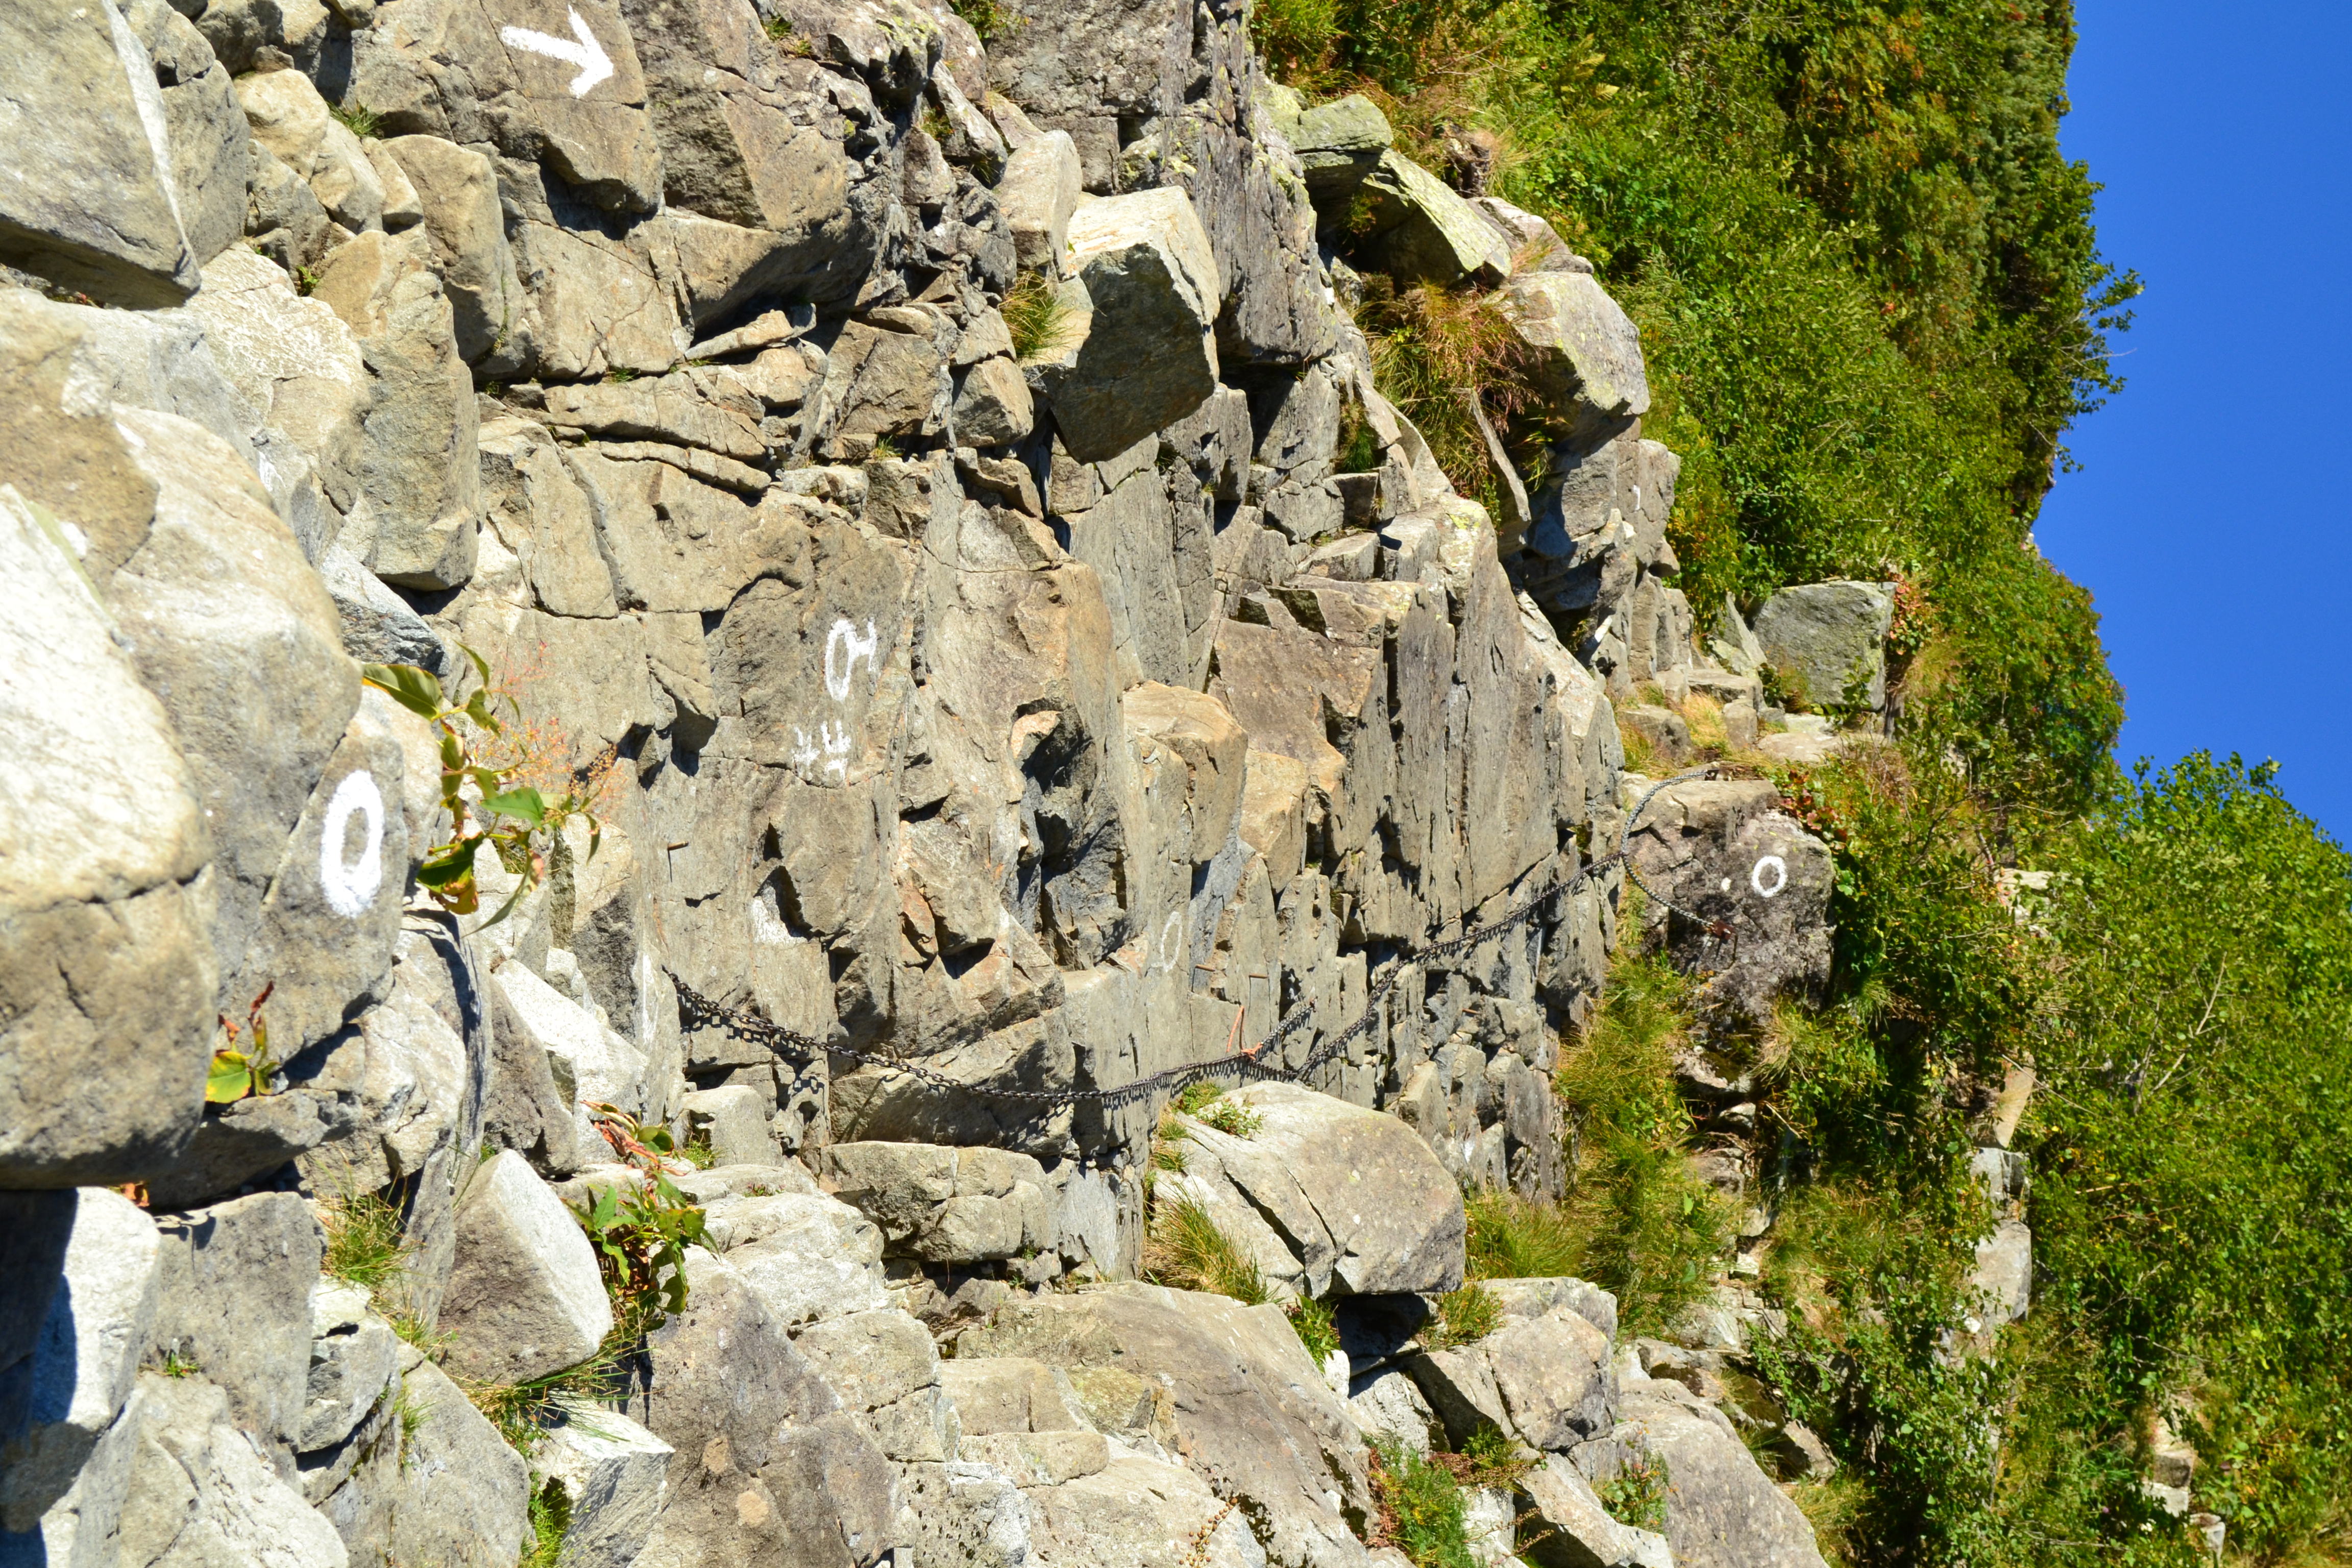
Refer to the previous page, from Mt. Okuhodaka-dake to Mt. Maehodaka-dake, for the route to Karasawa. Mt. Kitahodaka-dake stands behind Karasawa-koya Mountain hut. Start climbing on the trail along Kitaho-sawa, which starts from the side of Karasawa-koya Mountain hut. It is a steep slope, so maintain a steady pace. When the trail separates from Kitaho-sawa and ascends in a zigzag pattern, it enters into a flower field. It is a gravel trail, so be careful not to slip. When you look back, you can see Karasawa camping site in the distance. At the rock with a big “pain” mark, follow the sign to the left. The slope becomes much steeper.
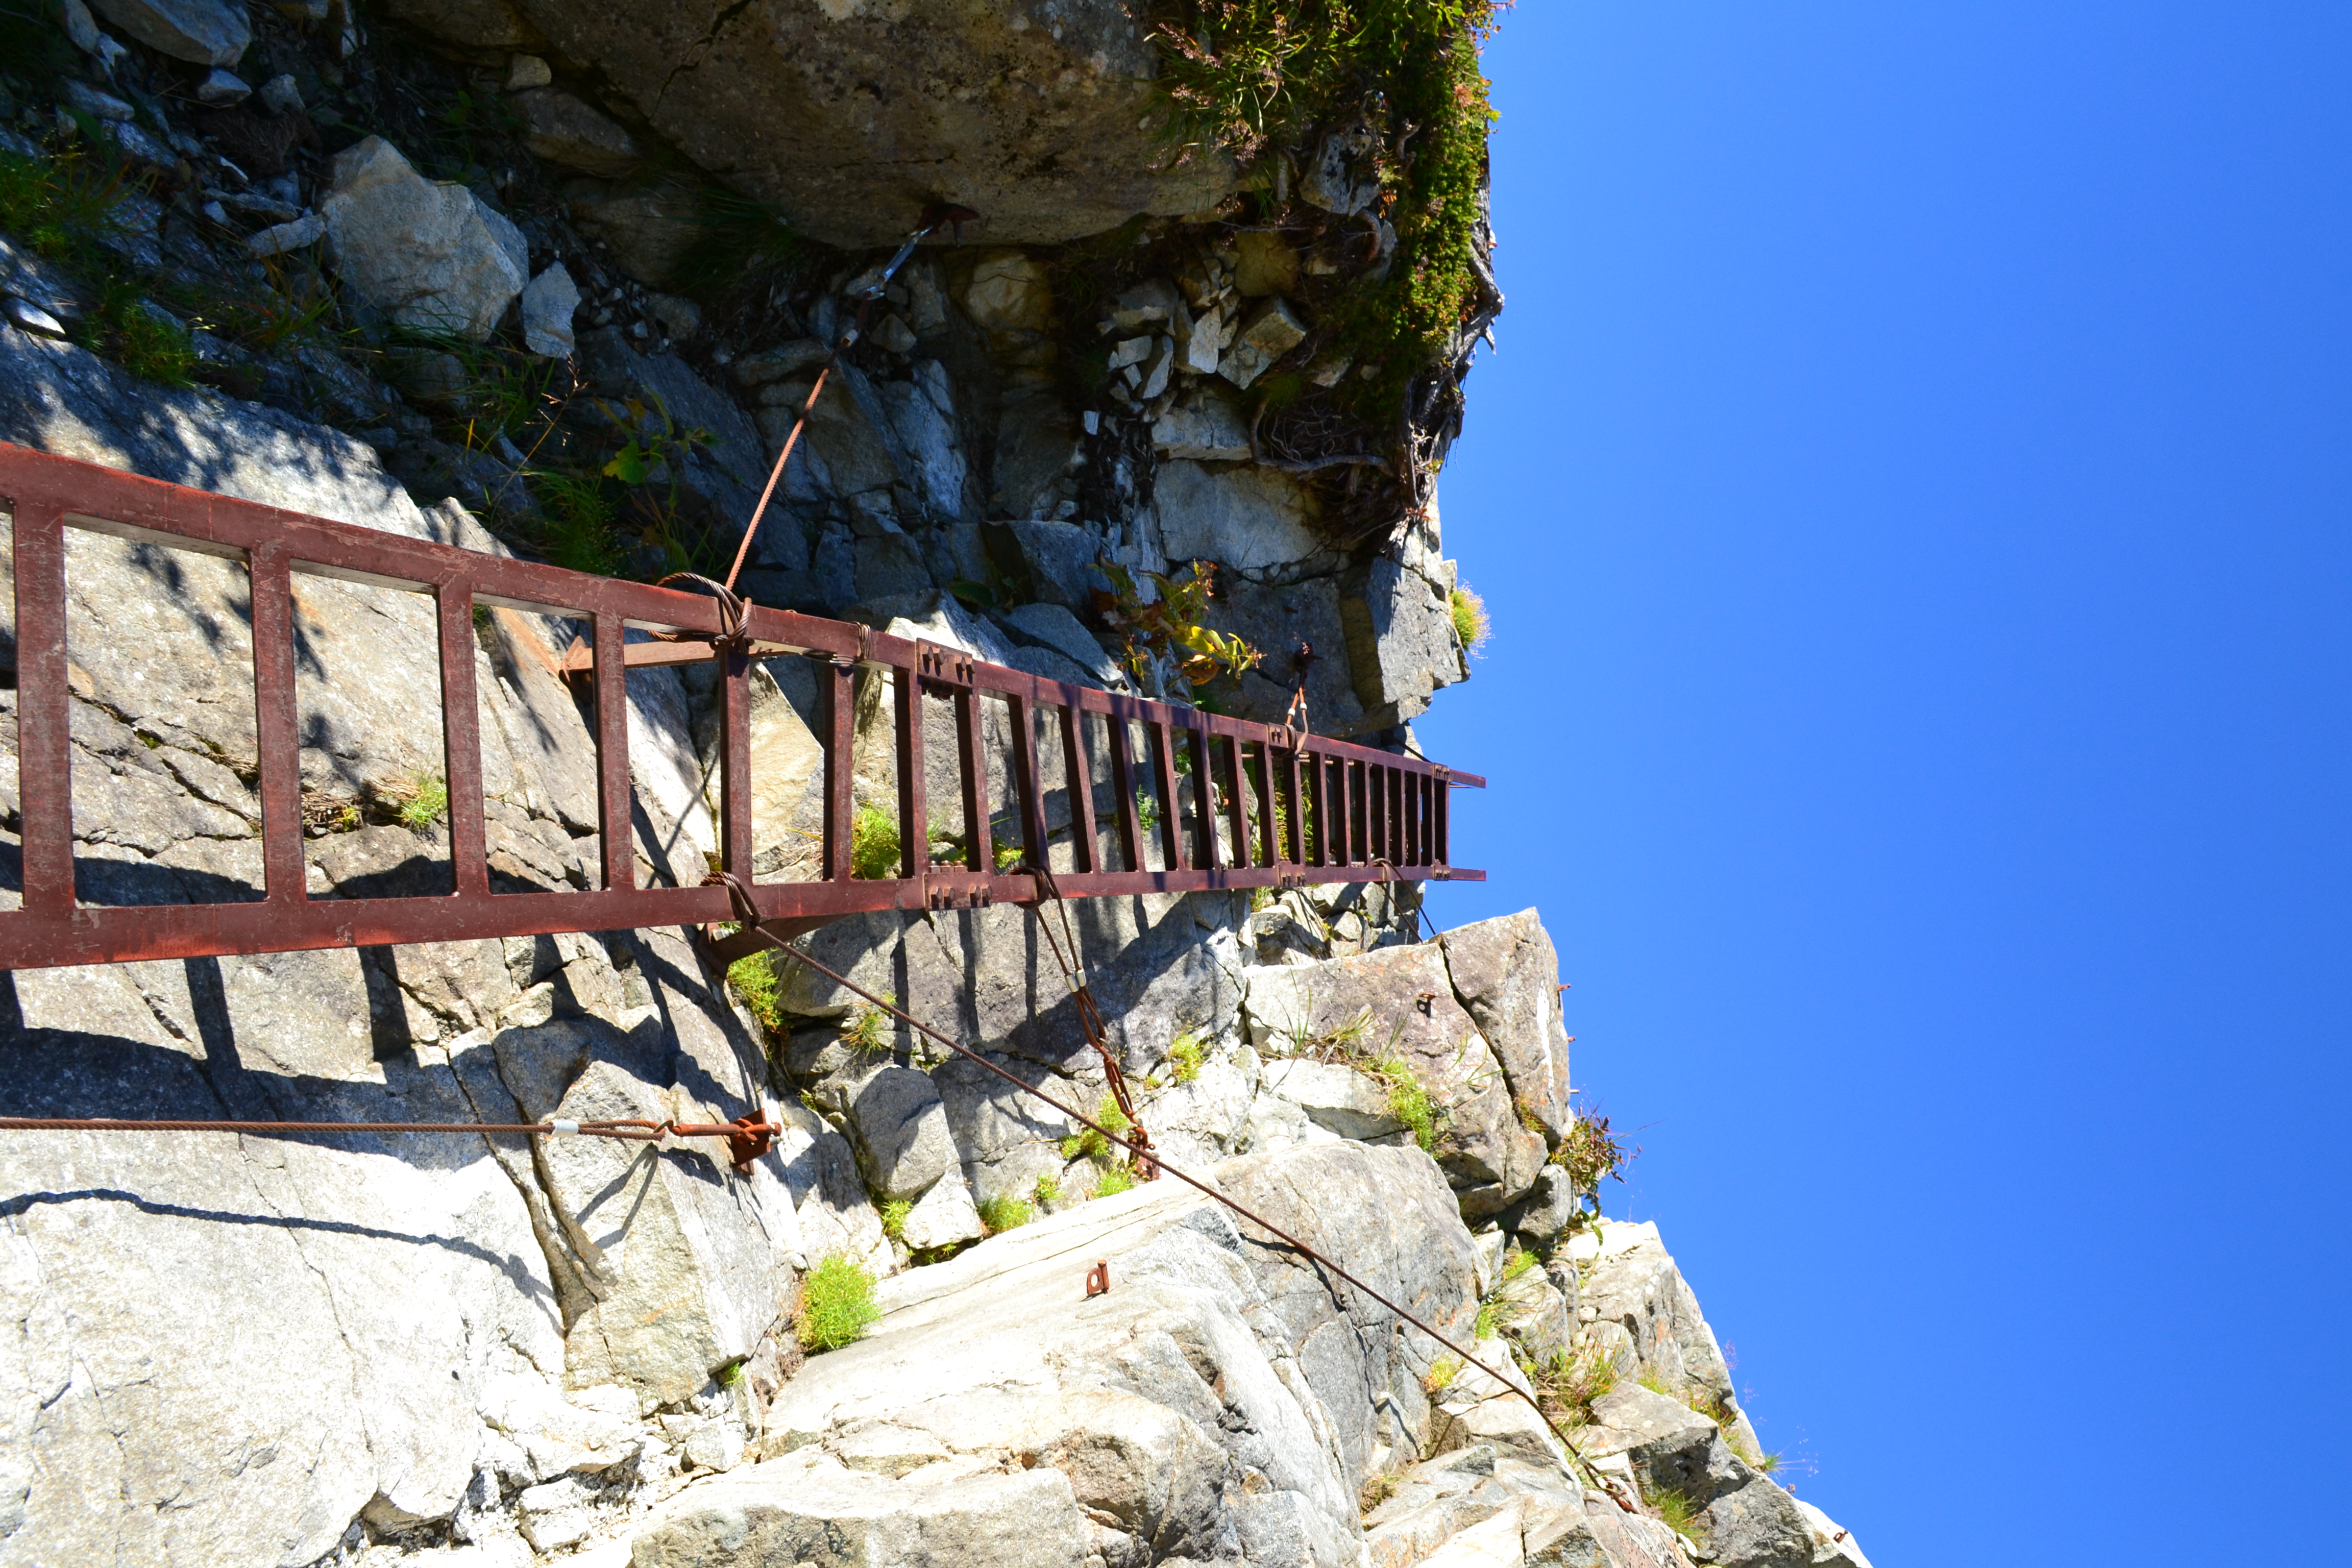
After passing a flower field, the trail enters the Pinus Pumila belt. It comes to the junction shortly. That is the junction of the east ridgeline route. The east ridgeline route will require the use of ropes. Make sure that you proceed on the left trail. The big rock wall appears in your direction. The starting point of the rock wall is the starting point of the south ridgeline route. A ladder is attached on the long rock ridge. This is the most nerve rattling spot along the trail to Mt. Kitahodaka-dake, however, if you can remain calm and proceed at a steady pace, there will be no danger. When you pass this spot, then you will get on the south ridge route.
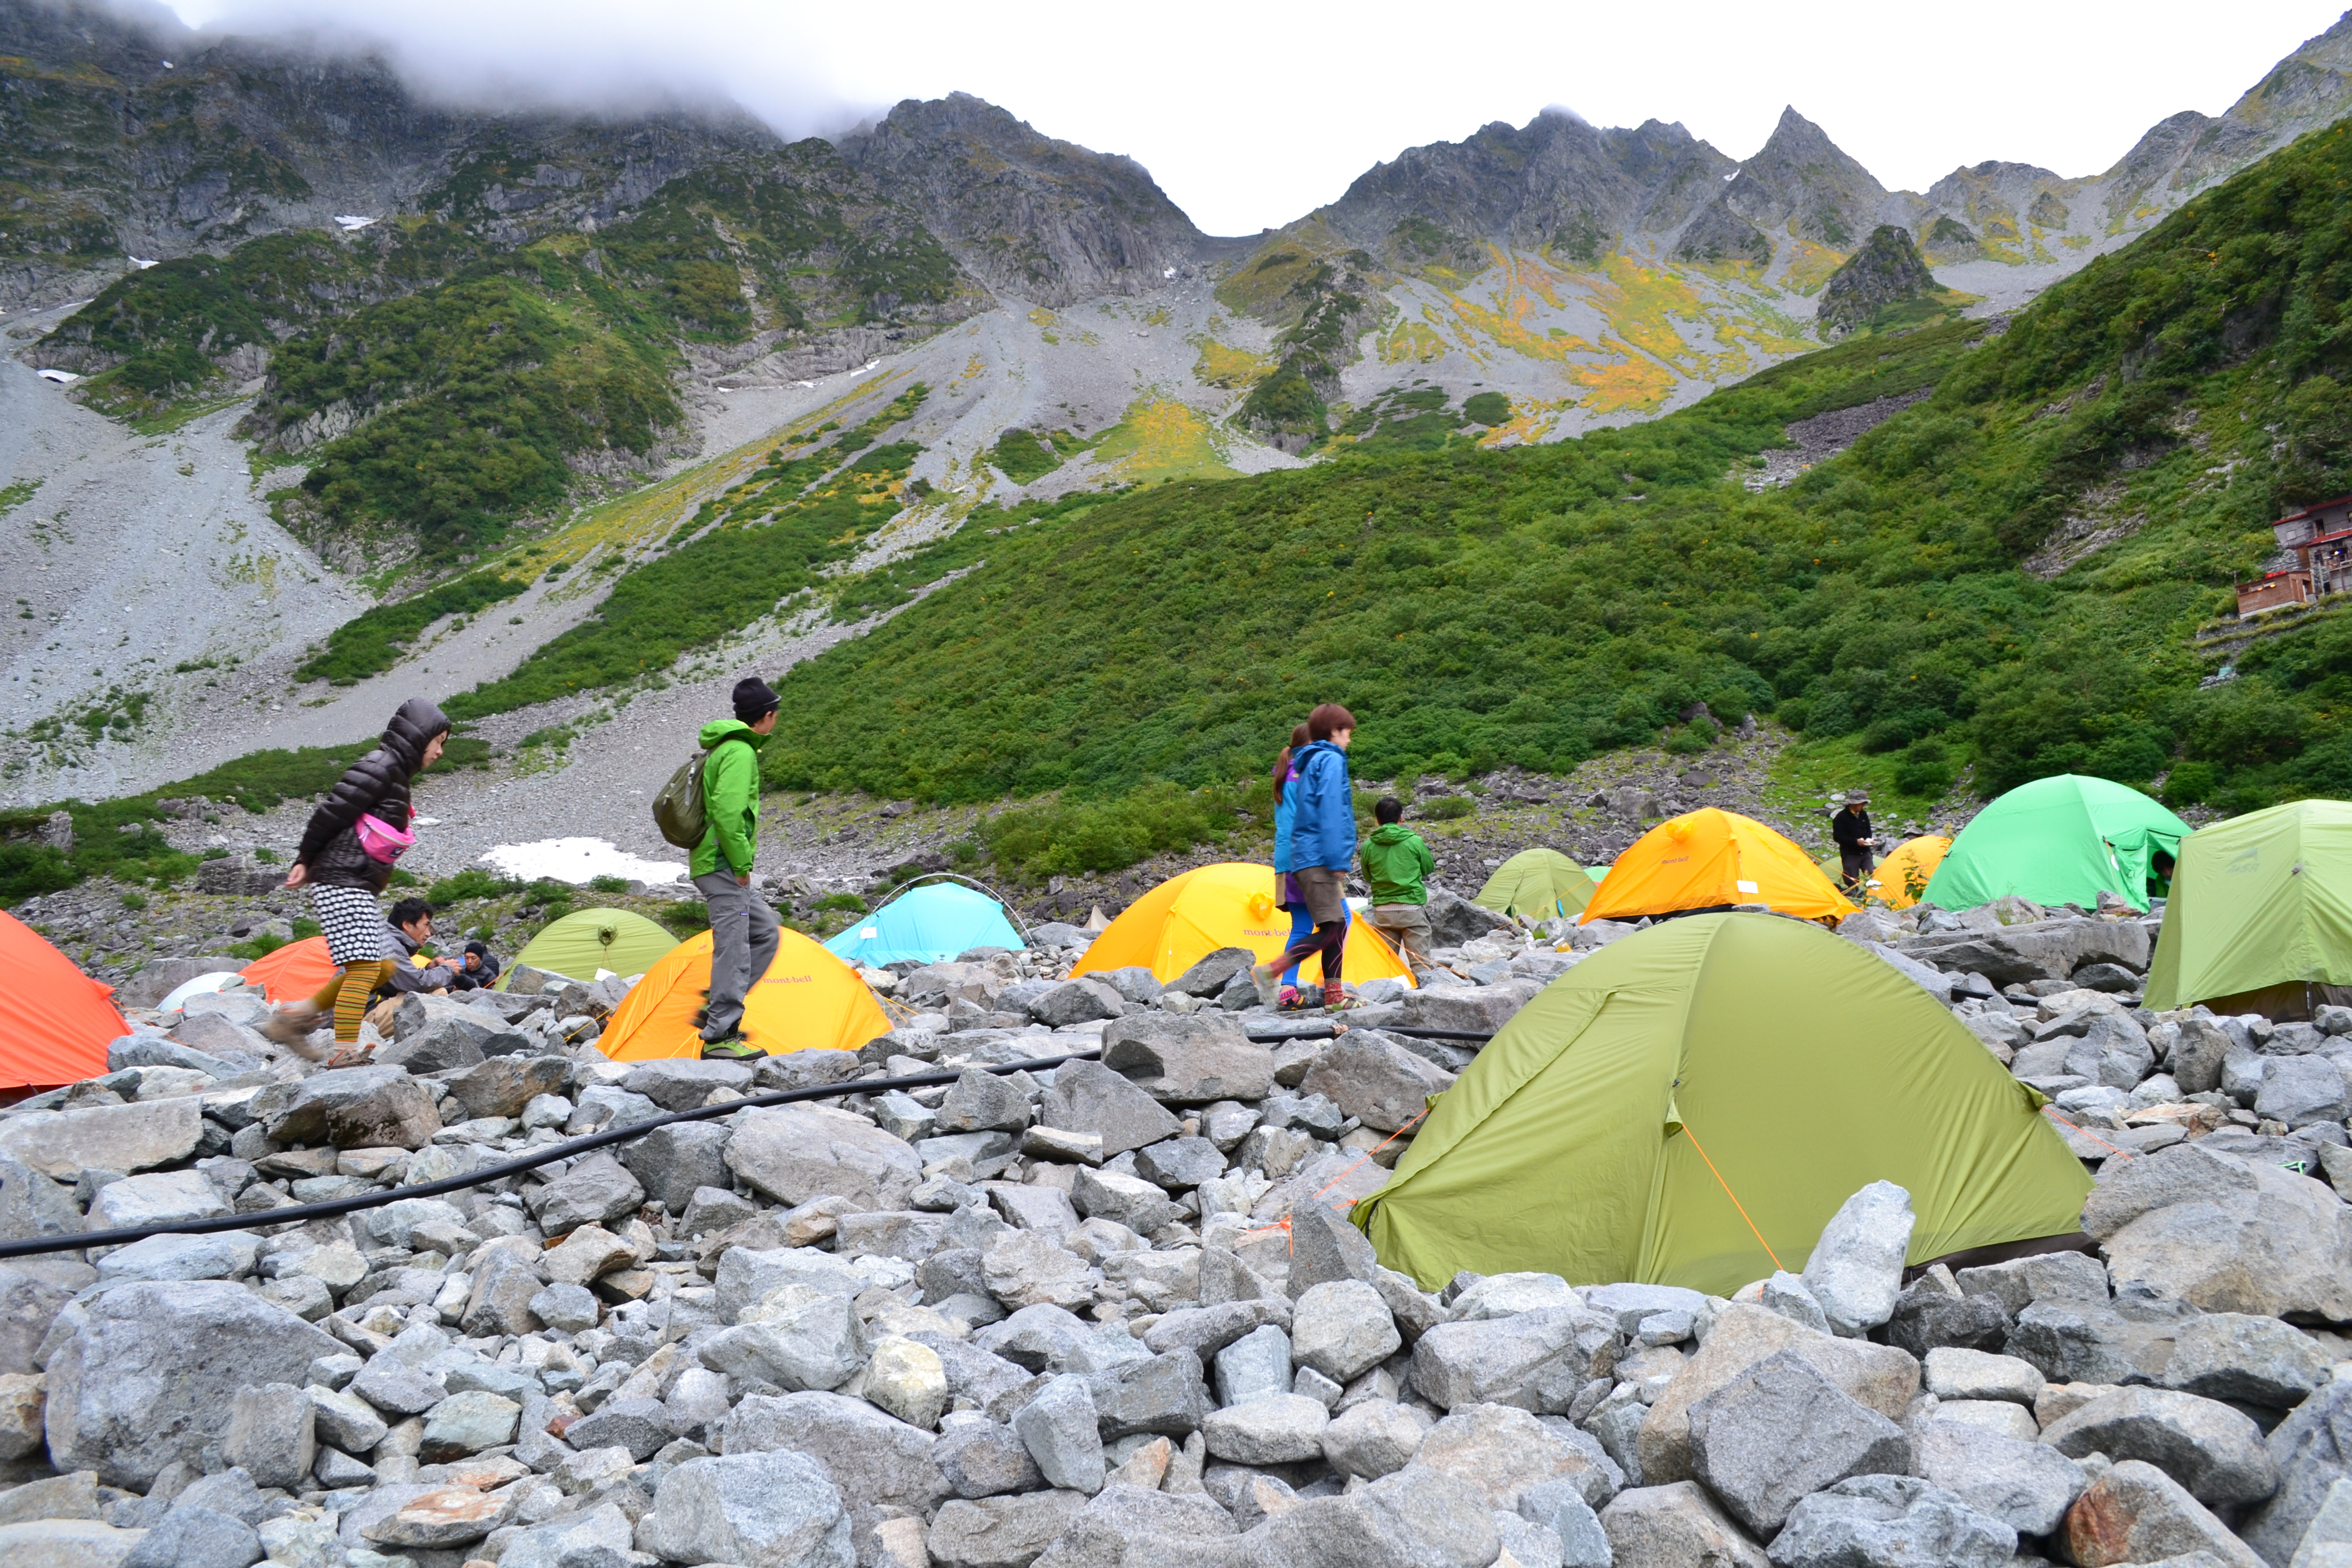
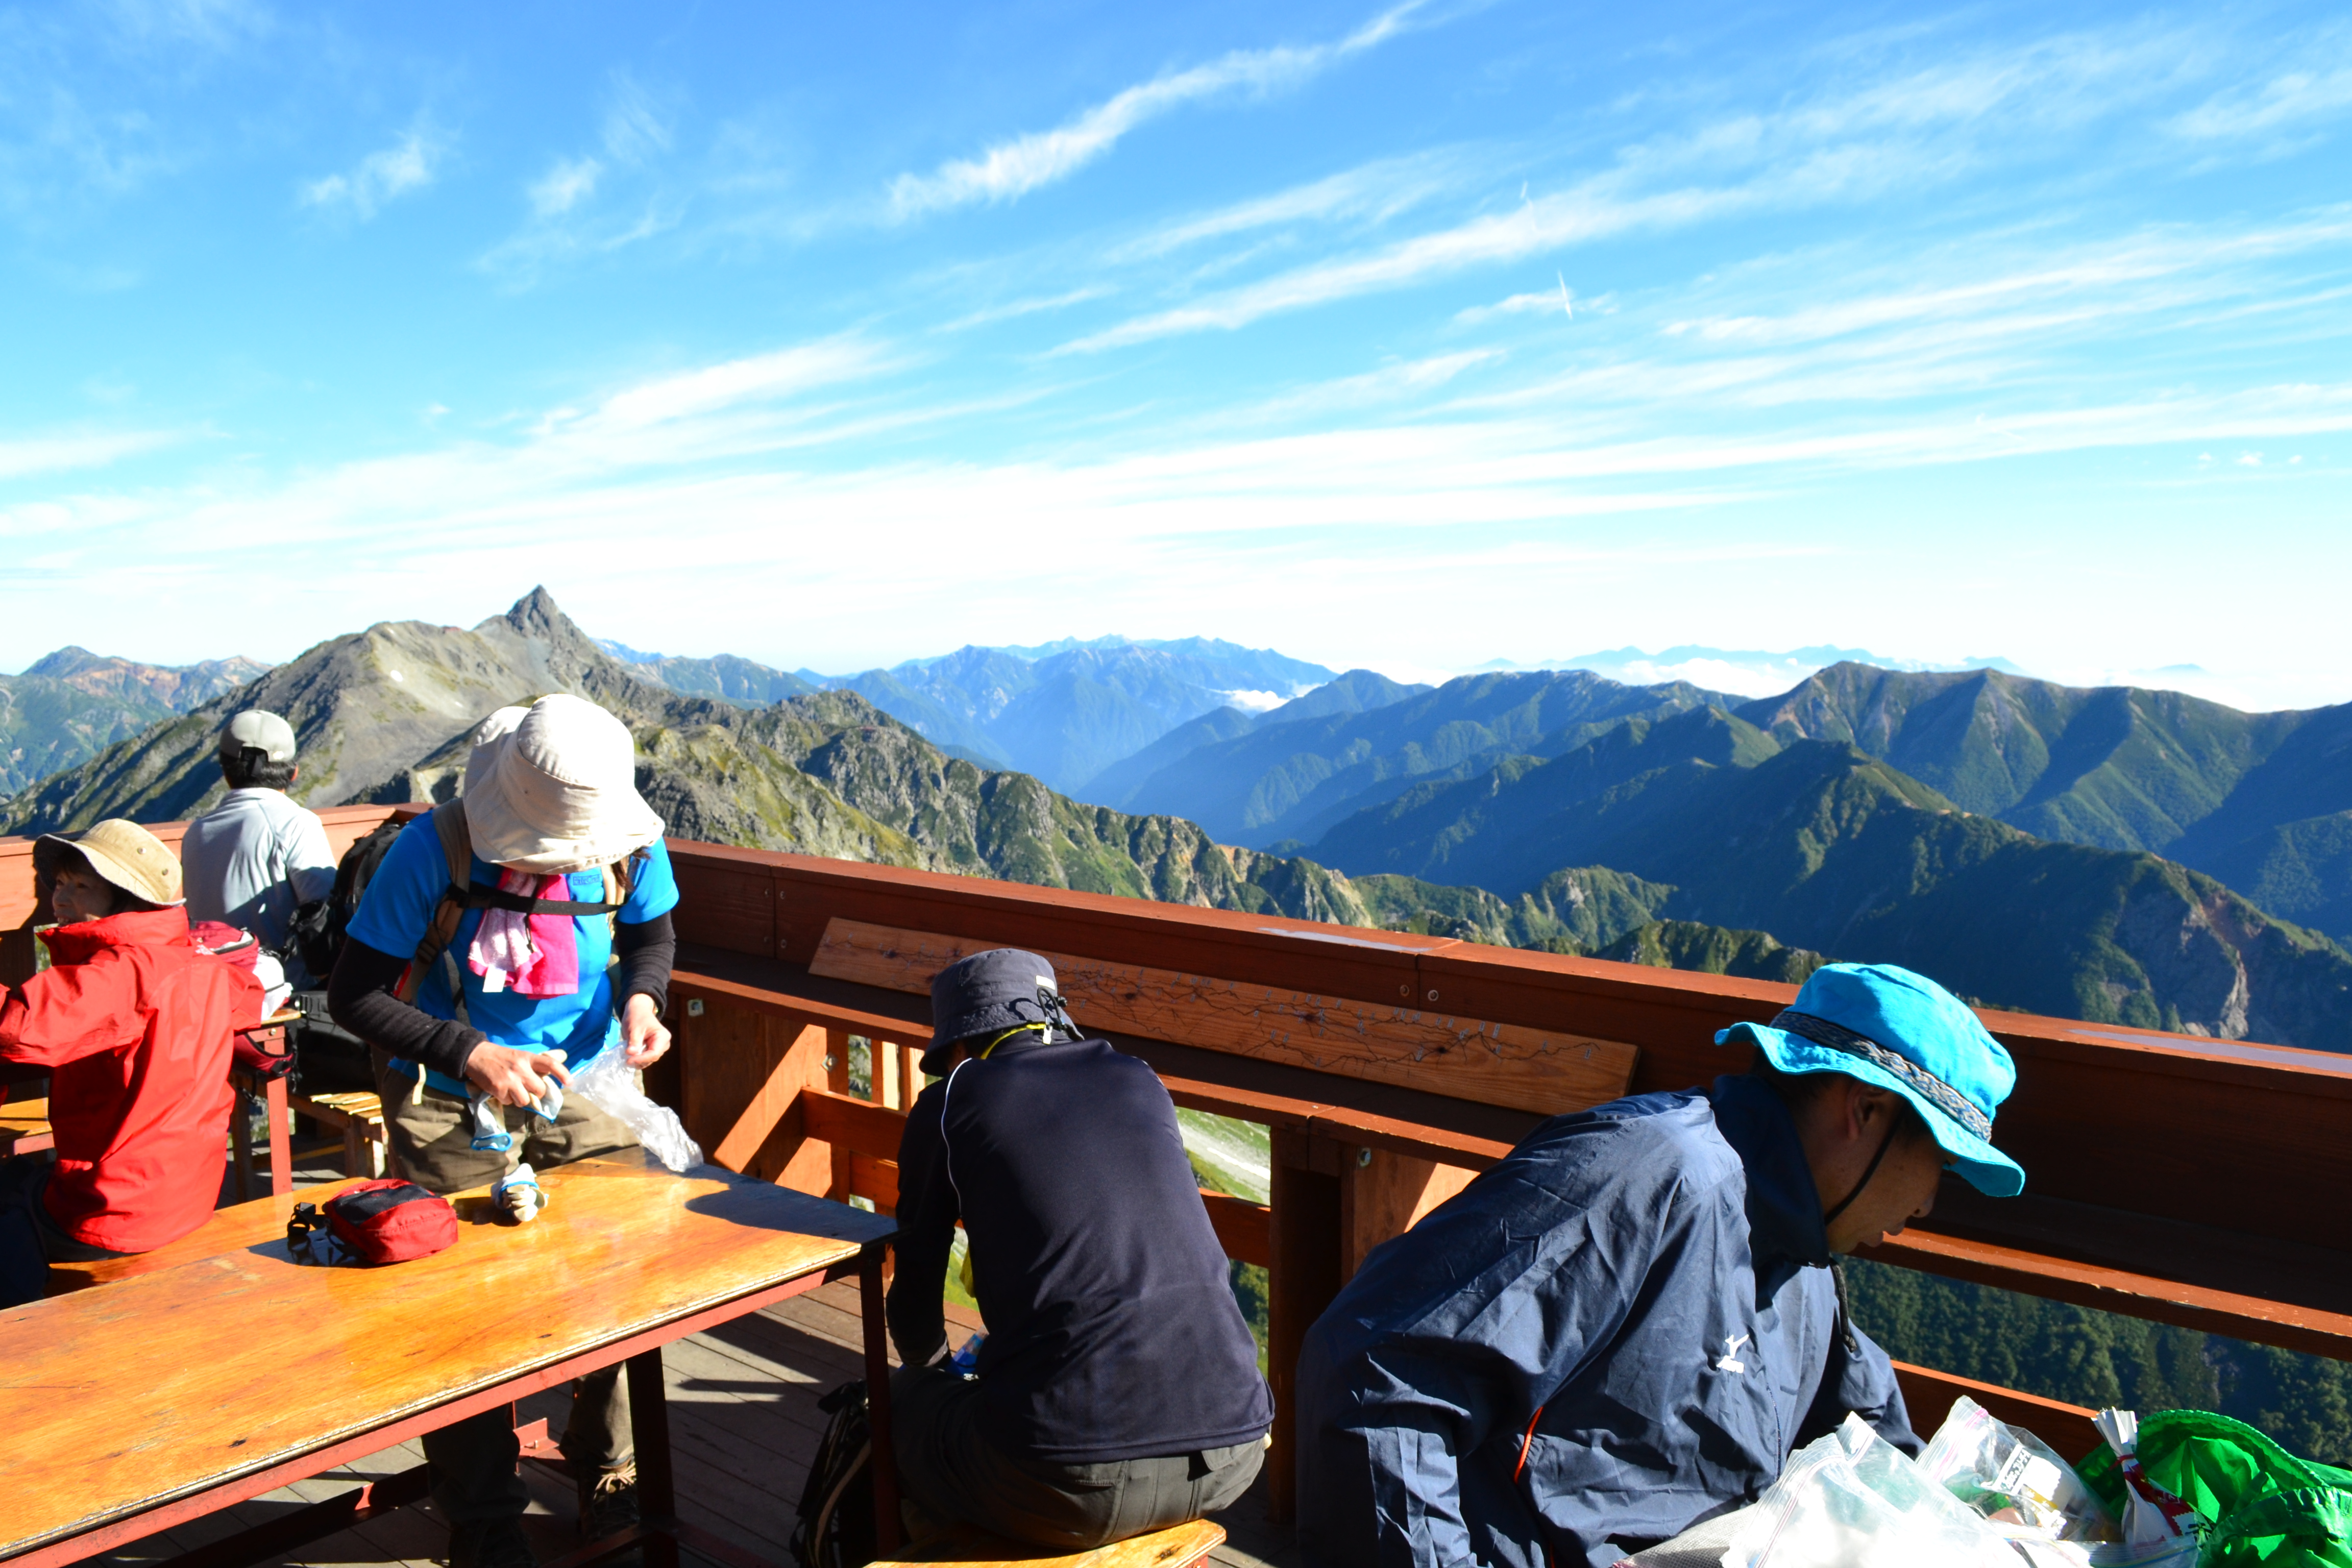
On the south ridge route, which has great views of the Mt. Okuhodaka-dake area, there are many areas to climb rocks. A short chain and ladder will be attached, however, it is not too hard. The trail among the rocks will be gravel but you should be fine if you pay attention to your feet. Along the trail, there will be places where a short chain and ladder are attached. Remain calm and you should be able to pass smoothly. However, caution must be exercised because slipping accidents do occur here occasionally. When the peak appears in the upper right, the trail gets on a plateau, where tents are set up. This is a camping site just below Mt. Kitahodaka-dake, called Nanryo terrace. After passing here, the Kitaho junction will be reached. At this junction, the trial meets the ridgeline of the Hotaka mountains. Turn right at the junction. Descend once then ascend back again, then the peak of Mt. Kitahodaka-dake will be reached. Enjoy a 360-degree panorama. Kitahodaka-koya Mountain hut, the hut located at the highest altitude in the North Japan Alps, stands just below the summit. It is a glorious moment to take a break at the terrace. Mt. Yari-gatake sits right in front of you. The ridgelines towards the summit can be seen just below.